INSTALLATION MANUAL
Page 12 of 77 90-864198020
TRANSOM MOUNTED
1. Seal the inside edges of the 1-1/2 in. (38 mm) hole hose fitting.
2. Ensure that the hose fitting and plastic plug are in place and threads have been sealed
prior to tightening each securely.
NOTE: Use a sharp knife or wood chisel to remove excess plastic plug material so that plug
is flush with pickup casting.
3. Position one flat washer and one rubber O-ring on each 5/16 in. x 4 in. (102 mm) long,
round head screw. Coat each screw shaft with sealant.
4. Place new gasket on pickup housing and hold pickup in place on transom. Install four
round head screws (with washers and O-rings in place) into pickup mounting holes and
through drilled 21/64 in. (8 mm) holes in transom.
72640
a
b
c
d
e
f
g
h
i
j
A
A
B
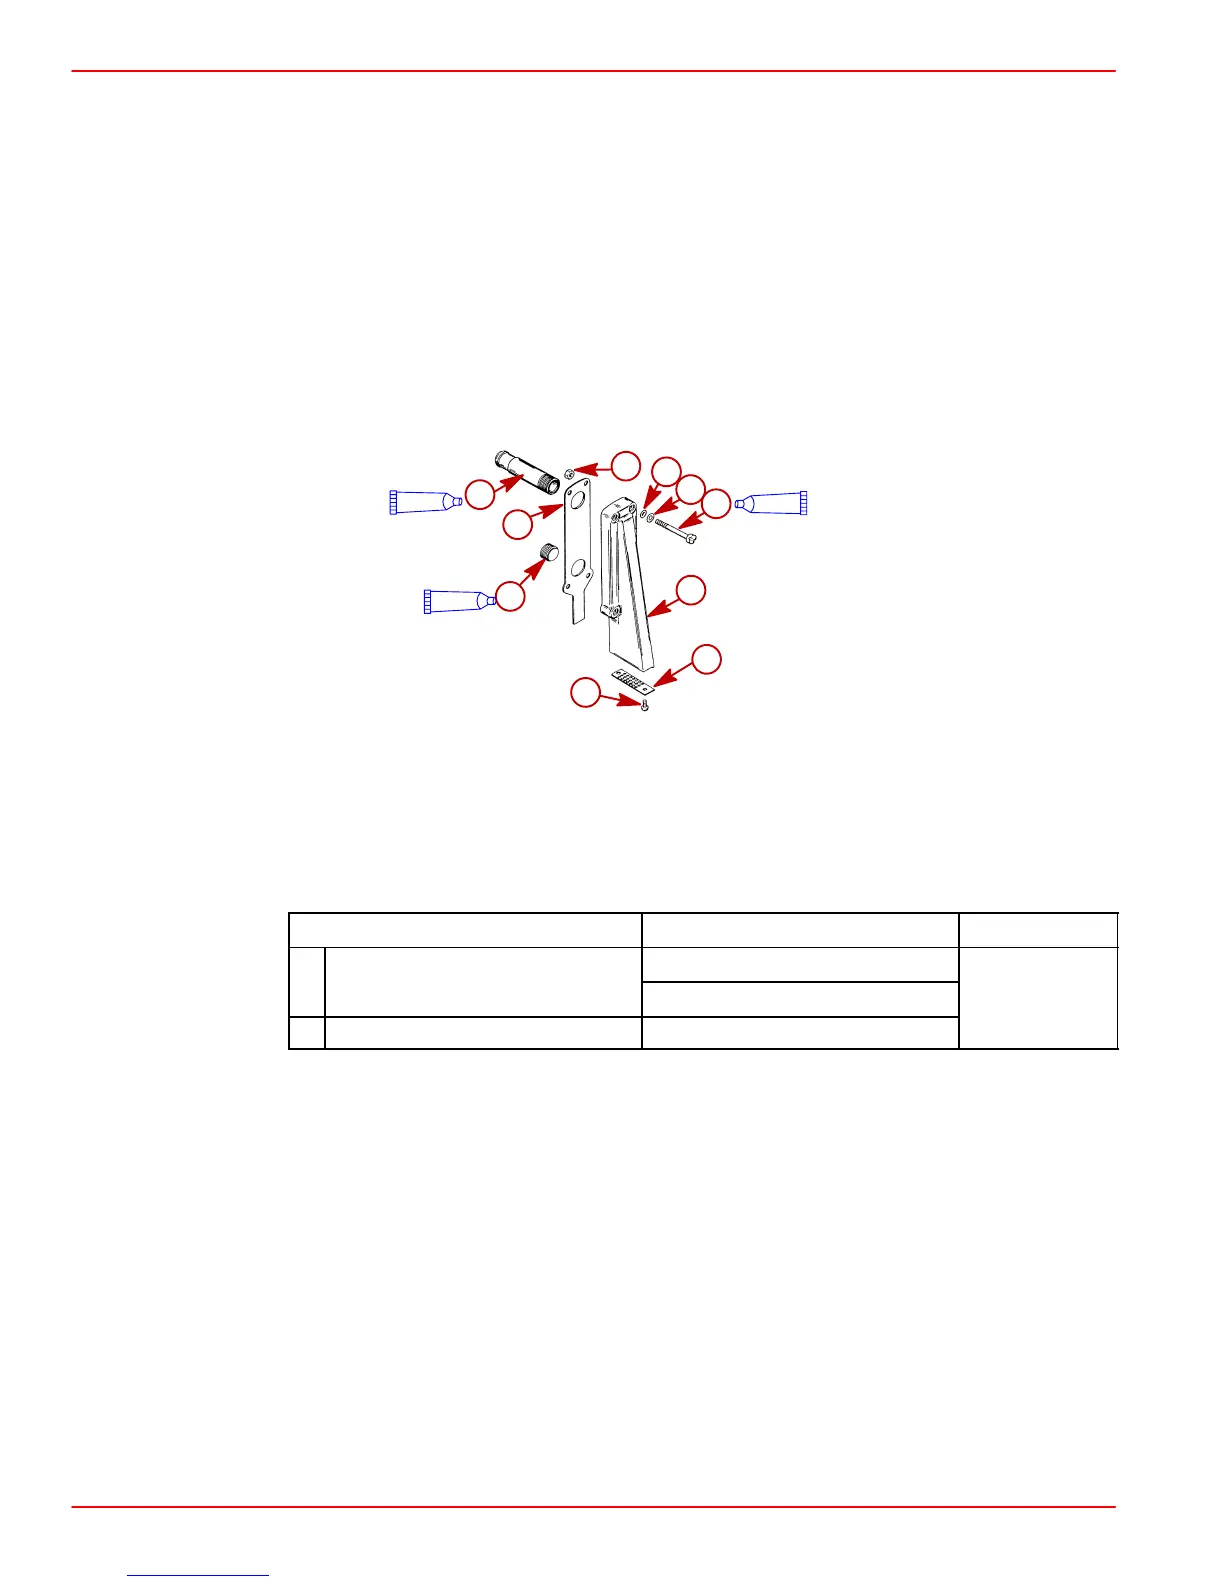
a-Hose Fitting
b-Nut (4)
c-Gasket
d-O-ring (4)
e-Washer (4)
f-Screw (4)
g-Plastic Pug
h-Pickup
i-Screen
j-Screw (2)
Description
Where Used Part Number
Hose Fitting Threads
A Loctite 592 PST
Plastic Plug Threads
Obtain Locally
B Silicone Sealant Or Equivalent Screw Shaft

 Loading...