5 Assembly and Installation
19
Meritor Maintenance Manual MM-0637 (Revised 07-12)
Check that stud standout is correct for stud-piloted wheels. If
standout exceeds specifications even though the correct
torque is used, the cap nut can bottom out against the hub
stud and loosen both wheels and the brake drum, which will
cause the wheels to separate from the vehicle. If standout is
too short, the cap nut will overload and crack, causing the
inner and dual wheels to separate from the vehicle. Serious
personal injury and damage to components can result.
2. If you replace a wheel or brake drum, you must check stud
standout. The studs must be long enough for the threads to be
exposed beyond the installed wheel nut. If you replace the
brake drum, verify that the new drum has the same drum
diameter as the one that you removed.
3. Ensure the hub and drum are correctly seated.
Apply two drops of oil between the nut flange and the hex
portion of the swivel area at each installation if you reinstall
the two-piece flange nuts that have been in service. Without
lubricant, the fasteners may not produce adequate clamp load,
and a wheel can loosen and separate from the vehicle. Serious
personal injury and damage to components can result.
4. Apply two drops of oil between the nut flange and the hex
portion of the swivel area at each installation if you reinstall the
two-piece flange nuts that have been in service.
5. Apply two drops of oil to the last two or three threads at the end
of each stud.
Lightly lubricate the hub pilots to ease wheel installation and
removal. Do not lubricate the mounting face of the drum or
wheel. Lubricant on the drum or wheel mating surfaces can
reduce friction and cause the components to slip during
operation. Serious personal injury and damage to components
can result.
6. Lightly lubricate the hub pilots to ease wheel installation and
removal. Do not lubricate the mounting face of the drum or
wheel.
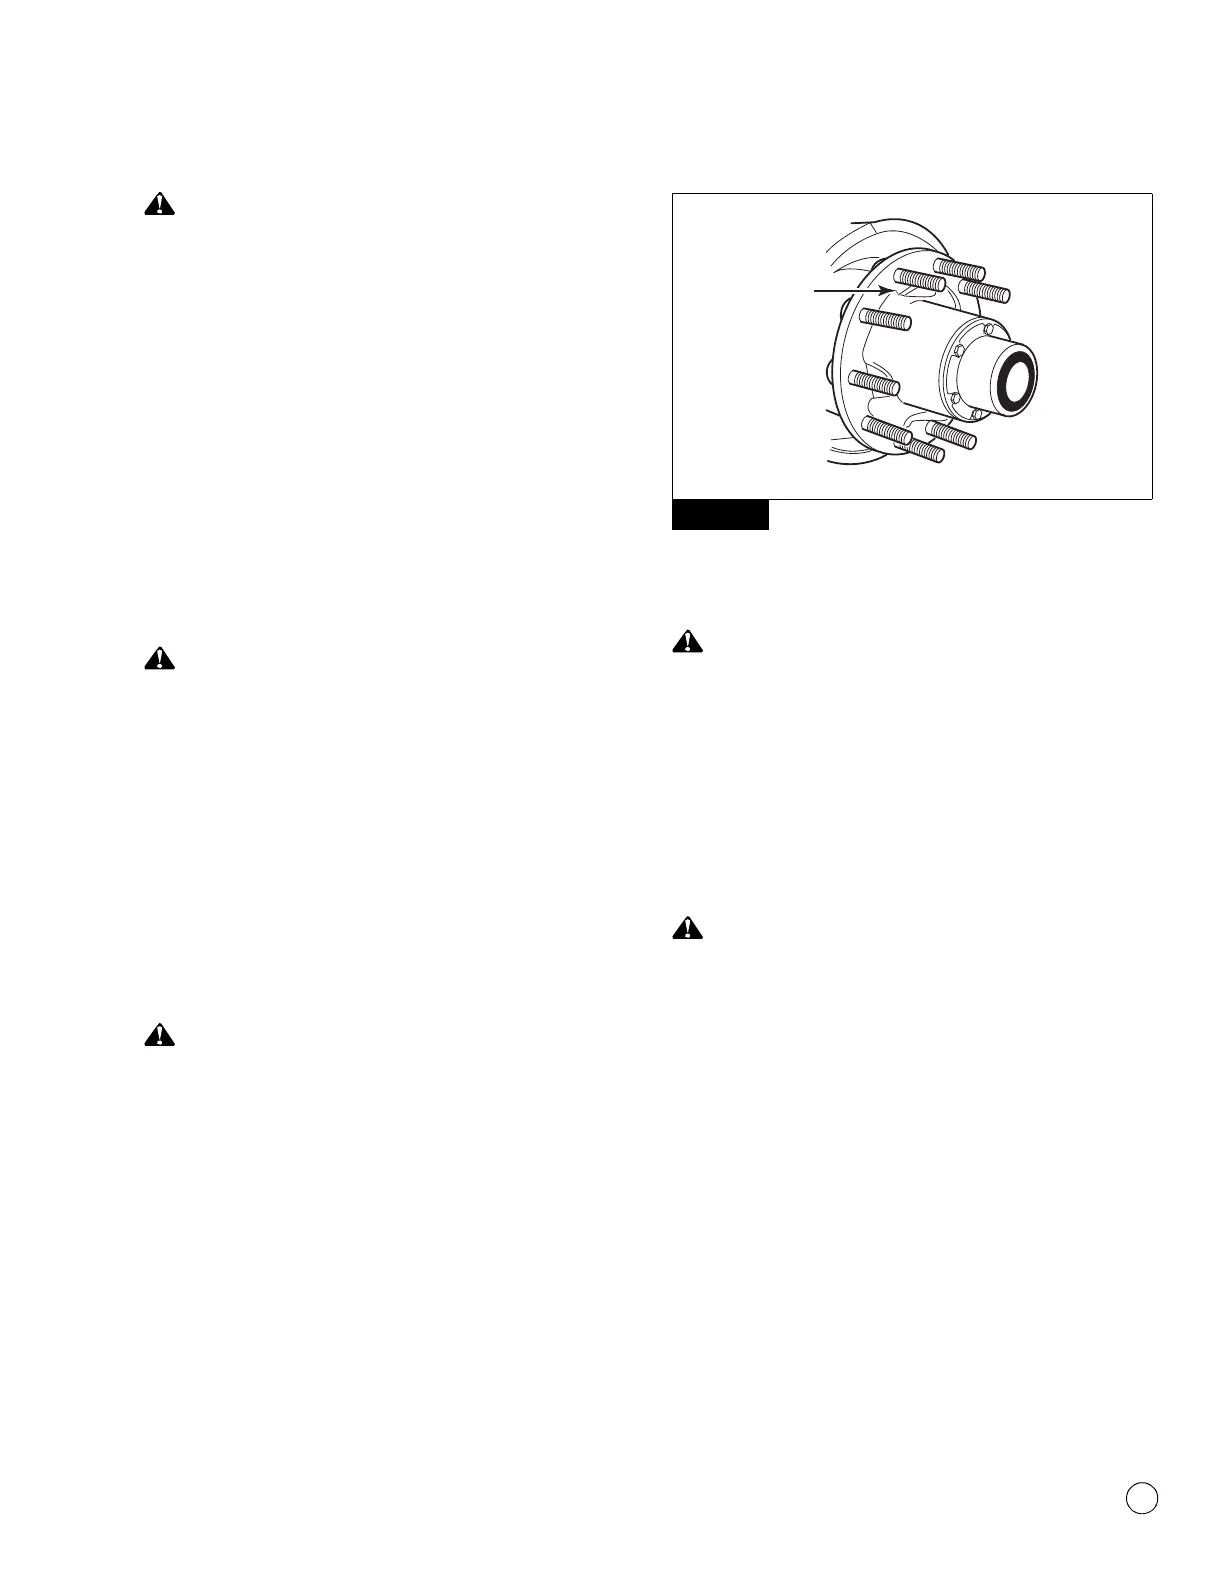
7. Rotate the hub so that one of the wheel pilot bosses is at the
12 o’clock position. Figure 5.13.
Figure 5.13
8. Position the brake drum over the hub so that it seats onto the
drum pilot and against the hub face.
Install nuts with the correct thread size on the studs. A nut
with an incorrect thread size will not turn freely on the stud or
will fit loosely on the stud. The thread can strip, which can
cause loss of clamp load. The wheels can loosen and separate
from the vehicle. Serious personal injury and damage to
components can result.
9. Place the wheels into position on the hub. Install one or more
nuts to hold the wheels and drum in position.
When you install the brake drum onto the brake drum pilot,
first tighten the top wheel nut to 50 lb-ft (65 N폷m) to fully-seat
the brake drum onto the brake drum pilot and against the hub
face. Verify that the drum is fully-seated before and after you
install the wheels to prevent serious personal injury and
damage to components.
10. Tighten the top nut first to fully seat the brake drum on the
drum pilot and against the hub face. Tighten the nut to 50 lb-ft
(65 N폷m). Figure 5.14.
@
Figure 5.13