ES-405-9800 Manual Rev A Page 9
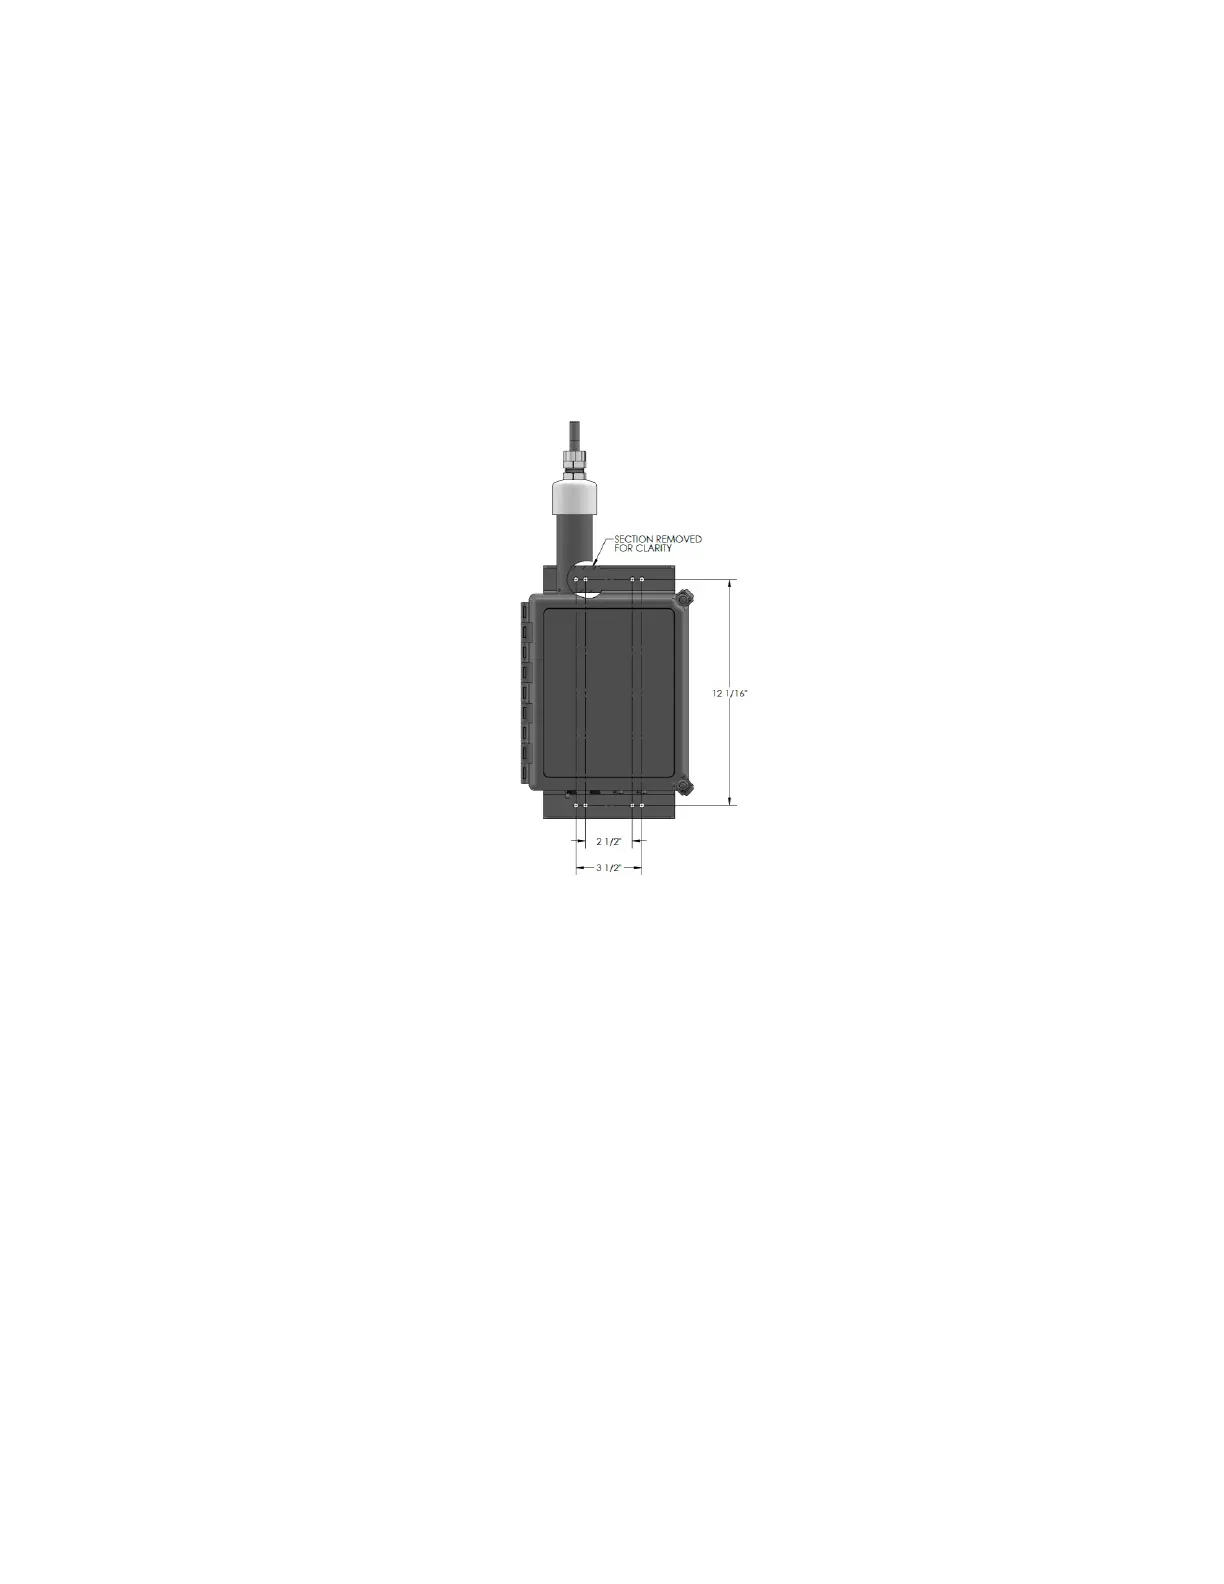
2.2.2 Wall or Pole Mounting
The ES-405 can be wall mounted using the optional mounting bracket. This bracket can be used
for both wall and pole mounting of the ES-405. The mounting bracket must be screwed or bolted
to the support structure with appropriate hardware. When pole or tripod mounted, the V-Bolts can
be used to attach the mounting bracket. 1/4-10 hardware is used to mount the ES-405 to the
mounting bracket.
Note: If mounting the unit to a wall, take care to ensure that there is adequate clear space around
the inlet to allow unrestricted airflow into the instrument. Wall mounting is often not considered
ideal and not recommended due to the airflow and particulate obstruction of the wall itself. Mount
the instrument with no large obstructions nearby whenever possible.
Wall or Pole Mounting Installation
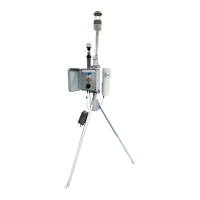
2.3 Setting Up the ES-405
Set up the rest of the ES-405 hardware items and accessories as described below:
1. Install TSP inlet: The included weatherproof TSP inlet is simply installed directly onto the
top of the ES-405 inlet tube to keep water, insects, and debris out of the instrument.
Lubricate the o-rings if necessary. Never operate the ES-405 outdoors without the TSP
inlet in place, as the resulting water/debris damage is not covered under warranty.
2. Optional MET sensor: If an optional MET sensor is supplied, it will come with a cross-arm
tube which mounts to the stud on the top of the EX-905 tripod with supplied fittings. Install
the MET sensor on the end of the cross-arm. The sensor should be as far from the ES-405
unit as possible without affecting the tripod balance. If a wind vane is employed, it must be
able to rotate fully without hitting anything. Plug the MET sensor into the corresponding
connector on the bottom of the ES-405. The sensor must be oriented to true north. Consult
the separate manual that comes with the MET sensor for alignment details.
3. AC Power Supply: If the ES-405 is to be operated on AC line voltage, bolt the power
supply to one of the legs of the tripod with U-bolts. Plug the power supply output cable into
the DC power input on the bottom of the ES-405. When the power supply is plugged into
AC power, the ES-405 will turn on automatically.