5
A. Mounting hardware installation:
Note: It is important that the Mx200 device is operated from a secure and rigid mounting location.
While the supplied Metlogix mounting hardware may serve as an adapter piece toward that installation,
it is the installation technicians’ responsibility to ensure complete and safe installation of the device.
• Select the appropriate mounting method from the 3 options below.
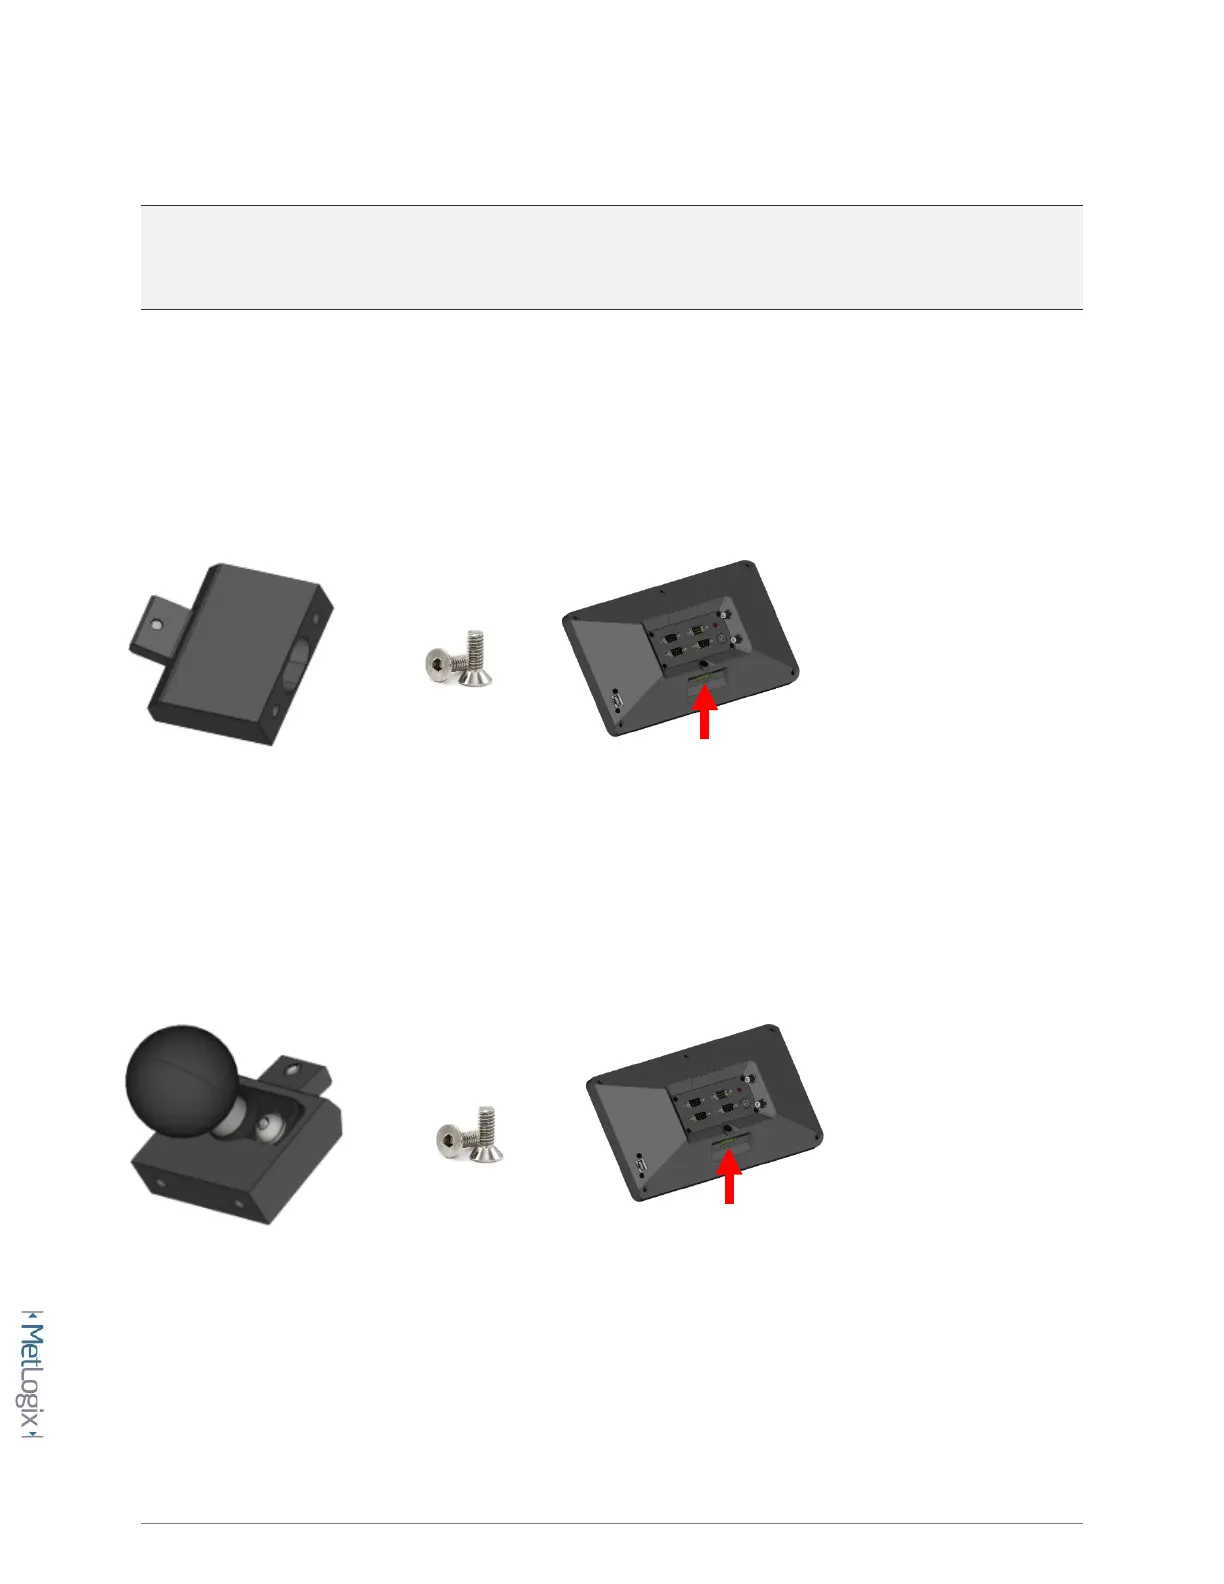
OEM Mount Installation:
Using a 3MM Allen wrench and the supplied M6 screw, connect the riser block to the opening on the rear panel of
the Mx200. The hole spacing is 38MM with a ¼”-20 thread pattern. Screws required to connect the OEM mount to
the machine mount are not included in the Mx200 mounting kit.
Ball Mount Installation(1.5” Ball):
Using a 3MM Allen wrench and the supplied M6 screw, connect the riser block/ball mount module to the opening
on the rear panel of the Mx200.