6
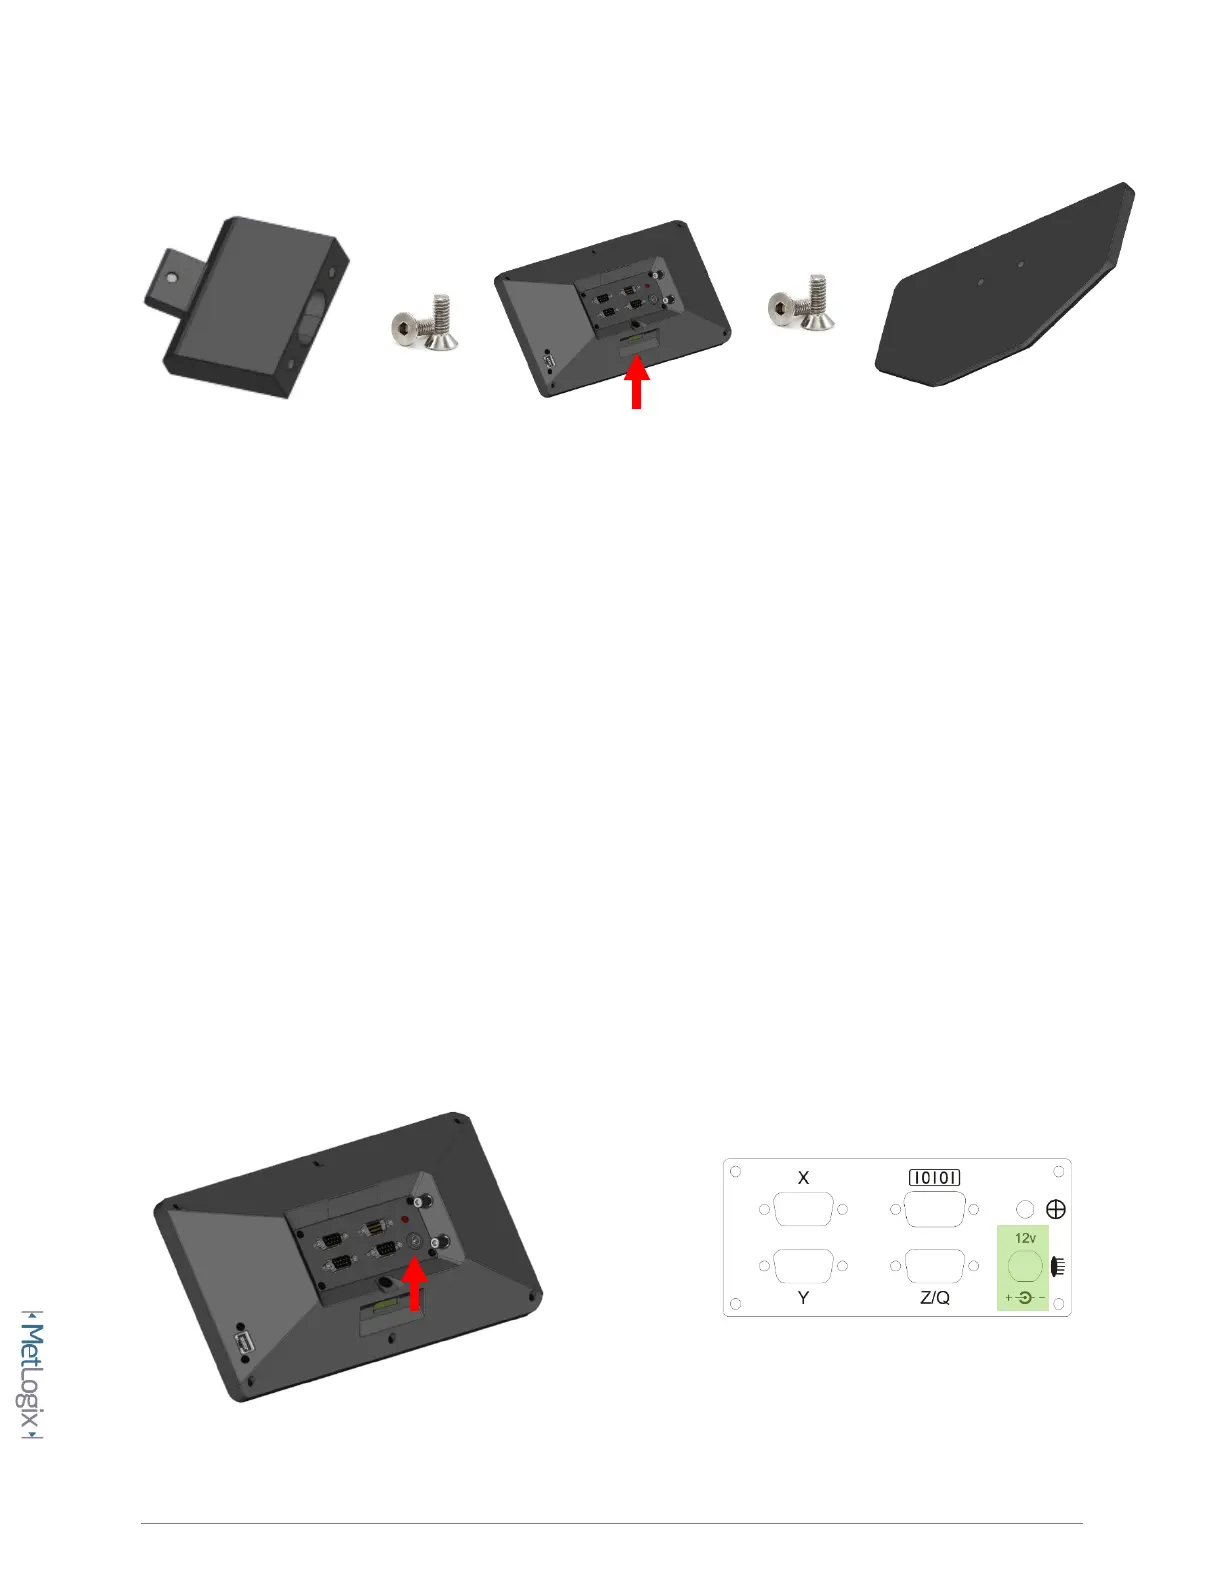
Base Mount Installation:
Using a 3MM Allen wrench and the supplied M6 screw, connect the riser block to the opening on the rear panel of
the Mx200.
Using a 4MM Allen wrench and the (2) supplied M6 screws, connect the supplied stand to the riser block.
• Complete the Mx200 readout installation according to the recommended mounting
technique for the measuring system being used.
• For standard “benchtop” installations place the Mx200 readout on a flat stable surface
within reasonable operating distance from the measuring system.
B. Power Connection:
• Attach the supplied 12V(Positive Tip)power supply connector to the power input port on
the Mx200 readout.