Do you have a question about the Metra Electronics 99-7809B and is the answer not in the manual?
| Brand | Metra Electronics |
|---|---|
| Model | 99-7809B |
| ISO Provision | Yes |
| Color | Black |
| Material | Plastic |
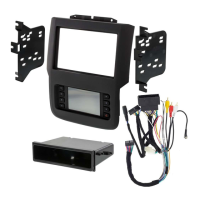
| Product Type | Dash Kit |
Unclip and remove the two trim panels on either side of the radio.
Remove one Phillips screw on either side of the factory radio.
Remove hazard button and one Phillips screw between A/C vents.
Unclip and remove the pocket located below the factory radio.
Remove two 5/16-inch bolts securing the radio brackets.
Unclip, unplug, and remove the factory radio and climate control assembly.
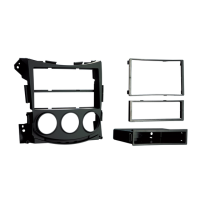
Remove the A/C vents from the factory panel for later use.
Use a rotary tool to cut and remove specified plastic areas in the radio cavity.
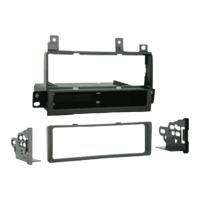
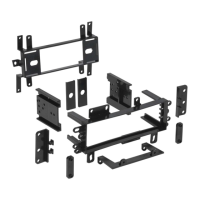
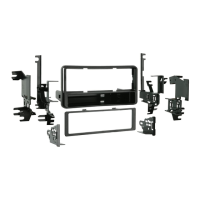
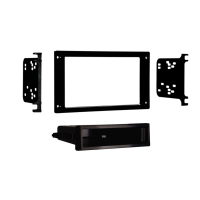
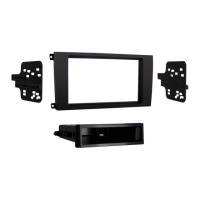
Assemble the trim panel, brackets, pocket, and clips for ISO DIN radio installation.
Install the aftermarket radio into the assembly and re-clip A/C vents.
Connect the factory wiring harness and climate control assembly.
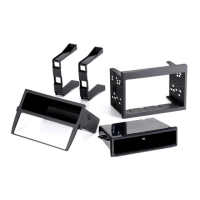
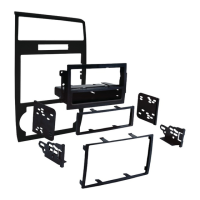
Assemble the trim panel, brackets, and clips for DDIN radio installation.
Install the DDIN radio into the assembly and re-clip A/C vents.
Connect the 20-pin harness wires to the aftermarket radio's power, speakers, and accessories.
Connect the 12-pin ASWC harness for retaining steering wheel controls.
Note on unused wires and specific plug locations for the 99-7809 application.
Steps to program the climate controls by interacting with the vehicle's rear defrost button.
Check connections and re-attempt programming if controls do not function properly.
Note that factory clock and temperature display are lost; new displays show this info.