EasyManua.ls Logo

Metra Electronics 99-7861 User Manual

Default Icon
8 pages
To Next Page IconTo Next Page
Page #1 background imageLoading...
Page #1 background image
INSTALLATION INSTRUCTIONS FOR PART 99-7861
1-800-221-0932 www.metraonline.com
KIT FEATURES
© COPYRIGHT 2004-2009 METRA ELECTRONICS CORPORATION REV. 06-29-09
Recessed DIN
Pocket
ISO Head Unit Provision With Pocket
A) “L Radio Housing • B) “E” Radio Housing • C) Pocket • D) Rear Support Bracket • E) ISO Brackets
F) ISO Trimplate • G) (2) # 8x3/8” Phillips Truss Head Screws H) (2) # 8x3/8” Phillips Pan Head Screws
KIT COMPONENTS
99-7861
A
APPLICATIONS
Honda Pilot
•2003-2008
•2006-2008
(Without Factory Navigation)
B
C
D
E
F
H
G
Small Flat Blade Screwdriver/ • Panel Removal Tool • Phillips Screwdriver • Socket Set
TOOLS REQUIRED:
WIRING AND ANTENNA CONNECTIONS (Sold Separately)
Harness:
70-1721 - Honda/Acura harness 1998-up
Antenna Adapter:
40-HD10
- Honda antenna adapter 2005-up
Question and Answer IconNeed help?

Do you have a question about the Metra Electronics 99-7861 and is the answer not in the manual?

Metra Electronics 99-7861 Specifications

General IconGeneral
BrandMetra Electronics
Model99-7861
CategoryAutomobile Accessories
LanguageEnglish

Summary

Kit Overview

Applications

Details the specific Honda Pilot vehicle models and years the kit is designed for.

Kit Features and Components

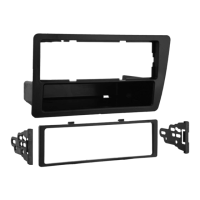
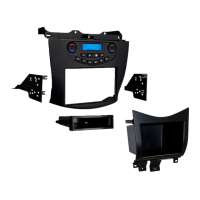
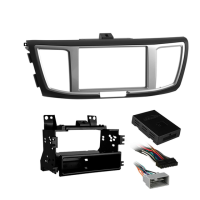
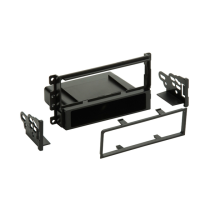
Lists the main features of the kit and its individual components for installation.

Wiring and Antenna Connections

Specifies required wiring harnesses and antenna adapters for proper system integration.

Tools Required for Installation

Lists the essential tools necessary to perform the installation of the car audio kit.

Dash Disassembly

Honda Pilot 2003-2008 Dash Removal

Step-by-step instructions for removing the dashboard trim and radio for 2003-2008 Honda Pilots.

Honda Pilot 2006-2008 Dash Removal (No Navigation)

Guide for removing the dashboard trim and radio for 2006-2008 Honda Pilots without factory navigation.

Kit Assembly

Radio Housing and Pocket Assembly

Instructions for selecting the correct radio housing and assembling the pocket and support bracket.

DIN Head Unit Installation

Steps for mounting a DIN head unit into the assembled radio housing using the provided cage.

ISO Head Unit Installation

Procedure for mounting an ISO head unit using brackets and securing it with the trimplate.

Final Assembly and Wiring

Wiring Connection Guide

Details on making wire connections using the EIA color code and recommended methods.

Reassembly and Testing

Instructions for reconnecting the battery, testing the unit, and reassembling the dashboard.

Related product manuals