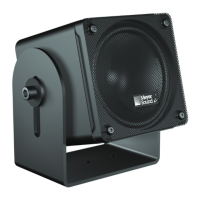
CHAPTER 6: MOUNTING CAL LOUDSPEAKERS
32
place. Ensure the quick-release pin is completely
inserted and cannot be removed without depressing
the release button.
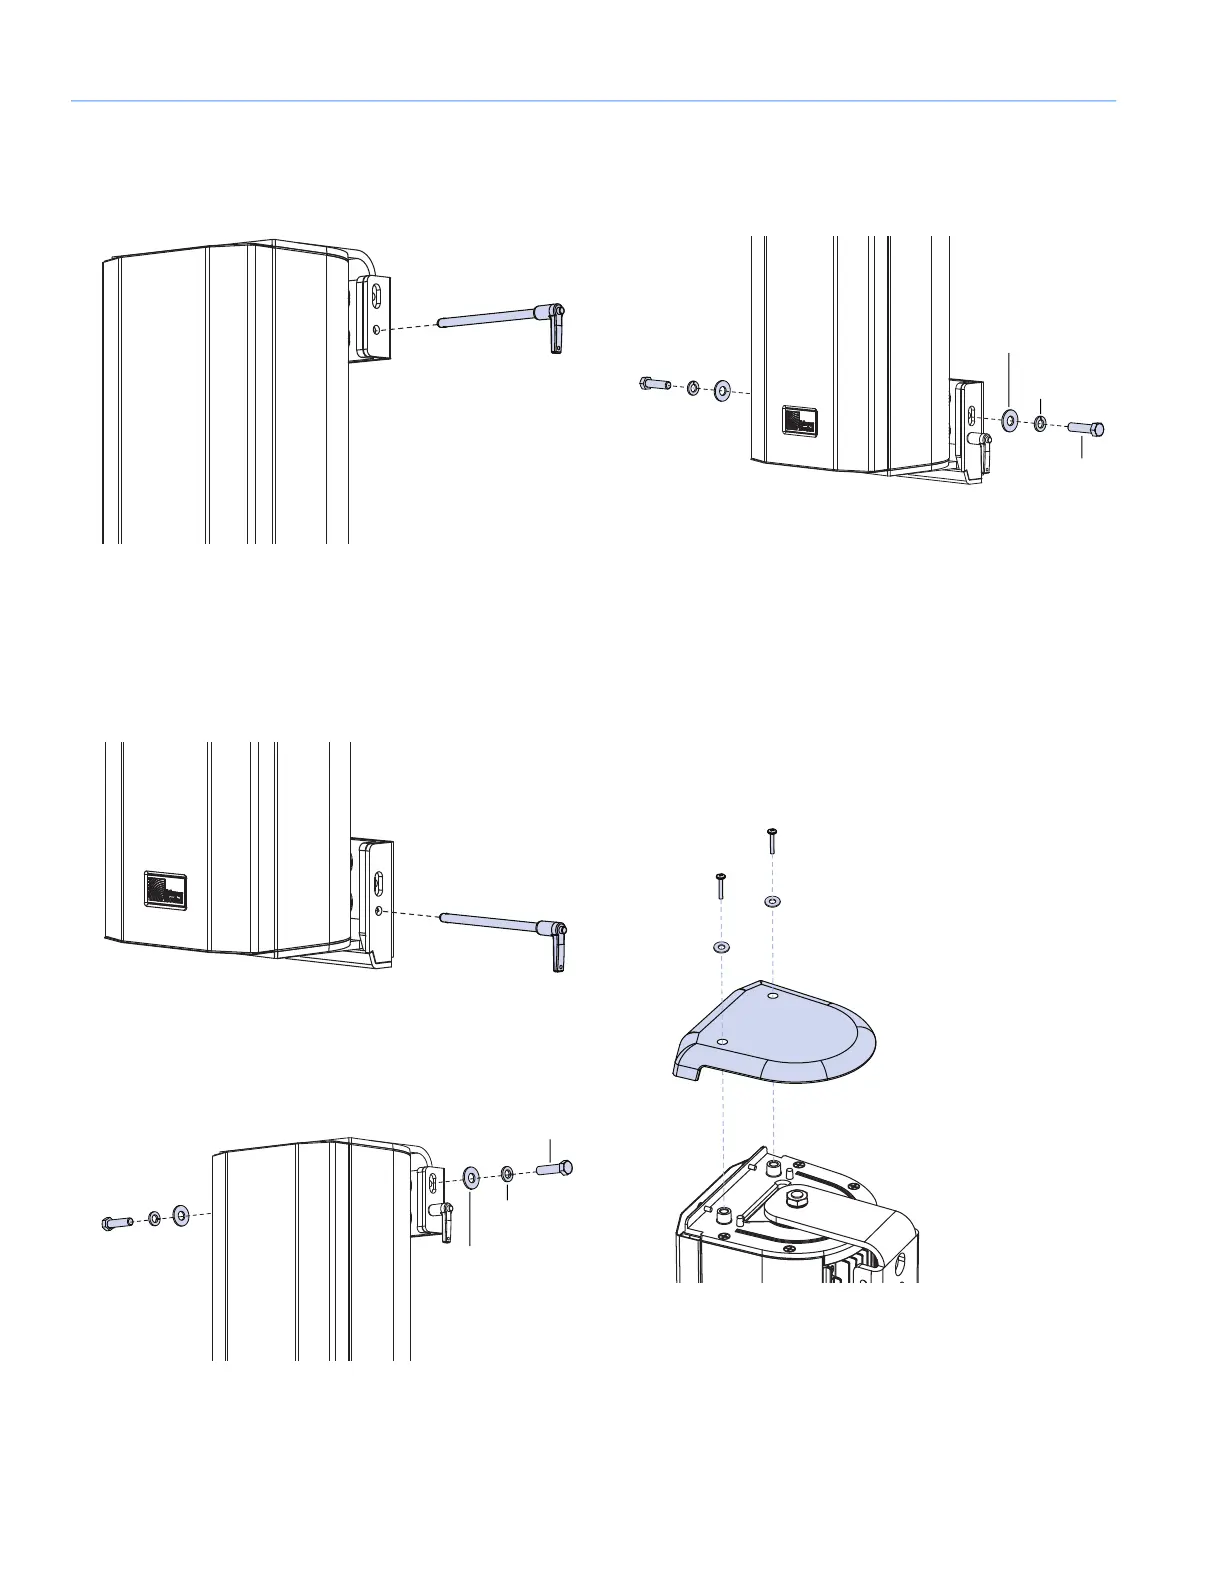
• Insert the included quick-release pin into the round
screw hole of the bottom loudspeaker bracket (either
side). The quick-release pin holds the loudspeaker in
place. Ensure the quick-release pin is completely
inserted and cannot be removed without depressing
the release button.
• Secure the top of the loudspeaker with the included
3/8"-16 hex screws, lock washers, and flat washers
(both sides).
• Secure the bottom of the loudspeaker with the
included 3/8"-16 hex screws, lock washers, and flat
washers (both sides).
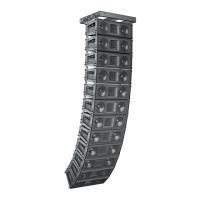
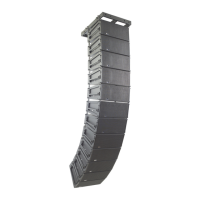
4. Rotate CAL left or right to position its horizontal
dispersion for the desired coverage.
5. Fully tighten the hex nuts securing the top and bottom
loudspeaker brackets. Meyer Sound recommends
applying Loctite and using a torque value of 30 in-lb
(40.5 N·m). Attach the end caps to CAL:
• Align the top end cap (the one without the drainage
slot) with the top screw holes and secure the end cap
with the included 10-32 x 1-inch pan head screws
and washers.
Quick-
release pin
Quick-
release pin
Lock
washer
Flat
washer
3/8-inch-16 hex screw
3/8-inch-16
hex screw
Lock
washer
Flat
washer
10-32 x 1-inch pan
head screws and
washers
 Loading...