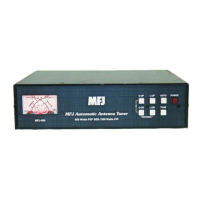
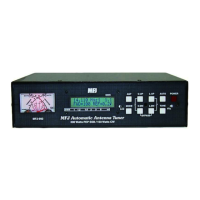
MFJ-993B IntelliTuner Automatic Antenna Tuner Instruction Manual
2005-2012 MFJ Enterprises, Inc.
8
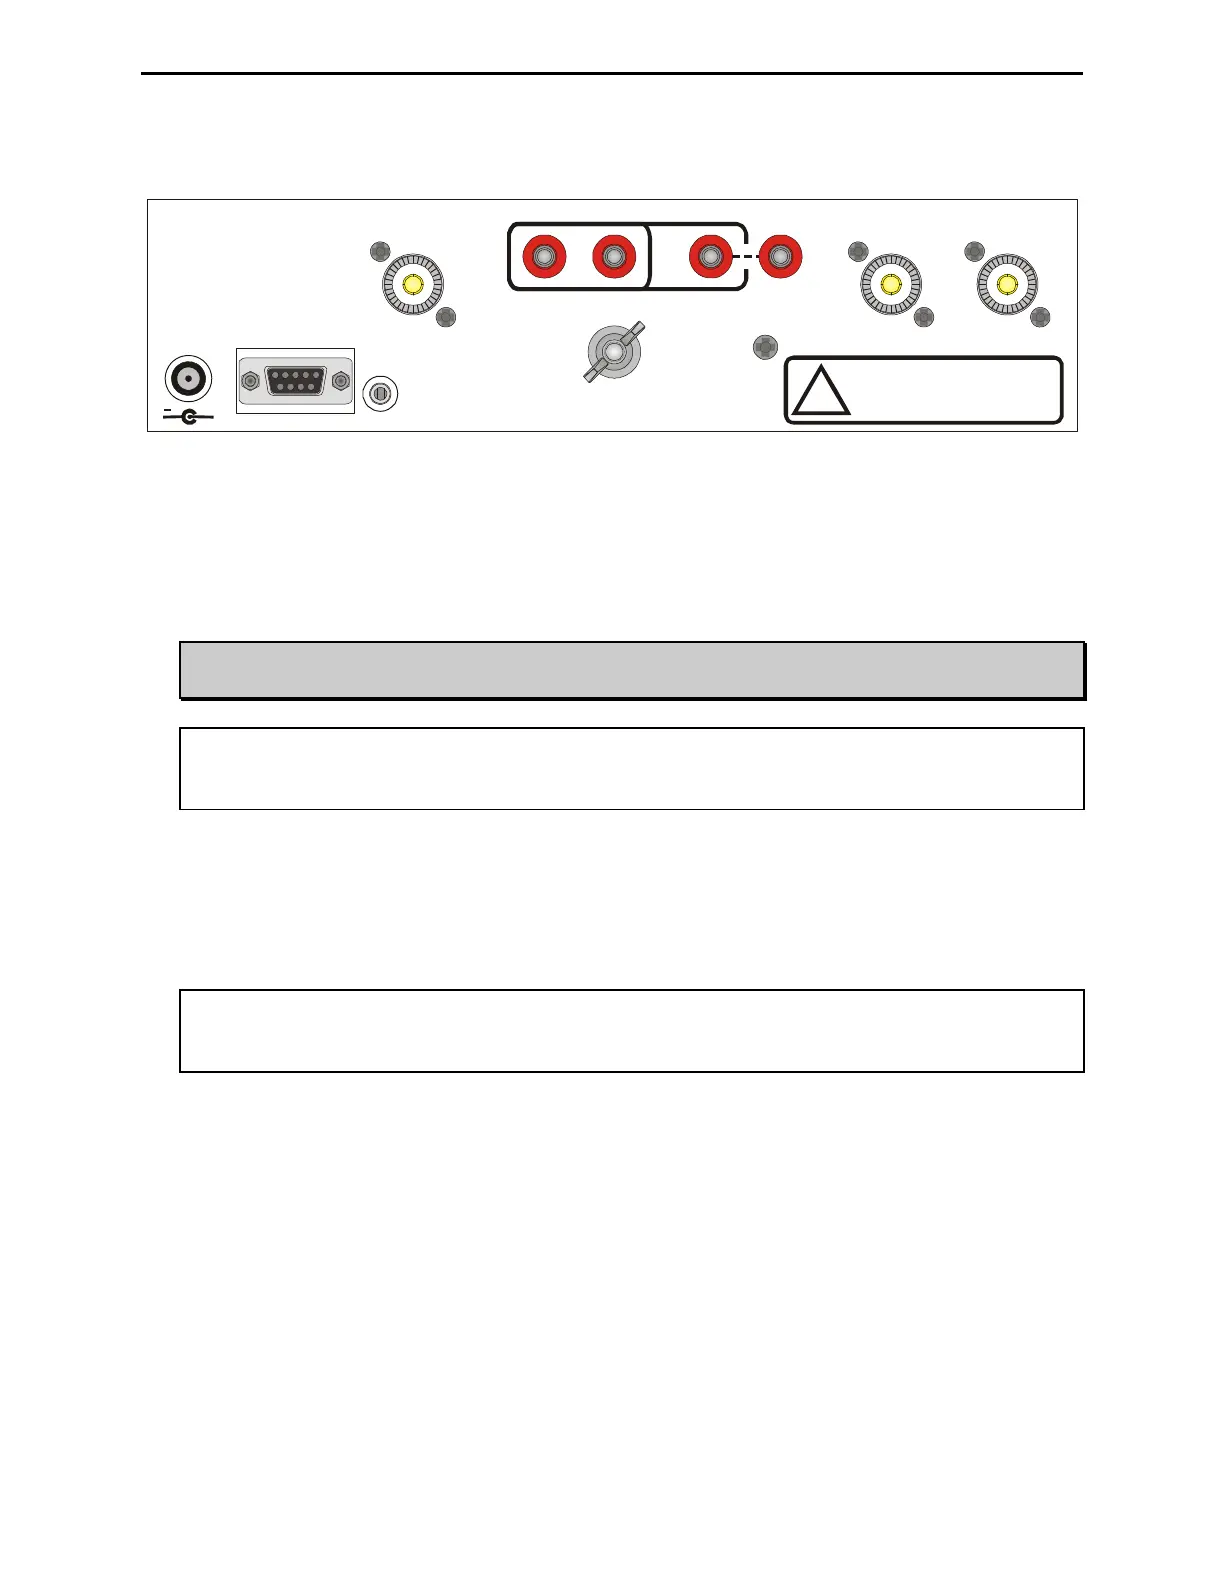
Back Panel
RADIO
INTERFACE
+
POWER
12VDC
1A
REMOTE
PORT
ANTENNA 1 ANTENNA 2
TRANSMITTER
BALANCED LINE
GROUND
WIRE
MFJ ENTERPRISES, INC.
STARKVILLE, MS USA
!
Do not connect WIRE and
ANTENNA 1 at same time!
Install Jumper When Using
BALANCED LINE Antenna
*
*
Figure 4. MFJ-993B Back Panel.
• Power: This jack accepts a standard 2.1 × 5.5 mm coaxial plug with positive center and negative
sleeve. The tuner requires 11-15 volts DC at up to 1 amp. The use of a regulated supply is not
mandatory but is recommended for best performance. An optional 12 volts DC 1.5 amp power
supply, the MFJ-1316, is available from MFJ Enterprises, Inc.
WARNING: Do not apply voltages greater than 18 volts to this unit, or permanent damage
may result.
Note: When the tuner power is OFF, the tuner is bypassed and RF from the transmitter goes
directly to the antenna (ANTENNA 1) with no matching. When turned on, the tuner
powers up in bypass mode.
• Remote Port: A female DB-9 connector for connecting to the MFJ-993RC Remote Control,
allowing remote operation of the tuner. The MFJ-993RC duplicates all the front panel buttons except
[POWER] and [MODE]. In addition, there are two LEDs on the remote control. The red Tuning
LED lights to indicate tuning is in progress and the green SWR LED lights when the SWR is below
the target SWR.
Note: To use the MFJ-993RC remote control, both the [ANT] and [AUTO] buttons on the MFJ-
993B automatic tuner must be locked in; otherwise, Antenna 1 and Automatic mode are
selected.
• Radio Interface: A 3.5 mm stereo phone jack for connecting to the tuner interface connector of
compatible radios. Most radios provide +13.8 VDC power through the tuner interface connector. If
separate power supplies are used to power the MFJ-993B, the MFJ-993B should be powered on first
(for certain radios,
TURN ON RADIO will display and both needles will bounce) so the radio knows
an external tuner is attached. The radio will disable its internal tuner if it has one, and use the MFJ-
993B external tuner.
The Radio Interface works with radios that are compatible with Alinco EDX-2, Icom AH-3 and AH-
4, Kenwood AT-300, and Yaesu FC-30, FH-1 and FH-2. When connected to a compatible radio,
simply press the [TUNER] or [AT] button on the radio; for FH-1 or FH-2 compatible Yaesu, press the
[TUNE] button on the tuner to start the automatic tuning process. The radio will automatically switch
to CW mode, transmit a low power (typically 10 watts) carrier, and start the tuning process. Once the
automatic tuning is completed, the radio will return to its previous mode and power setting.