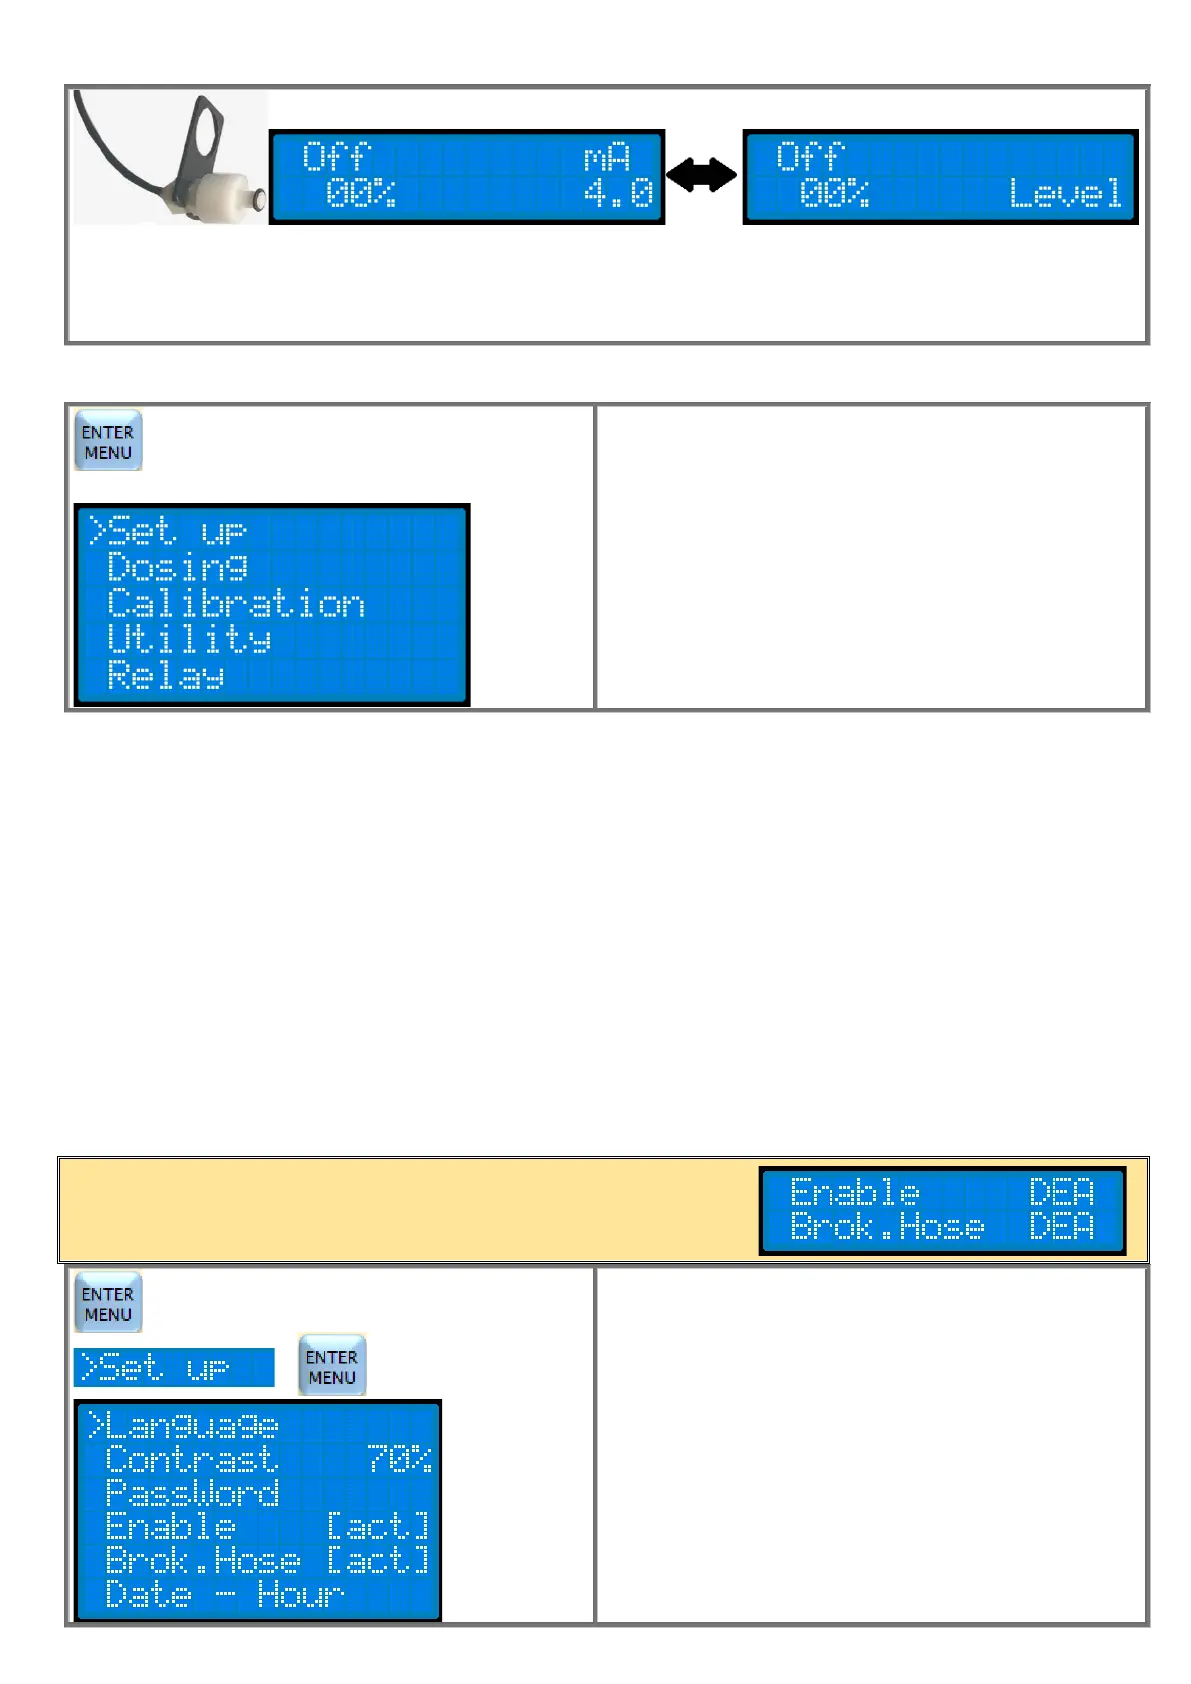
LEVEL PROBE CONTROL (OPTIONAL)
The closing of the level input dry contact will cause:
1) the dosage stops
2) the green ON led blinks
3) the display shows alternatively “Level” and the actual dosing mode (flowrate is 0%).
When the level contact gets opened again, the pump returns to working mode compatible with the actual inputs.
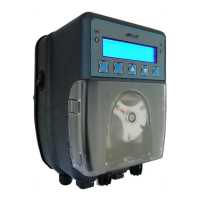
STRUCTURE OF THE MAIN MENU
Press the ENTER / MENU button for 3 seconds to enter
programming.
Use the ▼ button to move the cursor to the relevant
submenus. Press ENTER to enter the submenu.
If you want to esc programming and return to measurement,
press the ESC button for 3 seconds.
The Set up menu allows choosing:
The Language, the display contrast, the safety Password, the activation or deactivativation of the Enable input (dosing
enable), the activation or deactivation of the peristaltic hose breaking sensor and Date and Time
The Dosing menu allows choosing:
the type of dosing among Manual, mA, Pulses, ppm, Quantity, Timer Dos and Timer.
The Calibration menu allows:
To calibrate the flow rate or select it from the label on the pump box.
The Utility menu allows choosing:
to schedule or not the Delay On and to Restore the factory programming parameters.
The Relay menu allows choosing:
the operation of the alarm relay (N.O or N.C), whether to include or exclude from the relay signal the various types of alarm
(Delay On, Level, Enable, Brok.Hose, Stby).
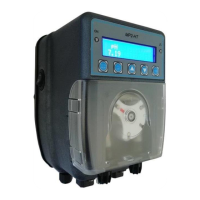
MENU SET UP
Press the ENTER/MENU button for 3 seconds to enter
programming.
Select by the cursor the menu SET up and press ENTER.
Use the ▼▲ buttons to move the cursor to the submenus.
Press ENTER to enter the submenu.
If you want to esc programming and return to measurement,
press the ESC button for 3 seconds.
IMPORTANT NOTE:
Enable and Brok. Hose sensor are optional. If on your pump they are
not present you can not access the respective submenus and in the
menu will appear: