15
Comment
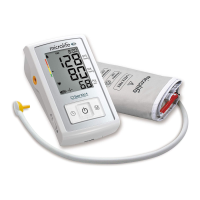
If it is not possible to fit the cuff to your left arm, it
can also be placed on your right arm. However, all
measurements should be made using the same
arm.
Comparable blood pressure measurements always
require the same conditions (relax for several min-
utes before a reading).
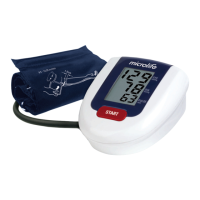
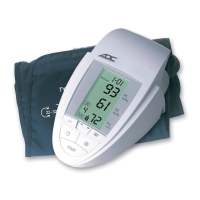
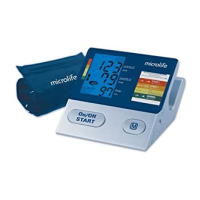
5.4. Measuring procedure
After the cuff has been appropriately positioned
the measurement can begin. Remain still during
your measurement, do not flex muscles.
a) Remain seated quietly for 5 minutes before you
begin the measurement.
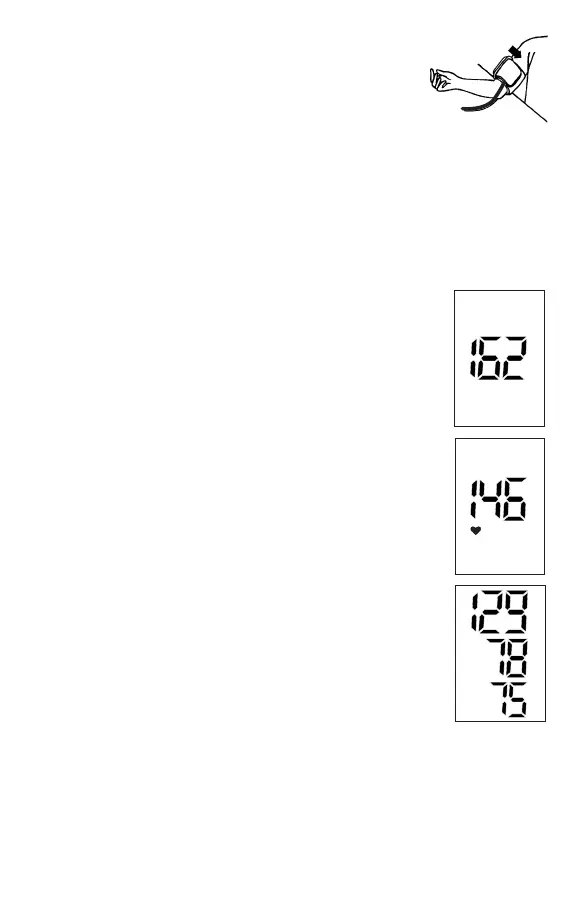
b) Press the START/STOP button. After a series of
short beeps, the pump begins to inflate the cuff.
On the display, the increasing cuff pressure is
continually displayed.
c) When the device has detected your pulse, the
heart symbol in the display begins to blink.
d) After automatically reaching an individual
pressure, the pump stops and the pressure slowly
falls. The cuff pressure is displayed during the
measurement.
e) When the measurement has been concluded, the
air will automatically release from the cuff. The
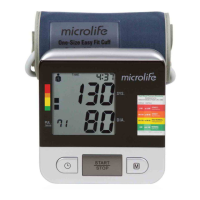
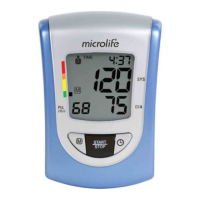
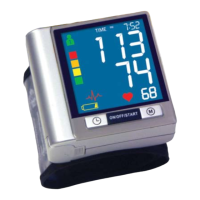
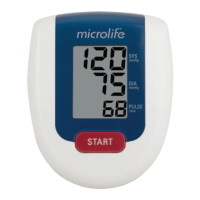
measured systolic and diastolic blood pressure
values, as well as the pulse, are now displayed.
f) The measurement results are displayed until you
switch the device off. If no button is pressed for
1 minute, the device switches off automatically.
Cuff on
right arm
Measuring
Pumping
Pressure
Measurement
complete
Systolic
Diastolic
Pulse
 Loading...