Transporting the instrument
When mounted to a reagent bottle, always carry
the instrument as shown and always store it in the
upright position.
(Fig. 10.9)
Fig. 10.9
20
Computer Connectivity
Insert the pen drive provided with the package in your PC/Laptop for
driver files and software.
Please note that there are two set up files in the pen drive.
CDM21228
E-Burette Setup Files
Procedure to install the driver & software:
Installing the CDM21228 driver files:
11.
•
•
1.
I.
II.
Fig. 11.2 Fig. 11.1
Double click the CDM21228 setup icon.
(Fig. 11.1)
Press the Extract tab from the
FTDI CDM driver window.
(Fig. 11.2)
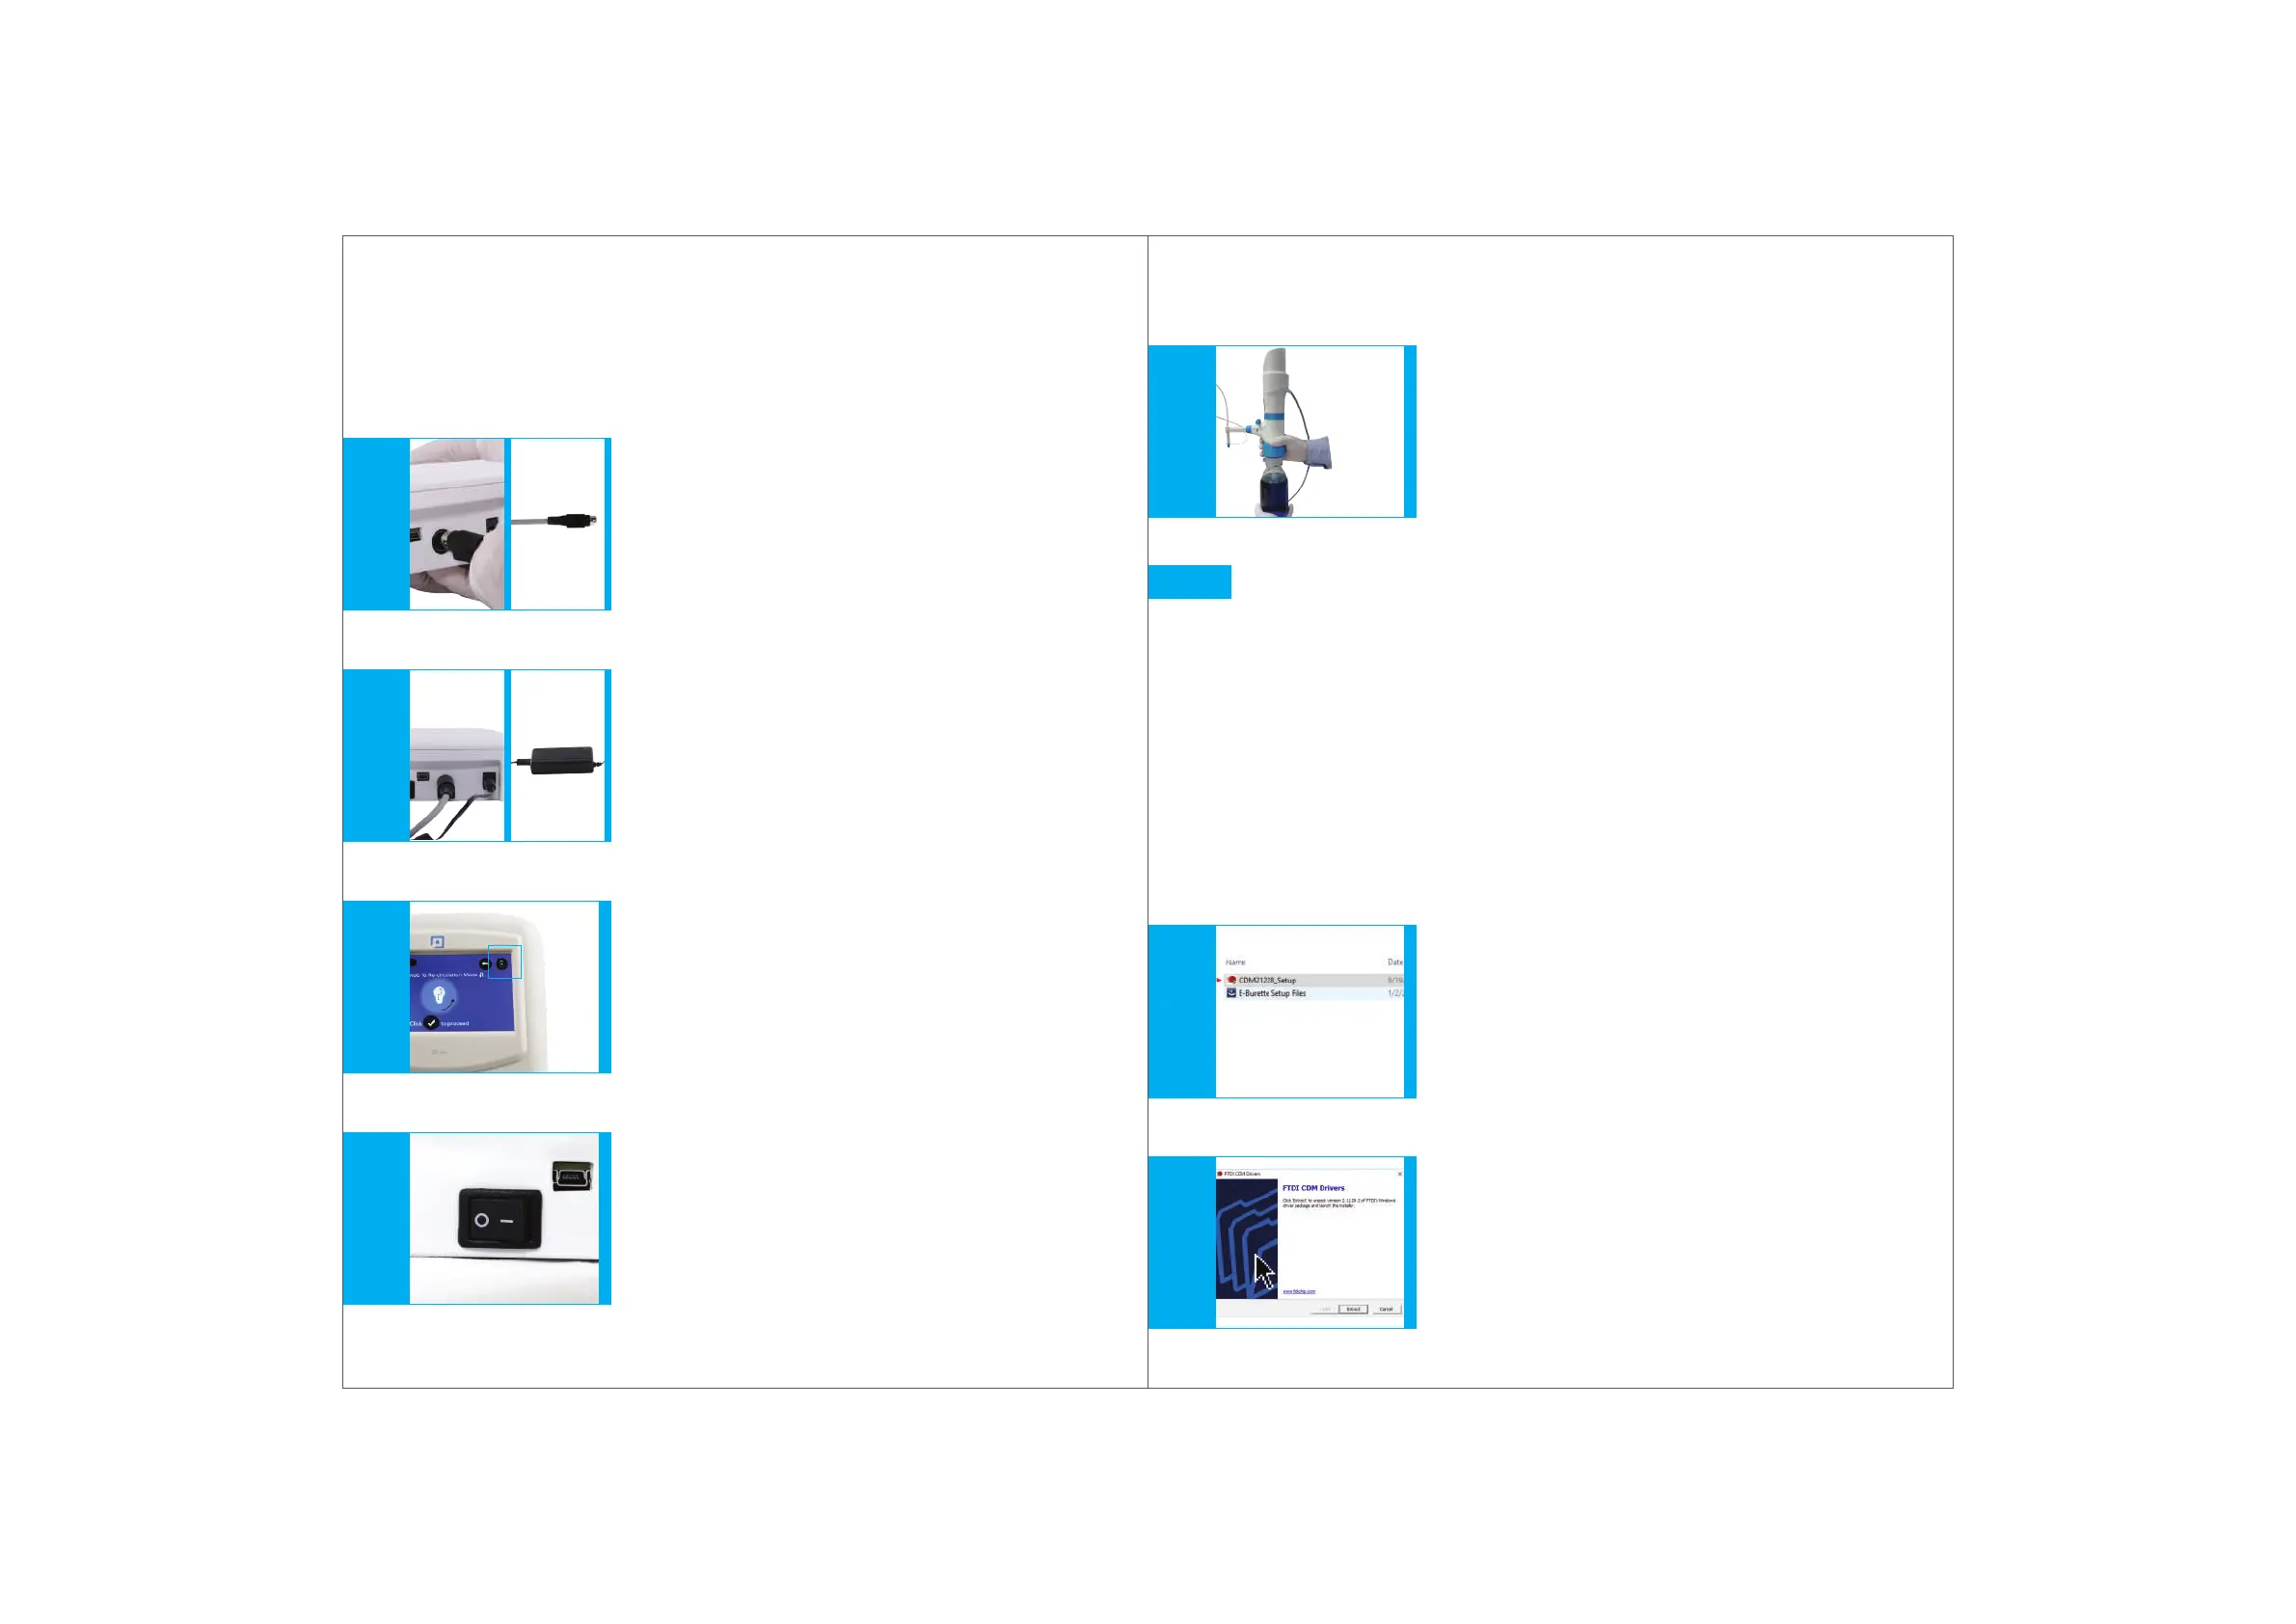
Mount the instrument. Screw it to the reservoir by applying gentle hand torque
applied to the threaded platform base only. In case of removal, apply the same
technique to the base, in the opposite direction.
5.
6.
7.
8.
9.
Connect the cable from the instrument housing to the
port at the back of the control panel with a firm push,
as shown. Check for the cable position.
The flat surface of the connector with an arrow mark
will face down.
(Fig. 10.5)
Fig. 10.5
If charging is required, insert the charging pin at the
back of the control panel and connect the
power cord with the AC adaptor firmly and
then plug the two pin power cord to the
220 V power supply.
(Fig. 10.6)
Fig. 10.6
The battery indicator will show the charging symbol.
(Fig. 10.7)
Fig. 10.7
The E-Burette is now ready to be switched on.
Press the ON button (of the ON/OFF button) at the
back of the control panel to switch on the control panel.
(Fig. 10.8)
Fig. 10.8
19