Data Transfer Setup
Connecting the USB Mini Cable
Software Initialization
13.
1.
2.
1.
29
Fig. 13.1Fig. 13.2Fig. 13.3
Connect the Mini USB cable from the control panel to
your PC/Laptop for transferring and storing the control
panel’s data on the latter.
(Fig. 13.1)
Insert the wider end of the USB cable in the USB port
of the PC/Laptop and the smaller end at the back of
the control panel.
(Fig. 13.2)
Double click on the Microlit Communication icon
to run the software.
(Fig. 13.3)
30
The readings will also be saved in the internal memory.
Please note that all fields are captured in the file.
2.
3.
4.
5.
6.
Fig. 13.4Fig. 13.5Fig. 13.6Fig. 13.7
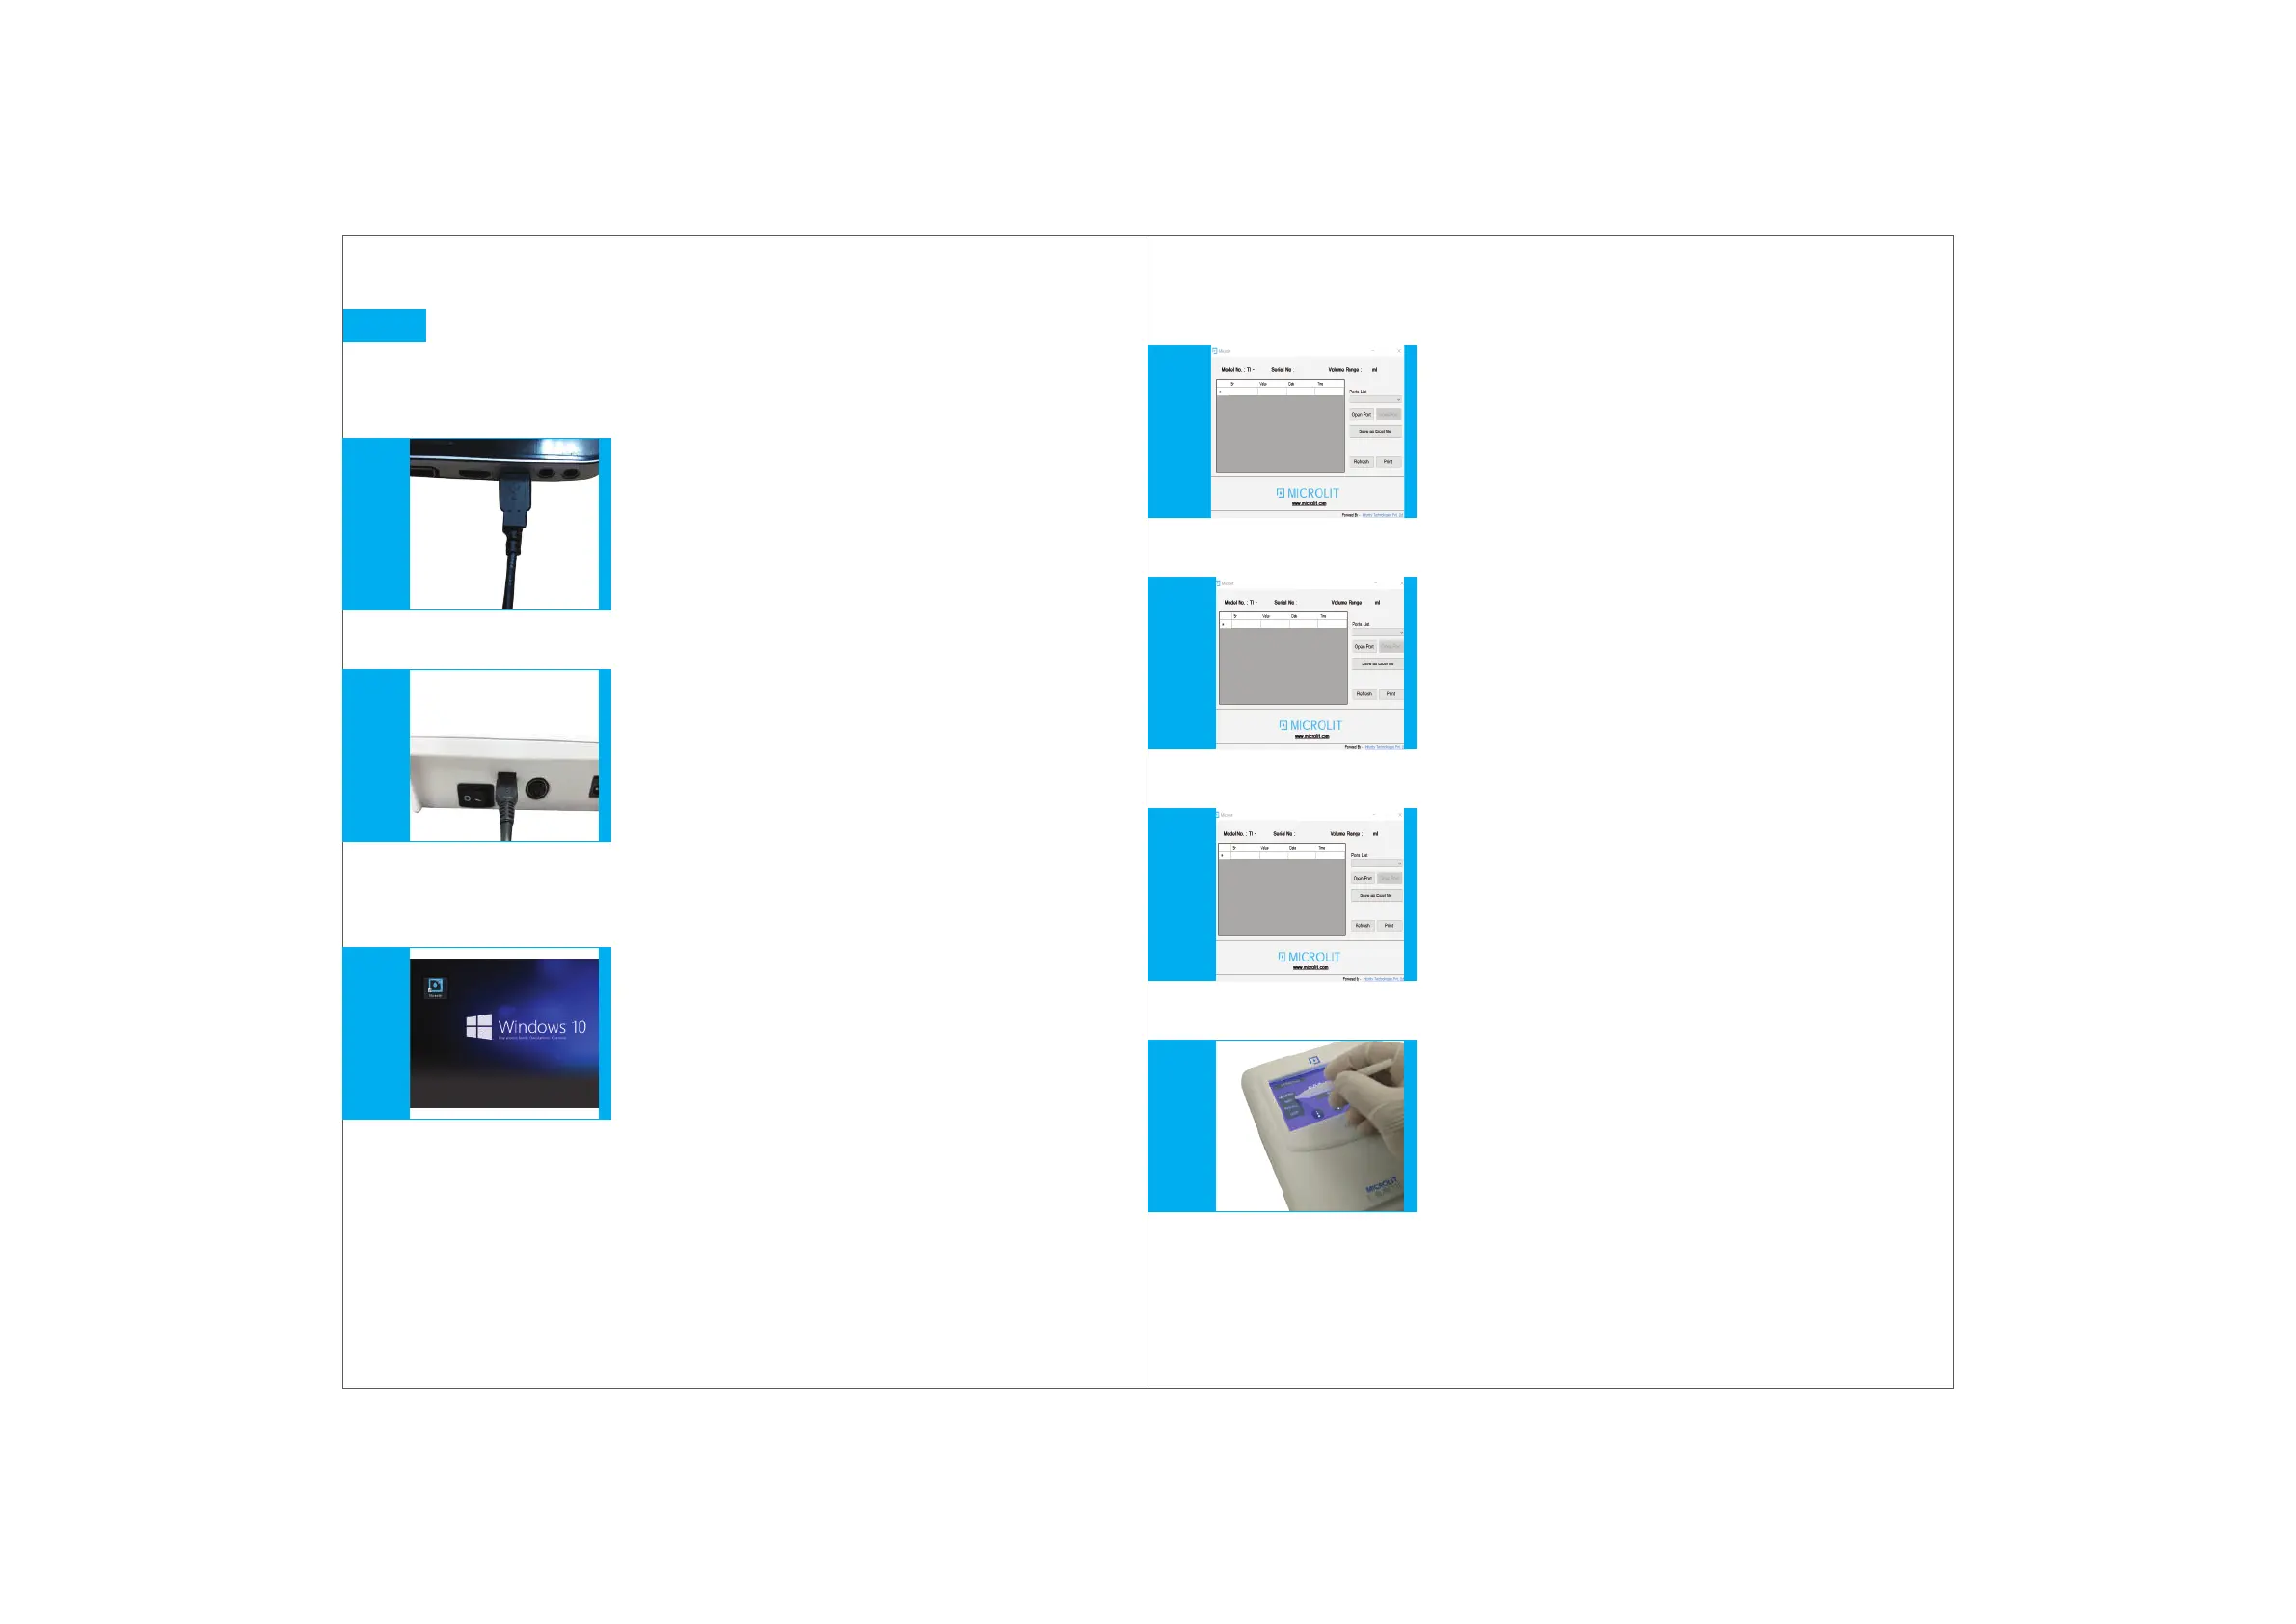
From the Ports List button, select the port from
the drop down menu.
(Fig. 13.4)
Click on OPEN PORT.
(Fig. 13.5)
The window will capture the model number,
serial number and the volume range of the E-BURETTE.
(Fig. 13.6)
Click ADD from the control panel to save the readings
from the control panel to the PC/Laptop.
(Fig. 13.7)
Note:
The ADD button shall blink and the data shall be
transferred to the PC/Laptop.