VacPrep 061 Calibrating the Vacuum Gauge
Feb 2013 1-13
Calibrating the Vacuum Gauge
The vacuum gauge on the VacPrep 061 was calibrated and tested at the factory using a 115 V,
60 Hz electrical supply. When powered by other voltages and frequencies, the gauge must be
recalibrated. The calibration procedures are briefly described below and on the following
page. For additional information about vacuum gauge calibration and theory of operation,
refer to the manufacturer’s instruction manual, which is shipped with the VacPrep 061.
1. Place the degasser power switch in the ON (|) position.
2. Turn all VACUUM/GAS control knobs to the OFF (O) position.
3. Place the power switch for the attached vacuum pump in the ON position and allow the
pump to run for at least two hours.
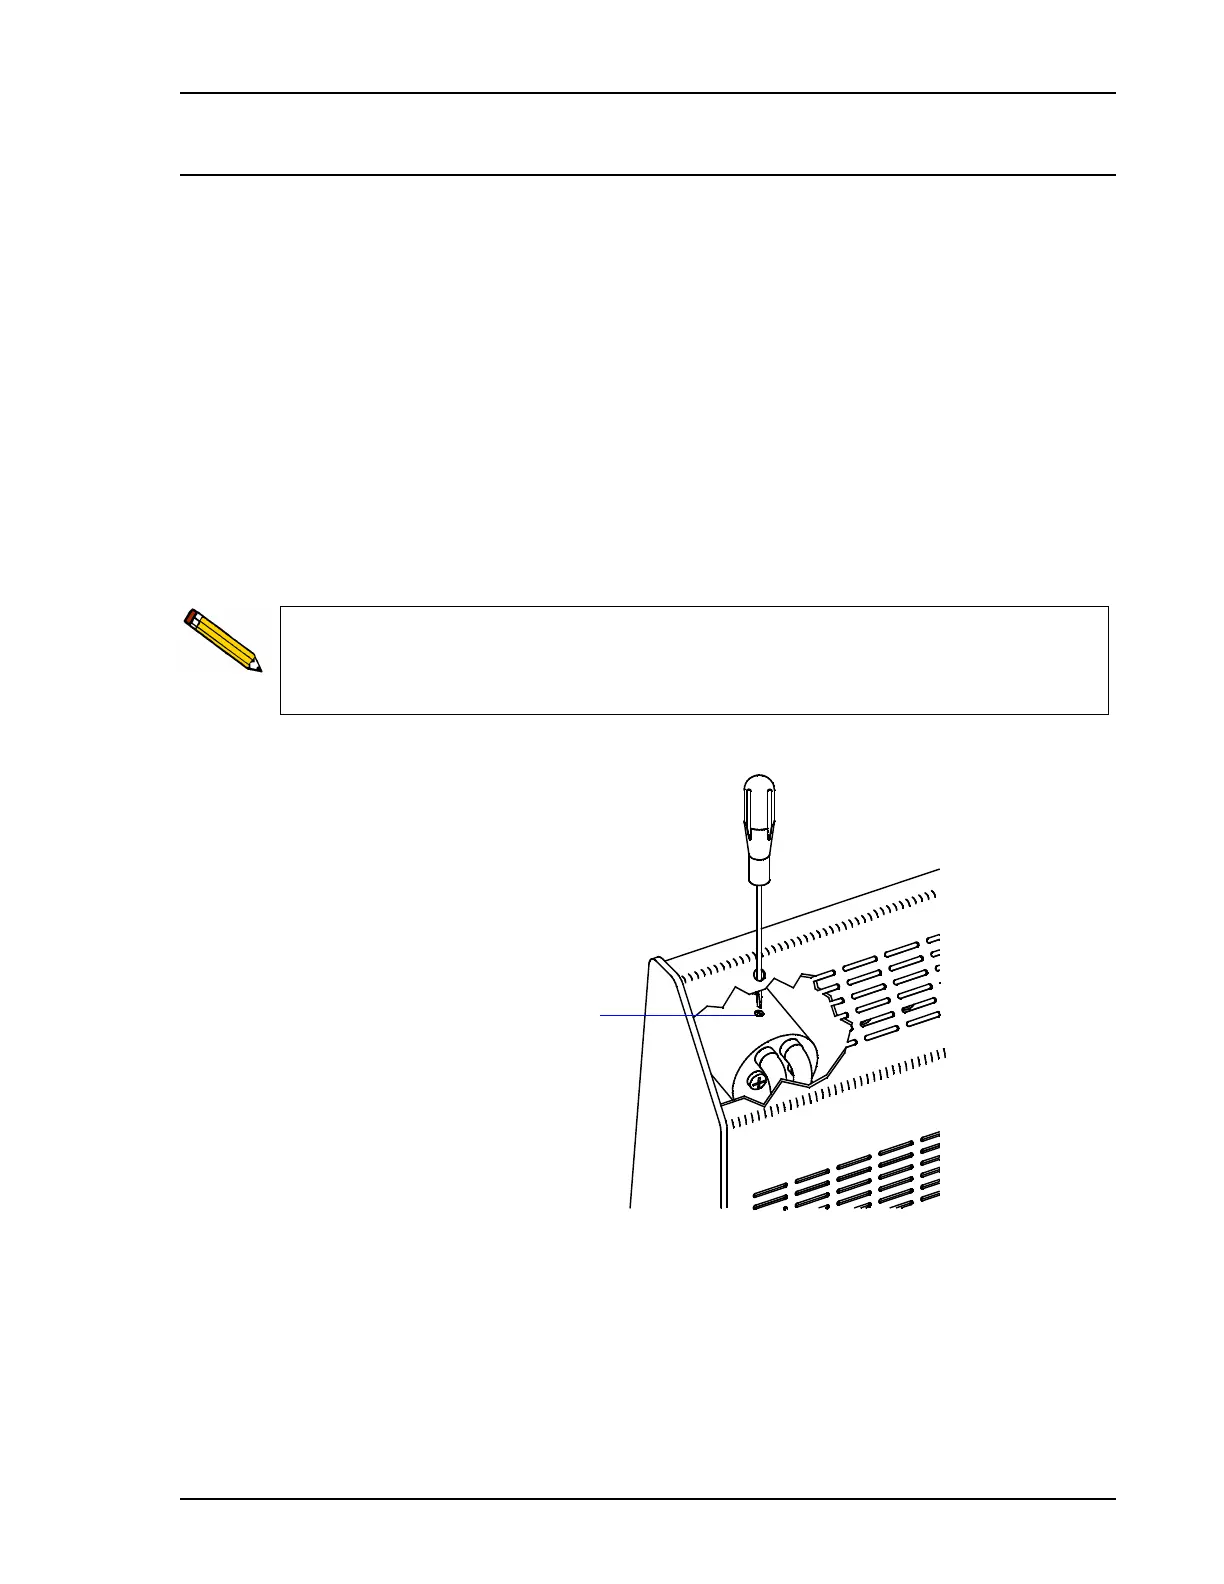
4. Insert the small, flat-blade screwdriver (included in the VacPrep 061 accessories kit)
through the opening on the back of the degasser and into the slot on the adjustment screw.
5. Turn the adjustment screw to obtain a reading on the vacuum gauge that matches the
pressure level achieved by the vacuum pump.
To confirm the accuracy of the vacuum pump gauge, attach an independent gauge to
the end of your vacuum pump hose. Most good quality vacuum pumps can achieve a
vacuum of less than 10 millitorr (10 mHg). A better vacuum may be obtained for
calibration purposes by using a sorption pump, described in the next section.