VacPrep 061 Sample Preparation
Feb 2013 2-15
Vacuum Preparation
The vacuum preparation method should be used only with materials which are not likely to
fluidize.
1. Turn all VAC/GAS control knobs to the OFF position. Ensure that the vacuum pump is
turned on and that gas is being supplied to the degasser.
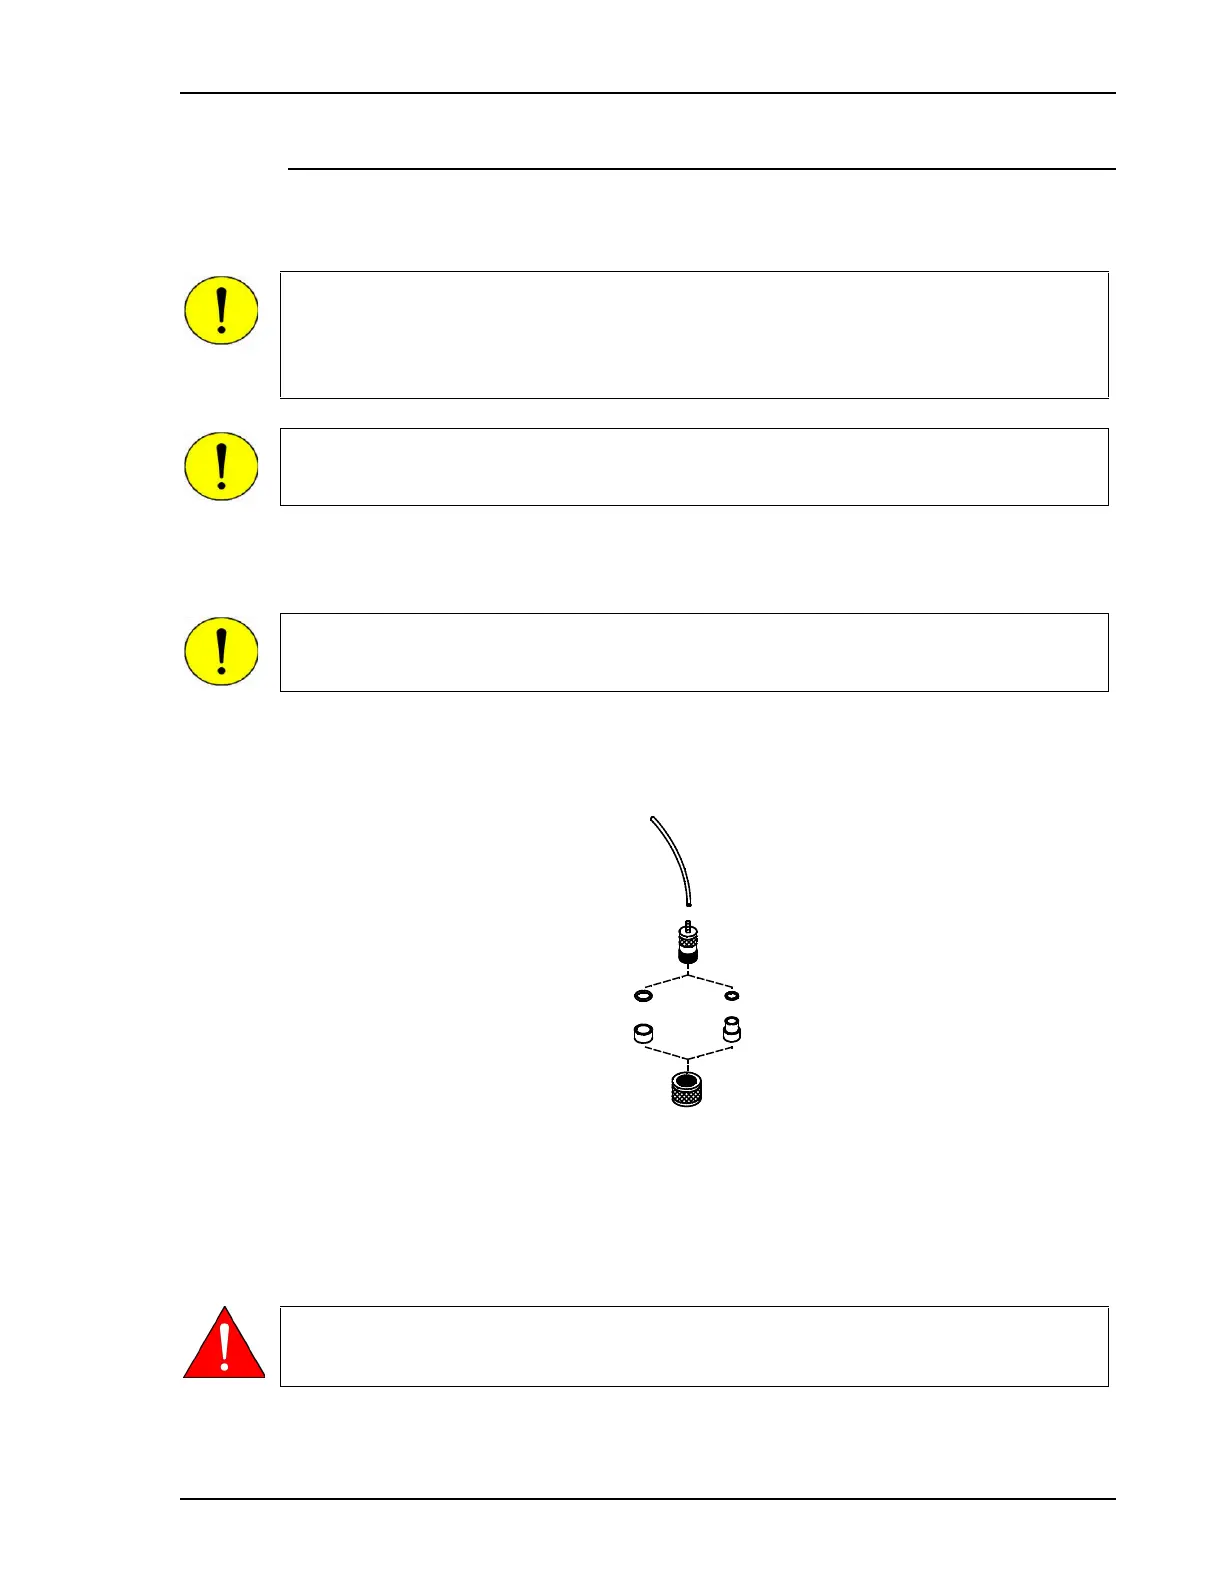
2. Attach a vacuum fitting to each piece of flexible tubing at a degas station to be used for
sample preparation.
3. Place the degasser power switch in the ON ( | ) position.
4. Set the temperature controller by pressing (to increase) or (to decrease) the
temperature set point. The set point is the value displayed to the right of SV (Set Value) on
the lower line of the controller.
Some fine-powdered samples such as controlled pore glass, fluid-cracking catalysts,
and carbon may be difficult to prepare by vacuum preparation. Such materials tend to
fluidize and float up the sample tube toward the vacuum source. Micromeritics
recommends that such samples be first prepared by flowing gas preparation and, if
necessary, then be subjected to vacuum preparation.
If sample has been accidentally sucked into the instrument, follow the instructions for
cleaning and replacing vacuum fittings in Chapter 3.
When the VacPrep leaves the factory, stabilizing tubes are placed in heating stations 1
and 6 to prevent the heater block from shifting during shipment. Be sure to remove
these tubes before turning on the VacPrep.
1/2-in. or 12mm
O-ring and ferrule
(for 1/2-in. or
12 mm sample
tubes)
3/8-in. or 9mm
O-ring and ferrule
(for 3/8-in. or 9mm
sample tubes)
Fitting
Nut
Heat is supplied to all six heating stations; to prevent burns, keep your hands away
from the interior of the heating stations.