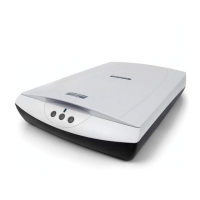
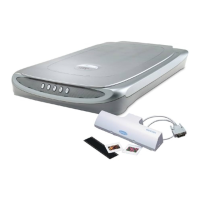
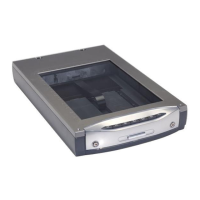
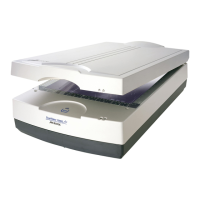
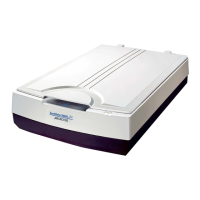
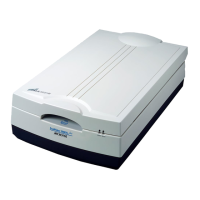
Scan-to-Web button
1. Make sure that you are connected to the Internet and you have
already registered/sign-in for a free photo-sharing account from a
Microtek provided website, before pressing the Scan-to-Web button
on your scanner.
2. Press the Scan-to-Web button on your scanner -- this will
automatically scan, save the scanned image to file, connect, and
instantly upload it to your Photo-sharing website – fully based on the
MSC settings. The saved images are stored in your local disk. You can
also retrieve the saved images by double-clicking the default folder
icon labeled "My Images" on your Windows desktop.
3. To upload another image or several images using the same setting,
press the Scan-to-Web button again. Repeat this until all the photos
have been uploaded to your web album, or until you need to specify
new settings for the next job. Note that all uploaded photos are
automatically saved in your hard disk before they are sent to website.
4. To customize the parameters for the Scan-to-Web button, specify
your settings (Web Site, Purpose, Scan Frame, Filename, File Format
etc.) under the tab "
To Web" of this MSC utility.

 Loading...
