- 16 -
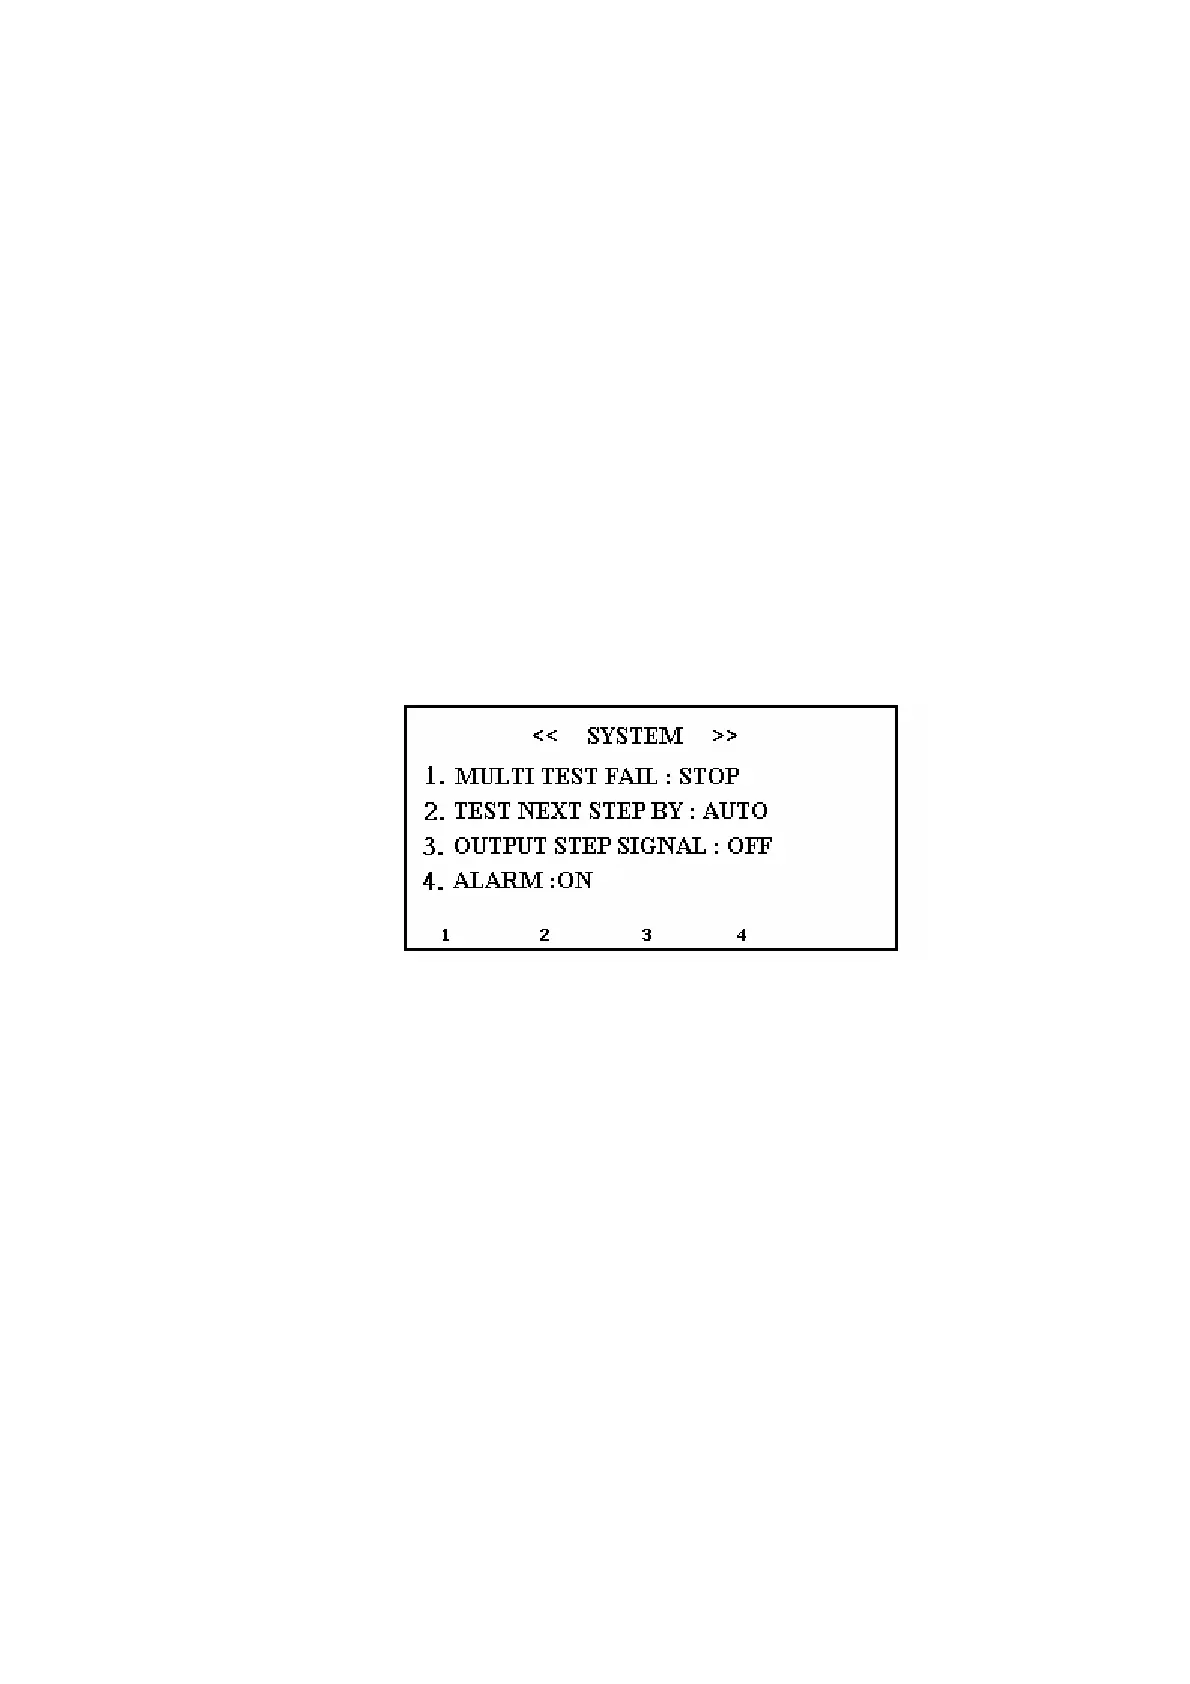
products are detected. On the other hand, when status is set to CONTINUE, the tester
will complete the whole test procedure even NG products are tested.
2nd option: The multi-test setting for next step. Press S2 button to change status
between TEST KEY and AUTO. If TEST KEY were selected, the test button should be
pressed before proceeding to the next test step. Conversely, AUTO will automatically
complete all test steps without pressing any test key.
3rd option: The multi-test setting for signal display. Press S3 to change status between
YES and NO. For YES, the tester will display pass or fail signals on the screen when
ending each step. For NO, all signals won’t display until all test steps are completed (if
any unqualified product in any step were detected, .the final judgment would be NG.)
4th option: Alarm setting. Press S4 to change status between ON and OFF. If the status
is ON, the buzzer and FAIL light will be turned on when NG products are detected.
Otherwise, if the status is OFF, buzzer will be switched off when NG products are
detected, but the FAIL light still workable.
Figure 14
(6) EXIT button: Press this button in any mode to exit setting display, and back to the
previous display or standby status.
(7) ENTER button: To confirm the input data.
(8) Keyboard Lock:
When turning on the tester and getting into the turning-on page, press ENTER and the
screen will display KEY LOCK: ON to lock keyboard. In the same way, one can unlock
the keyboard by RESET the tester and redo the procedure. When keyboard is locked,
one cannot edit data, but the test functions are still workable.