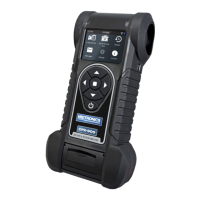
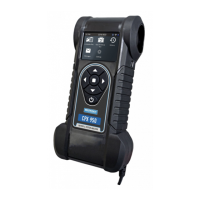
CPX-950
www.midtronicseurope.com
Midtronics BV Hoofdveste 6-8 3992DG Houten
20
21
7 – Settings
8 – Maintenance & Troubleshooting
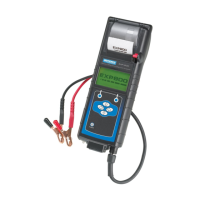
CPX-950
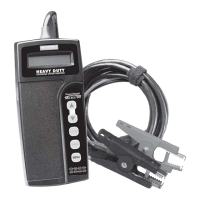
Tester Cables
The test cables that come with your analyzer are consumable items. Cables are like tires in that
the more you use them and the harder you drive them, the shorter their useful life. Here are a few
things you can do to protect your test cables from damage and premature wear:
Cleaning Clamps
• The grease, dirt, and sulfation that build up on battery terminals are highly corrosive and can
damage the clamps over time. Before connecting the clamps, ensure accurate test readings
and protect the clamps by cleaning the battery case and terminals using a wire brush and a
mixture of water and baking soda.
• Periodically clean the clamps using a mixture of baking soda and water, or a mild hand-soap,
and a small bristle brush.
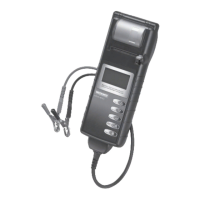
• To protect the clamps from oil and dirt, clip them to the back of the analyzer as shown.
Handling Test Cables
• Always connect and disconnect the clamps to the battery by opening and closing the clamps.
Never pull on the test cables to remove the battery clamps. Pulling can damage the Y-junc-
tion, the cables, and the clamps to the extent that the analyzer may produce lower-than-
expected conductance readings or fail completely.
• Never carry the analyzer by the cables. Carrying the analyzer or swinging it by the cables puts
unnecessary strain on the cables and can result in premature failure. Handle the analyzer with
care to get the maximum use from the product.
Storing Test Cables
• Never wrap the cables around the analyzer; this puts unnecessary strain on the test cables.
Because the test cables are the “tires” of the analyzer, they have a certain life expectancy and will
wear out eventually. However, the abuse examples cited above are not covered under warranty. To
ensure the best performance and longest life of the test cables, attach and remove them with care,
and carry the analyzer and cables together.
If an inspection or a change in test results indicate that the test cables need to be replaced, contact
a Midtronics Service Center near you..
Testing The Cable Set
If the analyzer frequently displays CLAMP ERROR! there may be an intermittent open circuit along
one or both of the battery test cables. You can check the circuit with a simple test. The test requires
an ohmmeter and a wire or paper clip if the ohmmeter probes are too large to insert into the pin
holes. You will also need to a pencil or plastic marker to keep the clamp jaws apart.
Test Procedure
You are testing the continuity of the following end points:
• The positive (RED clamp jaw without teeth and its corresponding pin hole.
• The positive (RED) clamp jaw with teeth and its corresponding pin hole.
• The negative (black) clamp jaw without teeth and its corresponding pin hole.
• The negative (black) clamp jaw with teeth and its corresponding pin hole.
1. Grip a pencil with the clamp as shown in the gure Contacts for Clamp Jaws. Do not grip the
metal part of the pencil or any area that may conduct current.
2. Insert a probe tip into the hole designated “NO TEETH” for the color (BLACK or RED) of the
clamp you are testing as shown in the gure “Contacts for Cable Connector.”
8 – Maintenance & Troubleshooting
Network settings
WiFi
Not connected /
Connected to:
If the tester is not connected to a network: "Not connected"
If the tester is connected to a network: "Connected to:
[networkname]"
Automatic The tester searches for any detectable WiFi networks. A list of
detected WiFi networks is then displayed on the tester screen.
Manual Manually enter Security, SSID, Password, Encryption, and WEP Keys.
Problem: Tester does not detect/cannot access a wi network:
• Conrm the selected WiFi network can be detected by a another device such as a
phone or laptop.
• Perform network connection test using a mobile hotspot or temporary open network
(may require IT assistance). If the tool connects to a mobile/temporary network,
continue troubleshooting network. If the tool does not connect to temporary network,
troubleshoot device with Midtronics.
• Conrm the selected WiFi network is enabled to support 802.11 b/g/n radios over a
2.4Ghz network. Many WiFi network connectivity issues can be resolved by cycling the
router power, even if other wireless clients are still connected. Disconnect the router
from its power source for 30 seconds, then reconnect. Refer to router documentation
for specic instructions.
• Check the location of the router for obstructions like metal or concrete walls. Check the
router antenna for damage or obstructions/interference.
IP addresses
Midtronics connectivity uses the following IP Addresses, which should be whitelisted if
network access is otherwise blocked.
104.43.246.6 40.69.172.106 52.173.199.181
52.173.94.173 52.173.194.249 52.173.19.232