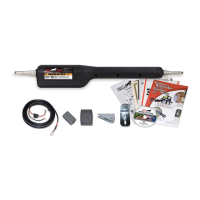
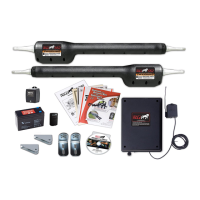
12 MM272 Installation Instructions
2. Check Direction of Gate Swing
The Mighty Mule 272 is designed for PULL-TO-OPEN
installations. PUSH-TO-OPEN installations require two
Push-To-Open brackets [FM148]. Push-to-Open Installation
Instructions begin on page 28.
3. Prepare the Gates
• Gates must be plumb, level, and swing freely on their
hinges.
• Wheels must NOT be attached to the gates.
• The gates must move throughout their arcs without
binding or dragging on the ground.
• Note that gates over 250 lb. should have ball bearing hinges with grease ttings.
• The gate post should be secured in the ground with concrete so it will minimize twist or ex when the opener is activated.
• The addition of a horizontal or vertical cross member (if one is not already in place) to provide a stable area for mounting
the gate bracket is also important.
• Trench the driveway in order to lay PVC conduit for the second opener power cable (see illustration on page 15).
Not rated for use on solid surface gates.
Your Property Your Property
Pull-To-Open
(arm retracts to open)
Push-To-Open
(arm extends to open)
Pull-To-Open
(arm retracts to open)
Push-To-Open
(arm extends to open)
Horizontal Cross Member
Vertical Cross Member
E
A
B
C
DD
F
A – Level D – Posts Secured in Concrete
B – Plumb E – Centerline Mounting
C – Free Swinging F – Good Working Hinges
Gate Grounding (recommended)
• Shorter wire (6 AWG) is better, 1 to 2 feet recommended.
• Bolt ring terminal at end of cable 4 - 6 inches above
ground level.
NOTE: No grounding system absolutely protects against
lightning strikes. If installed correctly, a grounding system
will help minimize damage to your gate opener.
Copper clad ground rod
(not included)
Ground
Ground
2 Inches or
Less above
ground
Copper ground
rod clamp
Copper Single
Conductor Lug
3/16” Drilled
Pilot Hole
6 ft. deep
or more
Metal Gate Post
12awg or Larger
2 ft. or Less
from post