
I
ihernandezSep 10, 2025
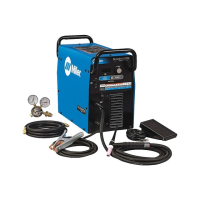
What to do if CB1 opens repeatedly in Miller Welding System?
- SseangonzalezSep 12, 2025
If the CB1 repeatedly opens, causing the Miller Welding System to become completely inoperative, have a Factory Authorized Service Agent check the unit.