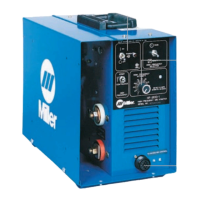
OM-611 Page 19
4-3. Troubleshooting
Trouble Remedy
Unit completely inoperative; Pilot light
Off.
Secure input power cord plug in receptacle (see Section 2-8).
Place Power switch in the On position (see Section 3-5).
Lack of high-frequency; difficulty in es-
tablishing an arc.
Place High Frequency Selector Switch in the correct position (see Section 3-3).
Be sure torch cable is not close to any grounded metal.
Check cables and torch for cracked insulation or bad connections. Repair or replace necessary parts.
Increase setting of High Frequency Intensity Control (see Section 3-4).
Select proper size tungsten (see Section 7-1).
Check spark gaps and adjust if necessary (see Section 4-2).
Wandering arc – poor control of direction
of arc.
Reduce gas flow rate (see Section 2-3).
Select proper size tungsten (see Section 7-1).
Properly prepare tungsten (see Section 7-2 or 7-3).
Increase setting of High Frequency Intensity Control (see Section 3-4).
Tungsten electrode oxidizing and not re-
maining bright after conclusion of weld.
Shield weld zone of drafts.
Check and tighten all gas fittings (see Section 2-3).
Properly prepare tungsten (see Section 7-2 or 7-3).
Replace torch parts if water has leaked into torch.
 Loading...