M
Matthew BowmanAug 7, 2025
What to do if my Miller Welding System has no weld output and the unit is completely inoperative?
- DDeborah MorenoAug 7, 2025
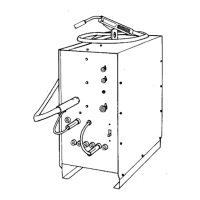
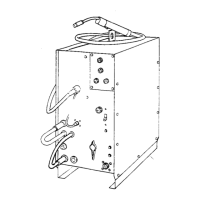
If your Miller Welding System is completely inoperative with no weld output, make sure that the line disconnect switch is in the On position. Also, check and replace the line fuse(s) if needed, or reset the supplementary protector. Ensure the power cord is properly plugged in and the receptacle is receiving input power.