EasyManua.ls Logo

Miller Millermatic 251 - User Manual

Miller Millermatic 251
56 pages
Print Icon
To Next Page IconTo Next Page
Loading...
Processes
Description
MIG (GMAW) Welding
Flux Cored (FCAW) Welding
Arc Welding Power Source
and Wire Feeder
OM-1326 205 654Z
200702
Millermatic 251
R
File: MIG (GMAW)
Visit our website at
www.MillerWelds.com

Table of Contents

Other manuals for Miller Millermatic 251

Questions and Answers

  • O
    odyerAug 21, 2025
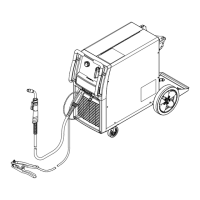
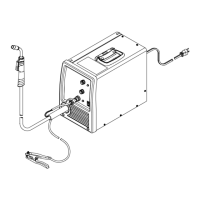
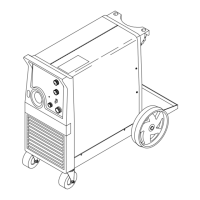
    How to troubleshoot Miller Welding System when there is no weld output and wire does not feed?
    • M
      Mark BakerAug 21, 2025
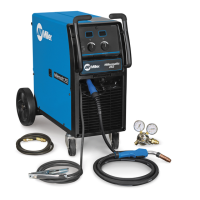
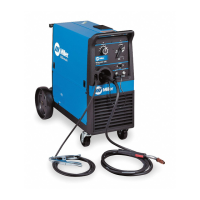
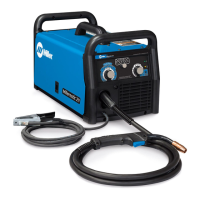
      To troubleshoot a Miller Welding System with no weld output and the wire not feeding, ensure the line disconnect switch is On. Also, replace the building line fuse or reset the circuit breaker if it's open. Secure the gun trigger connections. If HL.P 001 appears, turn the power switch off and on; if the message persists, have a Factory Authorized Service Agent check the unit. If Thermistor T detects overheating, wait for the unit to cool. If HL.P 004 appears, release the trigger or remove any stuck wire causing a short circuit. If the message remains, have an agent check for shorted trigger leads. Finally, have an agent check the power switch and all board connections.
  • C
    Carmen AndersonAug 22, 2025
    What to do if my Miller Millermatic 251 Welding System has no wire feed?
    • K
      Karen JohnsonAug 23, 2025
      To troubleshoot a Miller Welding System with no wire feed, first turn the Wire Speed control to a higher setting. Clear any obstruction in the gun contact tip or liner. Readjust the drive roll pressure and change to the correct size drive rolls. Rethread the welding wire. If Thermistor T detects overheating, allow the unit to cool. If HL.P 004 appears, reset the message by releasing the trigger or removing any stuck wire causing a short circuit. Check the wire feed delivery system, gun trigger, and leads, repairing or replacing the gun if necessary. If problems persist, have a Factory Authorized Service Agent check the main control board.
  • J
    jonesdeannaAug 25, 2025
    What to do if Miller Millermatic 251 has no weld output but wire feeds?
    • M
      Megan ClarkAug 25, 2025
      If your Miller Welding System has no weld output but the wire feeds, ensure the work clamp is connected for good metal-to-metal contact. Replace the contact tip. If HL.P 003 appears on the meters, have a Factory Authorized Service Agent check the main control board and main rectifier.
  • A
    Amy ManningAug 26, 2025
    Why is there low weld output on my Miller Welding System?
    • M
      Martin LawrenceAug 26, 2025
      To address low weld output on your Miller Welding System, first connect the unit to the correct input voltage or check for low line voltage. Also, check the input voltage jumper links and correct their position if necessary. If the issue persists, have a Factory Authorized Service Agent check the main control board.
  • K
    Katie MoodyAug 27, 2025
    Why is the wire speed low, high, or erratic on my Miller Welding System?
    • C
      Charles CabreraAug 28, 2025
      To resolve low, high, or erratic wire speed on your Miller Welding System, readjust the front panel settings. Change to the correct size drive rolls and readjust the drive roll pressure. If necessary, replace the inlet guide, contact tip, or liner. Check the position of the input jumper links. If problems persist, have a Factory Authorized Service Agent check the main control board.
  • B
    Bryan LozanoAug 29, 2025
    What to do if Miller Welding System has low, high, or erratic wire speed?
    • D
      David CabreraAug 29, 2025
      Try readjusting the front panel settings. Ensure you are using the correct size drive rolls and readjust the drive roll pressure. Replace the inlet guide, contact tip, and/or liner if necessary. Check the position of the input jumper links. If the issue persists, have a Factory Authorized Service Agent check the main control board.
  • B
    brandonjamesAug 31, 2025
    Why does Miller Welding System have low weld output?
    • K
      Kenneth JohnstonAug 31, 2025
      Ensure the unit is connected to the proper input voltage, and check for low line voltage. Also, check the input voltage jumper links and correct their position if necessary. If the issue persists, have a Factory Authorized Service Agent check the main control board.
  • C
    Cesar WashingtonSep 2, 2025
    How to fix low, high, or erratic wire speed on a Miller Welding System?
    • L
      Laura MillerSep 2, 2025
      If you're experiencing low, high, or erratic wire speed on your Miller Welding System, start by readjusting the front panel settings. Change to the correct size drive rolls and readjust the drive roll pressure. Replace the inlet guide, contact tip, and/or liner if necessary. Check the position of the input voltage jumper links. Inspect the main control board PC1 and its connections, replacing if necessary. Finally, check the hub tension setting.
  • J
    John NixonSep 3, 2025
    What causes improper or no gas flow in my Miller Welding System?
    • C
      Cassidy CostaSep 3, 2025
      If your Miller Welding System has improper or no gas flow, begin by cleaning or replacing the gas hose. Clear any blockage in the gun. If the gas flow is excessive, replace the regulator. Check the coil voltage and connections of the gas valve GS1, and verify the continuity of the coil, replacing GS1 if necessary. Check the main control board PC1 and connections, and replace if necessary.
  • J
    John RodriguezSep 8, 2025
    What to do if HL.P 004 appears on the meters of my Miller Welding System?
    • J
      John MartinSep 8, 2025
      If the Miller Welding System shows 'HL.P 004' on the meters, try releasing the trigger or removing any stuck wire that might be causing a short circuit to reset the message. If the problem continues, it is recommended to have a Factory Authorized Service Agent check for shorted trigger leads or shorted contacts in the Reed Relay.

Summary

SAFETY PRECAUTIONS

Symbol Usage

Explains warning symbols indicating hazards and important notes.

Arc Welding Hazards

Identifies general hazards associated with arc welding processes.

General Hazard Warnings

Lists specific hazards like arc rays, fire, gas, hot parts, noise, and cylinders.

INSTALLATION

Duty Cycle and Overheating

Explains the welding power source duty cycle and overheating prevention.

Connecting Output Terminals

Provides instructions for correctly connecting cables to the weld output terminals.

Installing Work Cable and Clamp

Guides the user on how to properly install the work cable and clamp.

Electrical Service Guide

Provides essential information on input voltage, amperages, and conductor sizing.

Location and Input Power Connection

Details selecting a location and connecting the input power to the unit.

Weld Parameters

Details recommended wire, gas, and control settings for various materials.

OPERATION

Controls Overview

Identifies and explains the function of the unit's main controls and displays.

MAINTENANCE & TROUBLESHOOTING

Routine Maintenance

Outlines recommended maintenance tasks and their frequency.

Troubleshooting Common Issues

Provides remedies for common problems like no weld output, wire feed issues, and low output.

ELECTRICAL DIAGRAM

MIG WELDING (GMAW) GUIDELINES

MIG Welding Troubleshooting

Addresses common MIG welding issues like spatter, porosity, and penetration.

Miller Millermatic 251 Specifications

General IconGeneral
Input Phase1-Phase
Input Frequency60 Hz
Output Amperage Range30 - 250 A
Welding ProcessMIG
Rated Output250 A
Wire Feed Speed50 - 700 IPM
Input Voltage208/230/460 VAC

Related product manuals