
H
Haley CunninghamSep 17, 2025
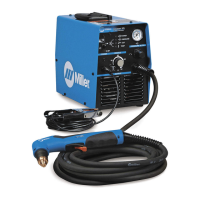
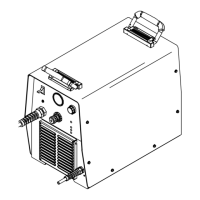
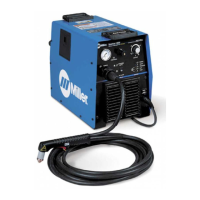
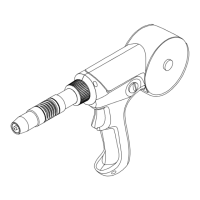
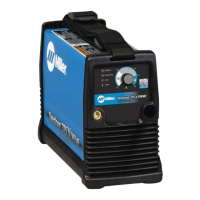
What to check if there is no gas/air flow on my Miller Welding System?
- SSusan TylerSep 17, 2025
If there is no gas/air flow, check the operation of the gas valve AS1, and check the gas/air system for leaks. Also, check the filter element.