Do you have a question about the Miller Spoolmate 200 and is the answer not in the manual?
Explains hazard symbols and notices used in the manual.
Details risks associated with arc welding processes.
Illustrates symbols for hazards like fire, falling equipment, and static discharge.
Warns about chemicals in fumes that cause cancer or birth defects.
Lists key safety standards and their sources for welding.
Discusses electromagnetic fields and their potential impact on medical implants.
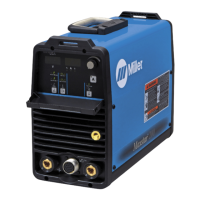
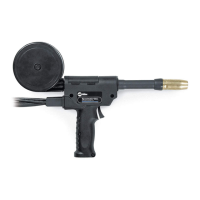
Details technical specifications for the Spoolmate 200 feeder gun.
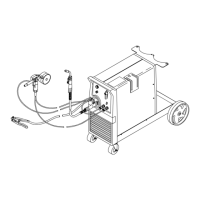
Step-by-step guide for connecting the spool gun to the welding machine.
Instructions on how to open the gun cover for maintenance or access.
Details on loading a wire spool and threading the wire through the gun.
Guides the user on connecting the shielding gas cylinder and regulator.
Explains how to set the correct tension for wire feeding.
Instructions for installing different barrel lengths for the gun.
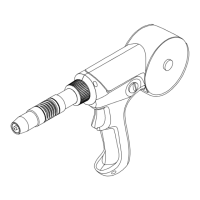
Identifies and explains the function of the gun's trigger and wire speed control.
Describes how to operate the shielding gas flow using the cylinder valve and gun trigger.
Outlines regular checks and maintenance tasks for the gun.
Provides steps for replacing the contact tip on the welding gun.
Details how to replace the liner inside the gun's head tube.
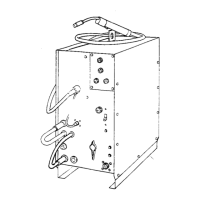
Explains how to maintain the drive roll and motor assembly.
Instructions for replacing the inlet guide for the welding wire.
Steps to remove and replace the diffuser at the gun's tip.
Lists common problems and their solutions for the gun/feeder.
Provides the electrical schematic for the gun/feeder assembly.
Lists all parts for the complete gun assembly with item numbers.
Lists parts specific to the optional 9-inch barrel.
Lists parts specific to the optional 4.5-inch barrel.
Lists parts for the optional curved barrel.
Details the warranty coverage, periods, and exclusions.
Explains the process for making a warranty claim and available remedies.
Information on how to obtain service and contact distributors.
| Brand | Miller |
|---|---|
| Model | Spoolmate 200 |
| Category | Welding System |
| Language | English |