
O
odonovanSep 3, 2025
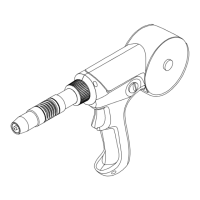
How to extend the tip life on my Miller Welding System?
- AAllen ArroyoSep 3, 2025
To address short tip life on your Miller Welding System, check and clean the drag shield of any slag, particles, and debris. Also, check the input air pressure.