

D
Debbie DudleySep 23, 2025
What to do if there is no output from duplex receptacle RC2 and no high frequency on Miller Syncrowave 250 DX Welding System?
- CCorey FernandezSep 23, 2025
Reset circuit breaker CB1.
What to do if there is no output from duplex receptacle RC2 and no high frequency on Miller Syncrowave 250 DX Welding System?
Reset circuit breaker CB1.
What to do if my Miller Syncrowave 250 DX's coolant system does not work?
If the coolant system isn't working, be sure the input power cord is plugged into an energized receptacle. Check the line fuses or circuit breaker, and replace or reset if necessary. The motor may have overheated; the unit will start running when the motor has cooled.
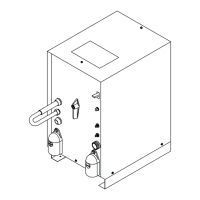
What to do if there is decreased or no coolant flow in my Miller Syncrowave 250 DX?
If you notice decreased or no coolant flow, add coolant. Check for clogged hoses or the coolant filter. Disconnect the pump and check for a sheared coupling; replace the coupling if necessary.
What to do if there is no weld output and the Miller Syncrowave 250 DX unit is completely inoperative?
If there is no weld output and the unit is completely inoperative, place the line disconnect switch in the On position. Also, check and replace the line fuse(s) if necessary. Ensure that there are proper input power connections and check for the correct jumper link position.
Why is fan not operating on Miller Welding System?
The unit is equipped with Fan-On-Demand, meaning the fans run only when necessary. The unit is also equipped with circuitry to protect against overheating.
Why is tungsten electrode oxidizing and not remaining bright after conclusion of weld with Miller Syncrowave 250 DX?
Shield the weld zone from drafts. Increase postflow time. Check and tighten all gas fittings. Properly prepare the tungsten. Check for water in the torch, and repair the torch if necessary.
What to do if there is erratic or improper weld output on Miller Syncrowave 250 DX?
Use the proper size and type of weld cable. Clean and tighten all weld connections. Check the position of the Output Selector control. If using a remote control, check the position of the Amperage Adjustment control.
What to do if Miller Syncrowave 250 DX Welding System has no control of weld output?
If you are using a remote control, place the Output control in the Remote 14 position and make sure the remote control is connected to the Remote 14 receptacle. If a remote is not being used, place the Output control in the On position. Also, make sure the Amperage control is in the proper position.
What does it mean if the fan is not operating on my Miller Welding System?
If the fan is not operating, it may be because the unit is equipped with Fan-On-Demand, meaning the fans run only when necessary. The unit is also equipped with circuitry to protect against overheating.
What causes wandering arc and poor control of direction of arc in Miller Welding System?
If you're experiencing a wandering arc and poor control of the arc's direction, reduce the gas flow rate. Select the proper size tungsten and properly prepare the tungsten.
Details the primary hazards associated with arc welding processes.
Technical specifications for the welding power source, including input and output data.
Explains duty cycle ratings and precautions against overheating the welding unit.
Information on connecting weld output terminals and selecting appropriate cable sizes.
Recommendations for electrical service requirements, including voltage and conductor sizing.
Step-by-step instructions for safely connecting the unit to the input power supply.
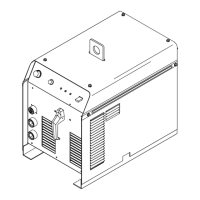
Describes the function of each control on the welding unit's front panel.
Provides common troubleshooting remedies for power source issues.
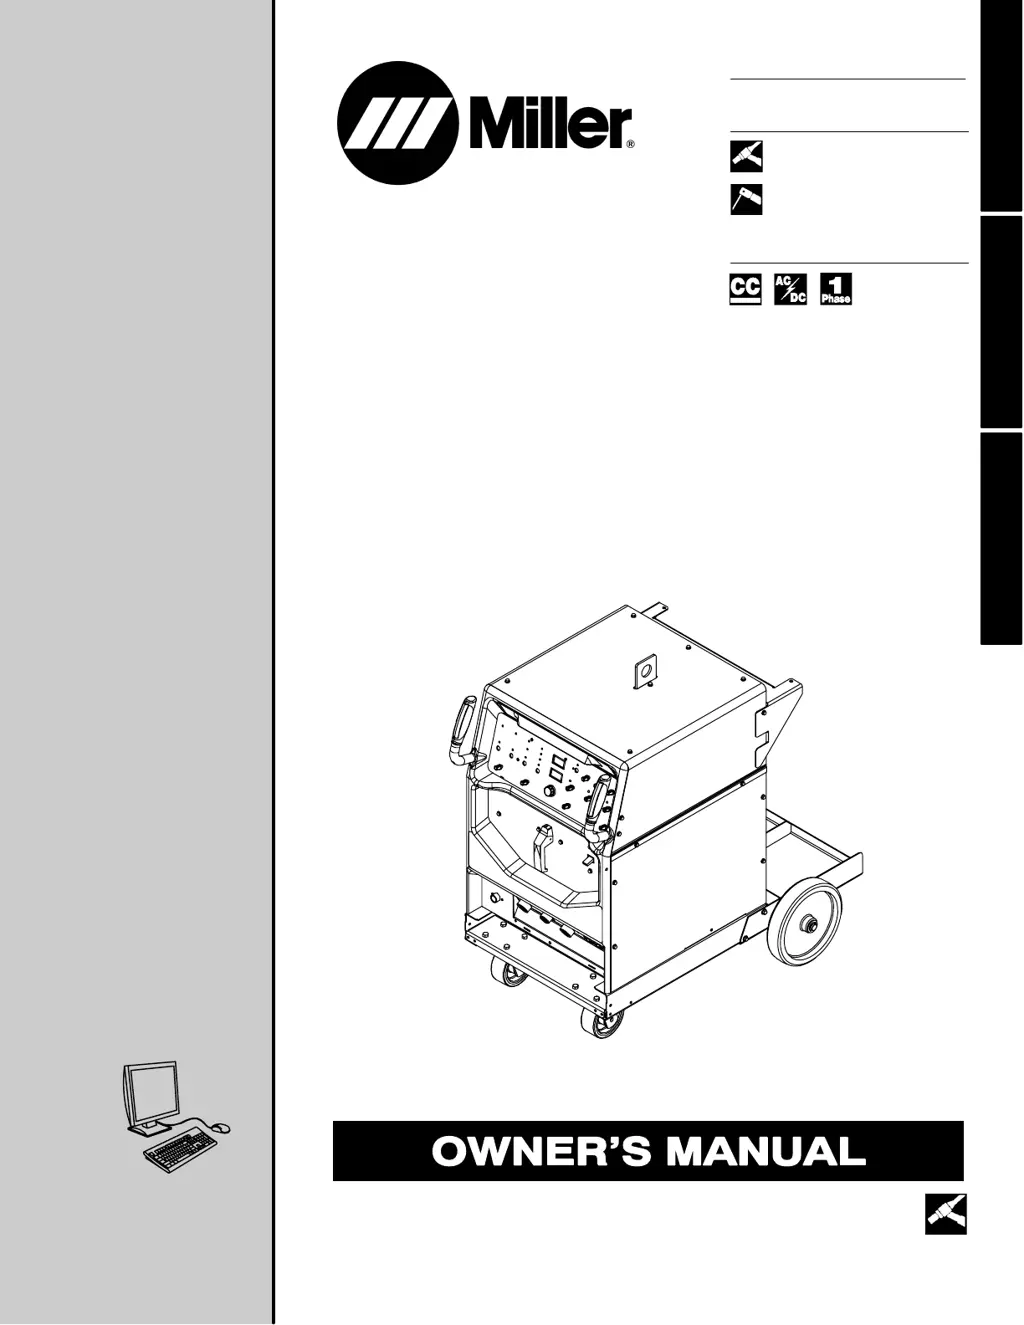
| Brand | Miller |
|---|---|
| Model | Syncrowave 250 DX |
| Category | Welding System |
| Language | English |