00110230w Rev 10/20 6 of 24
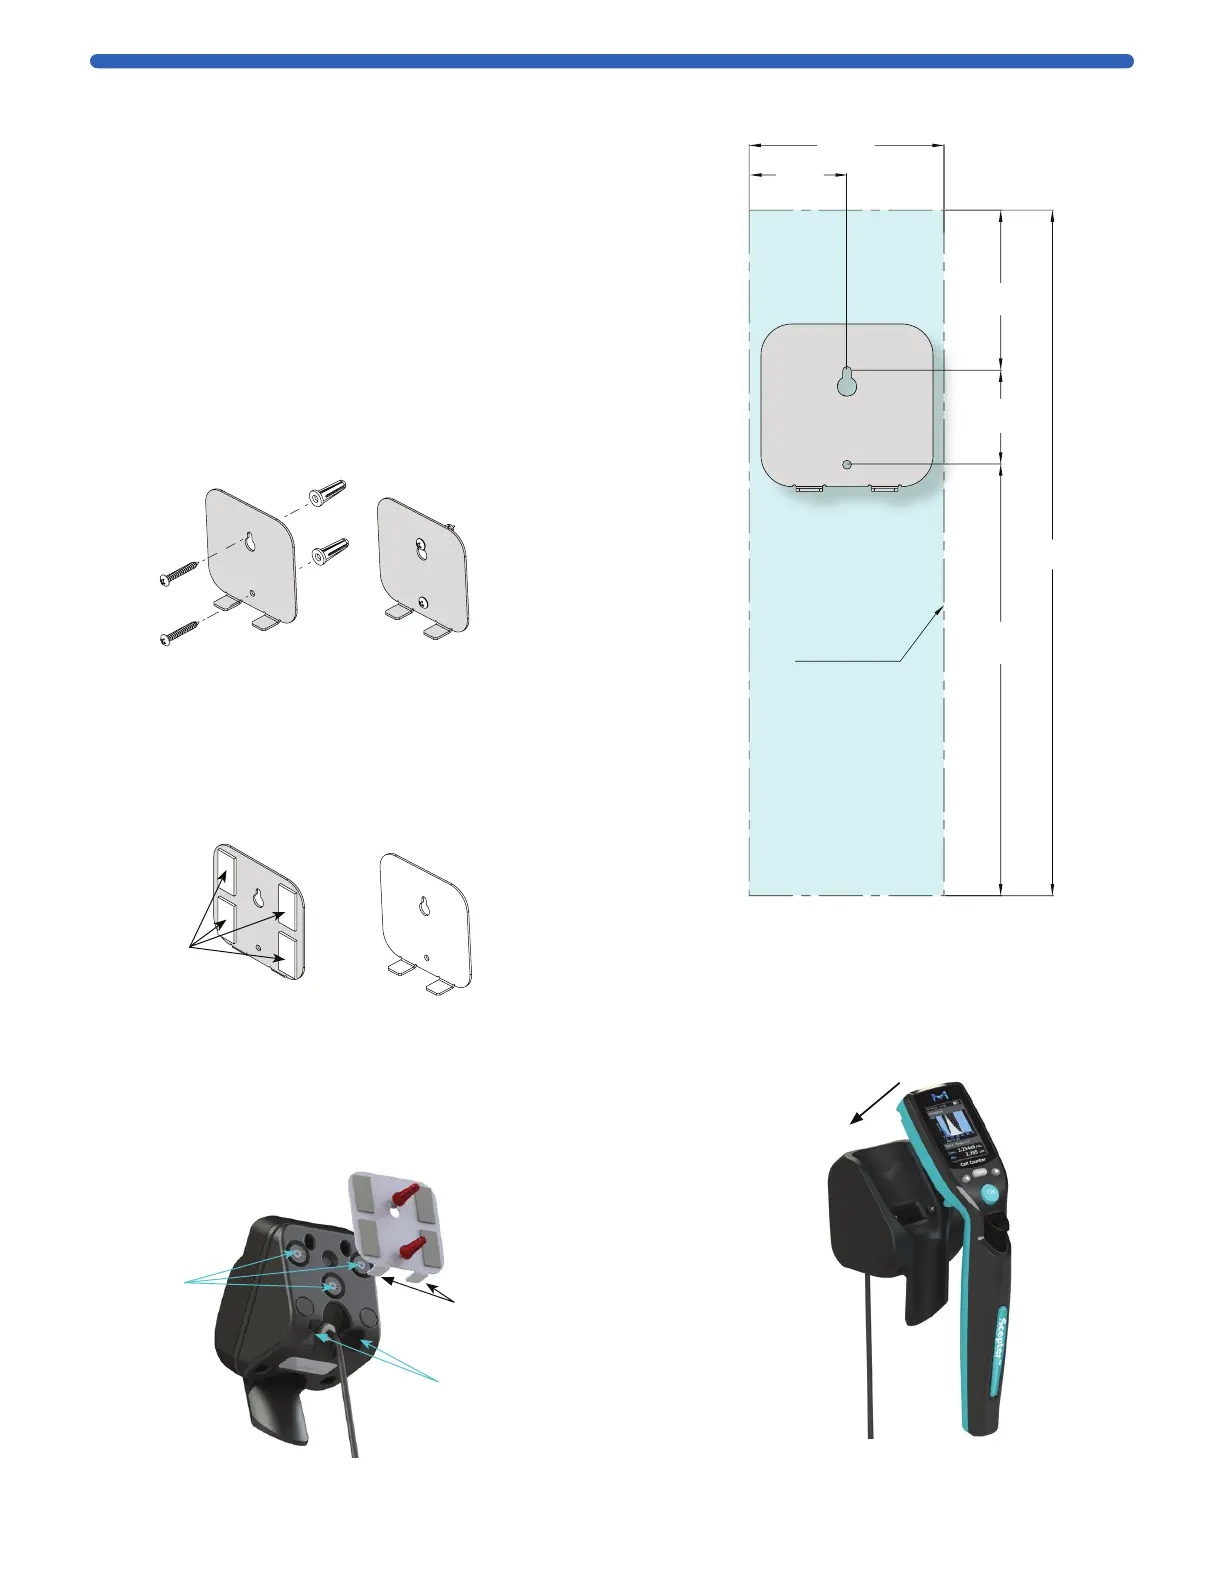
Mounting
Plate Tabs
Mounting
Tab Recesses
Magnets
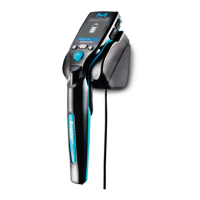
Installing the Charging Station
Scepter™ 3.0 can be placed on the benchtop horizontally or
vertically wall-mounted, within 5 feet (1.5 meters) from an
electrical outlet. The mounting kit is required to mount the
Charging Station. See Product Ordering, p.23 for accessory
and kit purchasing options. Figure 1 shows
the wall area required.
For mounting on drywall, wood or similar:
1. Use screws and anchors.
2. Use 0.25 inch diameter drillbit for anchor holes.
Seat anchors gently with a hammer.
3. Install screw in top anchor first, hook plate into place
using screw keyhole. Install 2
nd
screw tight, then tighten
1
st
screw. (Continue to steps 4 and 5 below.)
For mounting on glass, metal or smooth stickable surface:
1. Use double-sided mounting tape.
2. Remove tape liner from one side of tape and
affix to back of mounting plate as shown below.
3. Remove remaining tape liner and press firmly
onto glass, metal or smooth stickable surface.
4. Position the Charging Station with mounting plate
bottom tabs seated in mounting tab recesses. The
mounting plate magnets hold the Charging Station in place.
NOTE: Do not use the magnets without mounting plate.
Doing so may cause the charger to rotate slightly,
compromizing the charging contact.
Figure 1: Wall area required for mounting
Charging Station.
Front
Facing
Screws
Wall Anchors
Front of
Mounting
Plate
Front
Facing
Tape
Back of
Mounting
Plate
Image shown with
both screws and
mounting tape.
Do not use both in
actual application.
5. Hang the Scepter™ 3.0 on the
Charging Station. See Battery, p.5
before use.
3.125 in.
(82.5 mm)
1.56 in.
(39.6 mm)
2.5 in.
(63.5 mm)
1.5 in.
(88.1 mm)
7 in.
(177.8 mm)
11 in.
(279.4 mm)
Clearance for
Instrument