18 (See
BIIFBM13.)
Section C-C: Section D-D:
1.
2.
3.
Apply a continuous bead of silicone
completely around the rubber seal, in
the area where the glass is to be
seated.
Install the gasket into the door before
installing the glass. Observe the
location of the rubber seal joint line and
adjust if necessary.
While installing the glass into the rubber
seal, ensure that no silicone is exposed
on outer surface of the rubber seal.
10
11
12
12
11
16
13,14 17
15
CC
D
D
Ensure that the gasket joint
is at top-dead-center.
Door Glass Installation
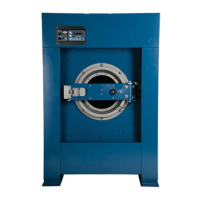
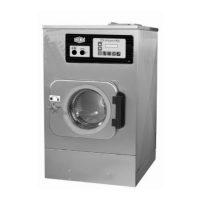
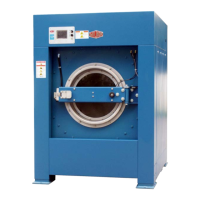
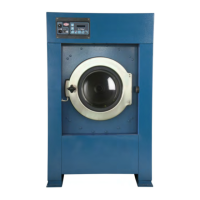
Door Assembly
Door Assembly:
2 (See
BMP130002.)
Section A-A: Door Installation
1
Section B-B: Door Installation
5,6,7,8
2
3
4
8
7
6
5
17
Page (2 / 3)
PELLERIN MILNOR CORPORATIONPELLERIN MILNOR CORPORATION
BMP160041/2017033A
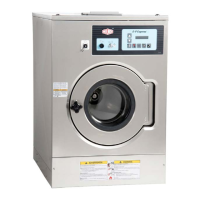
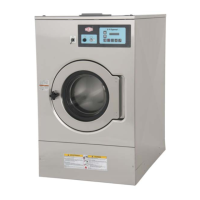
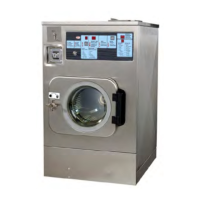
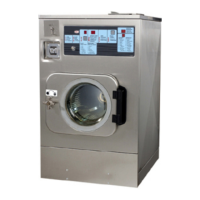
Door Assembly and Installation
MCT12E5, MCT16E5, MCT18E4
MWT12E/X/J5, MWT16E/X/J5, MWT18E/X4, MWT18J6
72