- 9 -
Print data.
1. Start RasterLink.
2. Set the manual CD to your computer.
• If there is no sample file, create the sample file with the following procedure and go to step 3.
(1) Create "illustration data" and "cut line data".
• For details on how to create "illustration data" and "cut line data", refer to the RasterLink Refer-
ence guide "RasterLinkTools".
(2) Placing the "illustration data" on the print layer ([Print] attribute: ON) and the "cut line data" on the
cut layer ([Print] attribute: OFF).
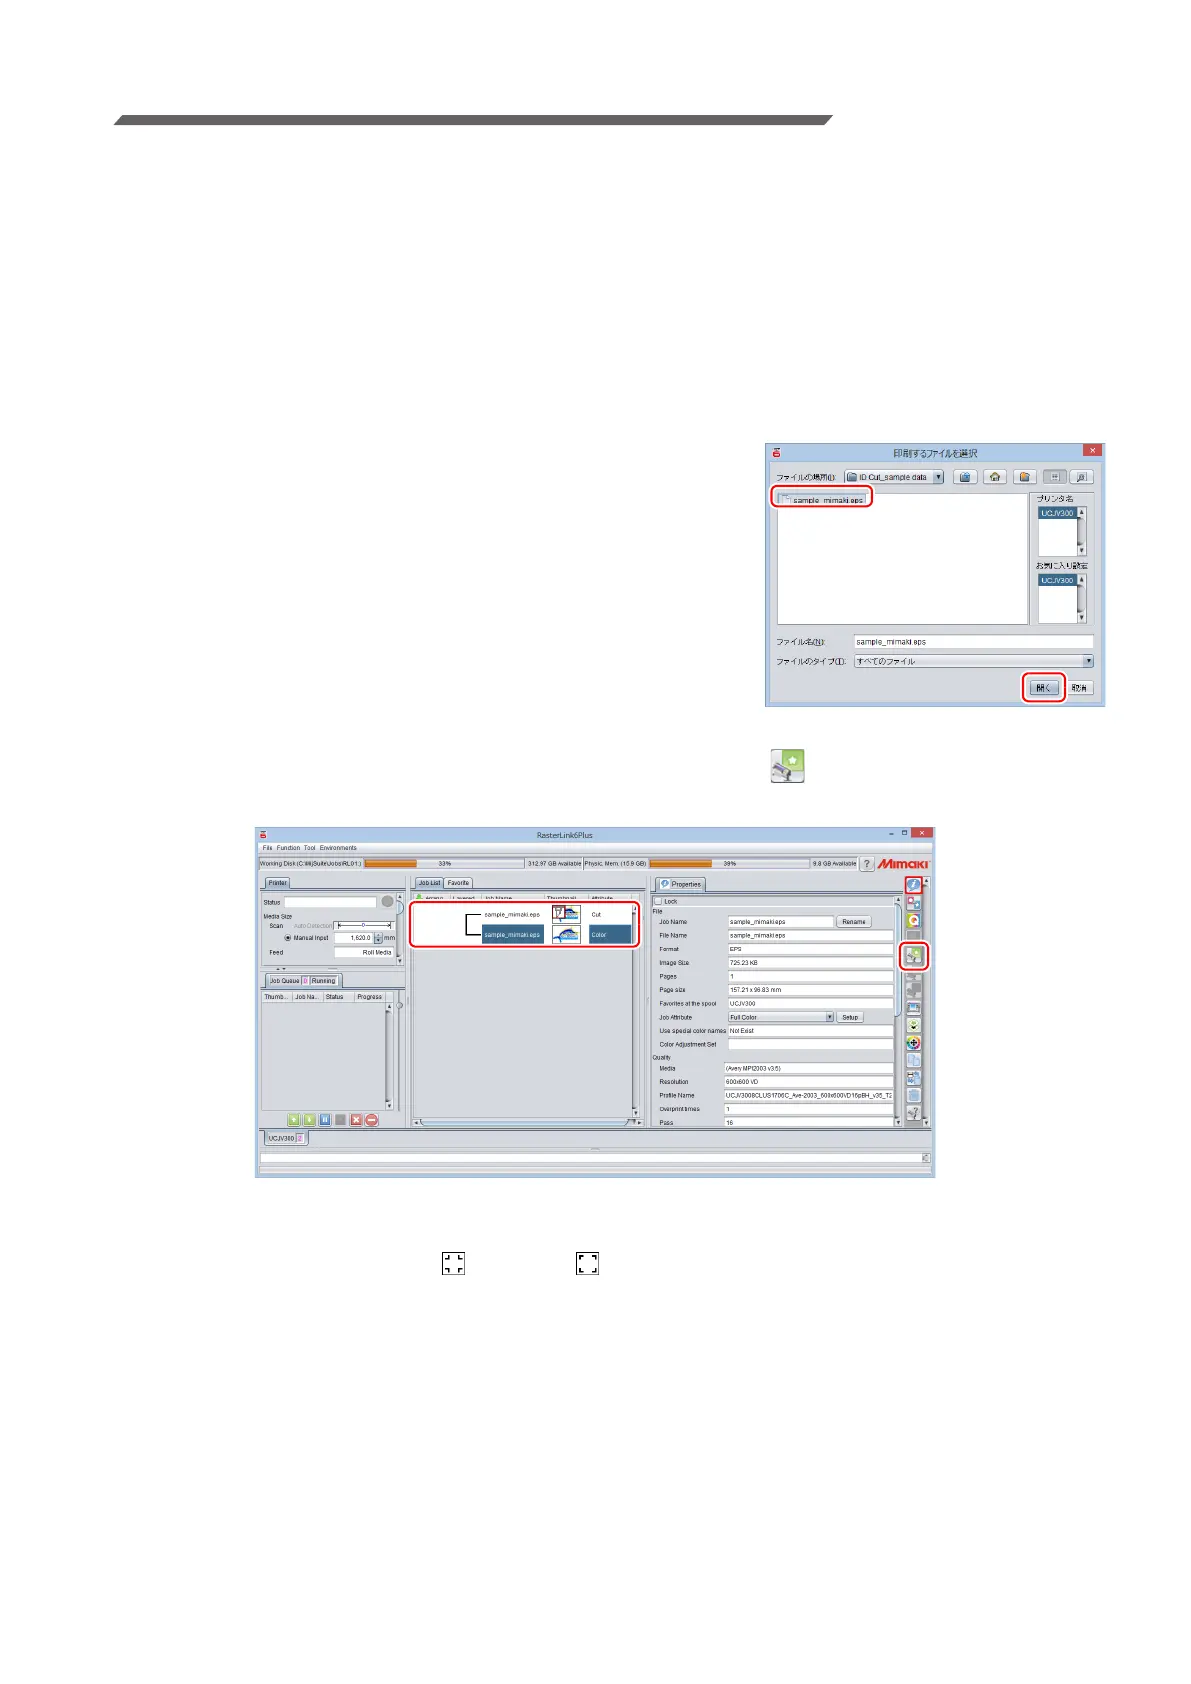
3. From the [File] menu, select [Open].
• The [Select file name to print] screen is displayed.
4. Read the Sample file.
• If there is no sample file, use the data created in step 2.
(1) Select the following files on the [Select file name to print]
screen, and click [Open].
For Windows: "CD drive:\EN\English\
ID Cut_Sample data\sample_mimaki.eps"
For Macintosh: “CD drive:\Mac_English\
ID Cut_sample data\sample_mimaki.eps”
No manual CD: Create the data in Step 2.
(2) The sample data is loaded.
• Sample data is created with RasterLinkTools.
5. Select the read data and click the [General Print] icon in the function icon list on
the right side of the screen.
6. Add register marks and ID data.
The conditions under which ID cut is possible are as follows.
• Mark Shape: [Type 1 ] or [Type 2 ]
• Size of data: more than 70 mm in length and width
(1) Set the number of copies.
(2) Select a register mark shape.
 Loading...


