Specifications 2-7
<1> /
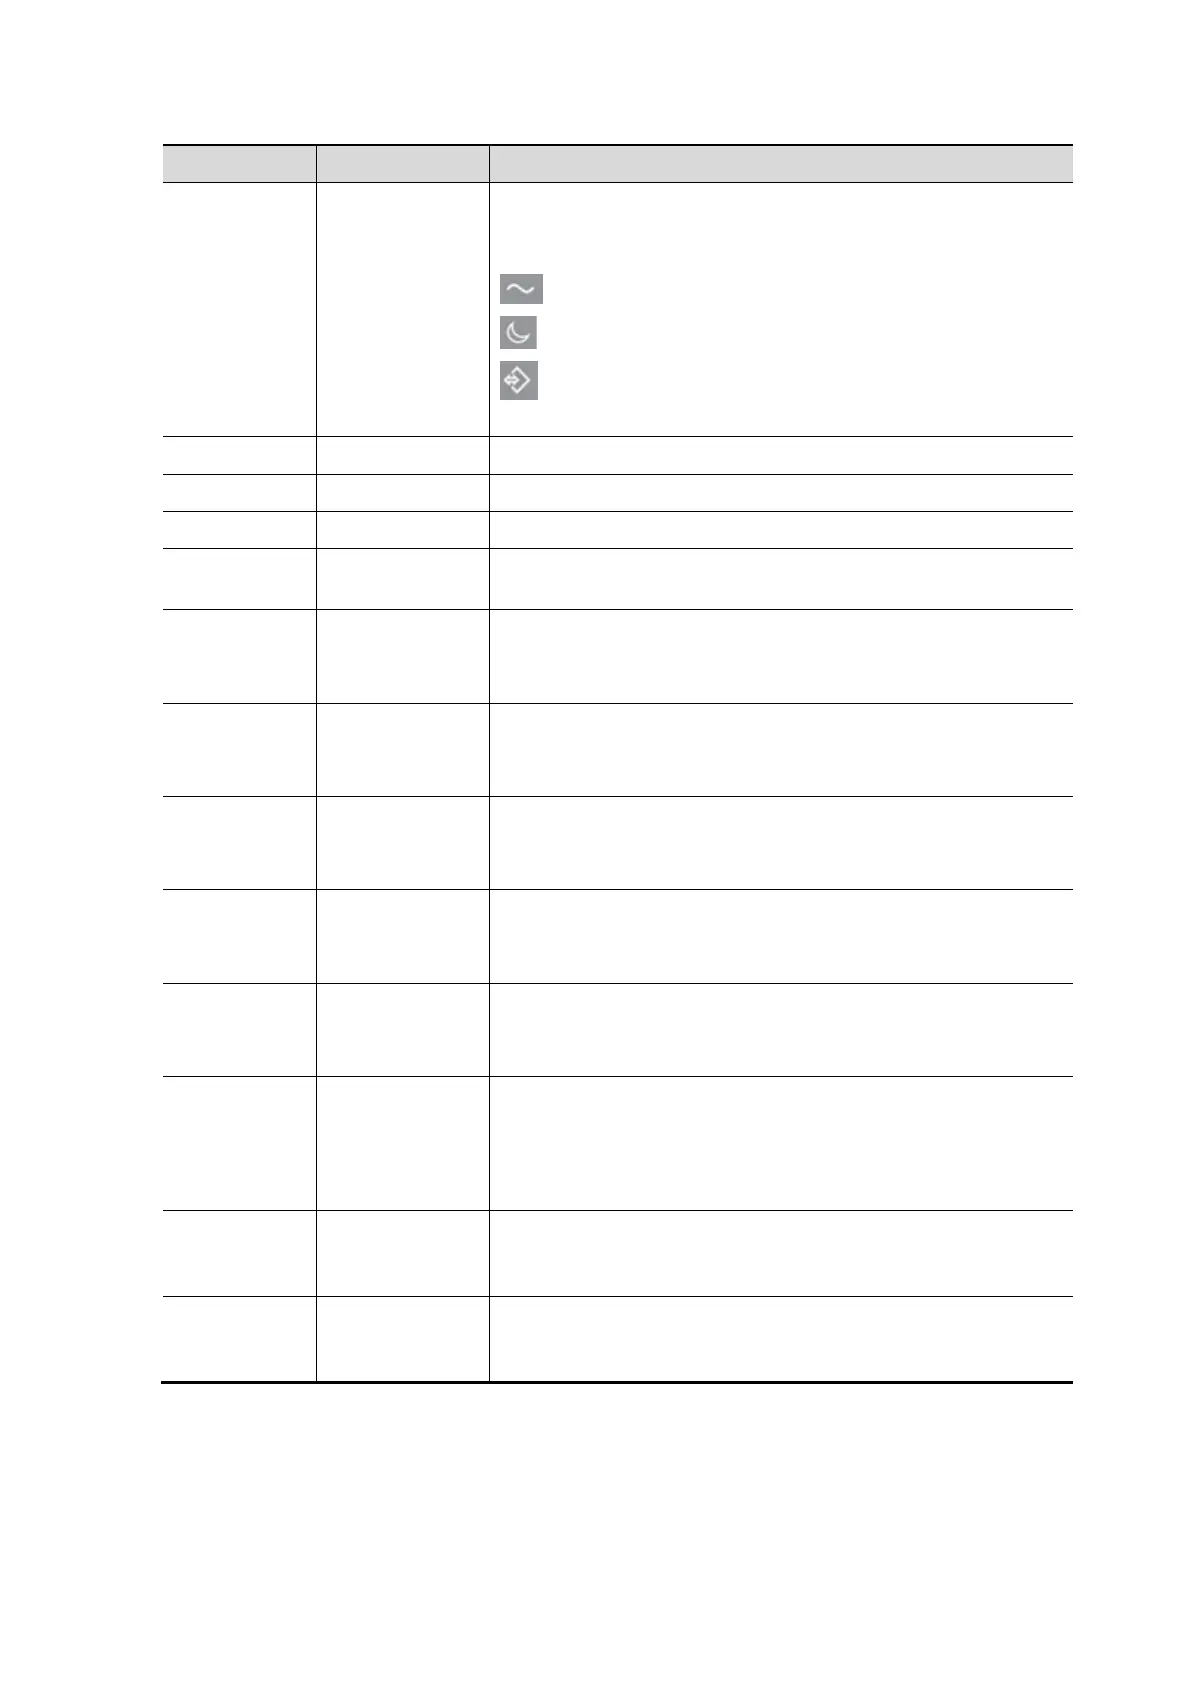
Power button
Press the button to turn on the system, the system enters the
work status and the indicator becomes green.
AC (Alternating current). It turns on at AC supply.
Standby. It blinks in orange in standby status.
Hard disk indicator. It blinks when reading/writing the
disk.
<2> A.power Adjust the acoustic power.
<4> / Adjust the corresponding functions on the touch screen.
<5> P1-P3
Undefined Button, set by the user in the Preset. See the
operator’s manual [Basic Volume] for details.
<6> iWorks
Undefined Button, set by the user in the Preset. See the
operator’s manual [Basic Volume] for details.
<7> Fusion
Enter fusion. Or
Undefined Button, set by the user in the Preset. See the
operator’s manual [Basic Volume] for details.
<8> Elasto
Enter elastography. Or
Undefined Button, set by the user in the Preset. See the
operator’s manual [Basic Volume] for details.
<9> Contrast
Enter contrast imaging. Or
Undefined Button, set by the user in the Preset. See the
operator’s manual [Basic Volume] for details.
<10> Body Mark
Enter the body mark status. Or
Undefined Button, set by the user in the Preset. See the
operator’s manual [Basic Volume] for details.
<11> /
Press: to adjust the angle in increments of 60°.
Toggle: to adjust the Baseline.
Rotate: to adjust the angle.
Slide: to adjust the steer.
<12> PW
Press to enter PW mode, and rotate to adjust PW gain (in
PW mode) or CW gain (in CW mode); while in 3D/4D mode,
rotate the knob to cycle the 3D image through Y axis.
<13> C
Press to enter Color mode, and rotate to adjust Color gain (in
color mode) or Power gain(in Power mode); while in 3D/4D
mode, rotate the knob to cycle the 3D image through Z axis.
 Loading...


