COMPLETE ASSEMBLY INSTRUCTIONS
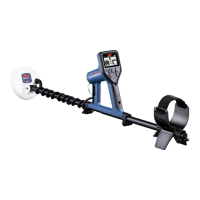
Securing and connecting the coil cable
NOTE Always ensure that the control box is turned off before
connecting or disconnecting the coil.
STEP 1 Wind the coil cable around the shaft and plug the coil connector
into the coil socket on the control box. Check that the cable is
wound firmly around the shaft without strain, leave enough
slack at the bottom of the cable near the coil to allow for
adjusting the angle of the coil without placing strain on the coil
cable.
STEP 2 Fasten the cable into position using the Velcro straps
provided (20).
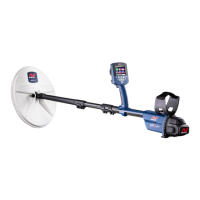
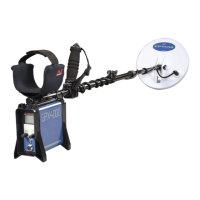
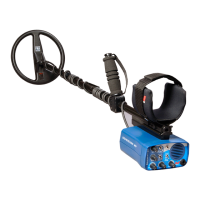
Fitting and connecting the battery pack
Figure 2.6
STEP 1 Fit the battery (17) into the backpack pouch (18).
STEP 2 Connect the headphones (16) and the power cable (19) to
the appropriate sockets in the cap of the battery.
STEP 3 Put on the backpack (18).
If the coil cable is able to move
around, especially near the coil, it
will be ‘seen’ by the detector and
cause random noises which may be
confusing.
HINT
Use only the 6V battery supplied.
CAUTION
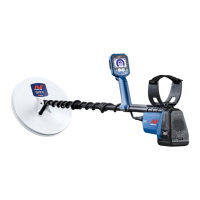
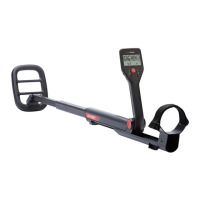
Attaching the lower fibreglass shaft
Figure 2.2
STEP 1 Slide the lower fibreglass shaft (4) into the intermediate shaft (7).
STEP 2 Adjust shaft length and coil angle for a comfortable position.
Minelab recommends that the shaft length be set to give a
comfortable sweep length of approximately 2 meters. The lower
fibreglass shaft can be set into position by locating the spring clip
into the holes provided in the intermediate shaft and hand
tightening the locking nut at the end of the intermediate shaft.
10
ASSEMBLY
2

 Loading...