20
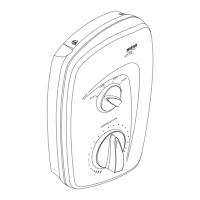
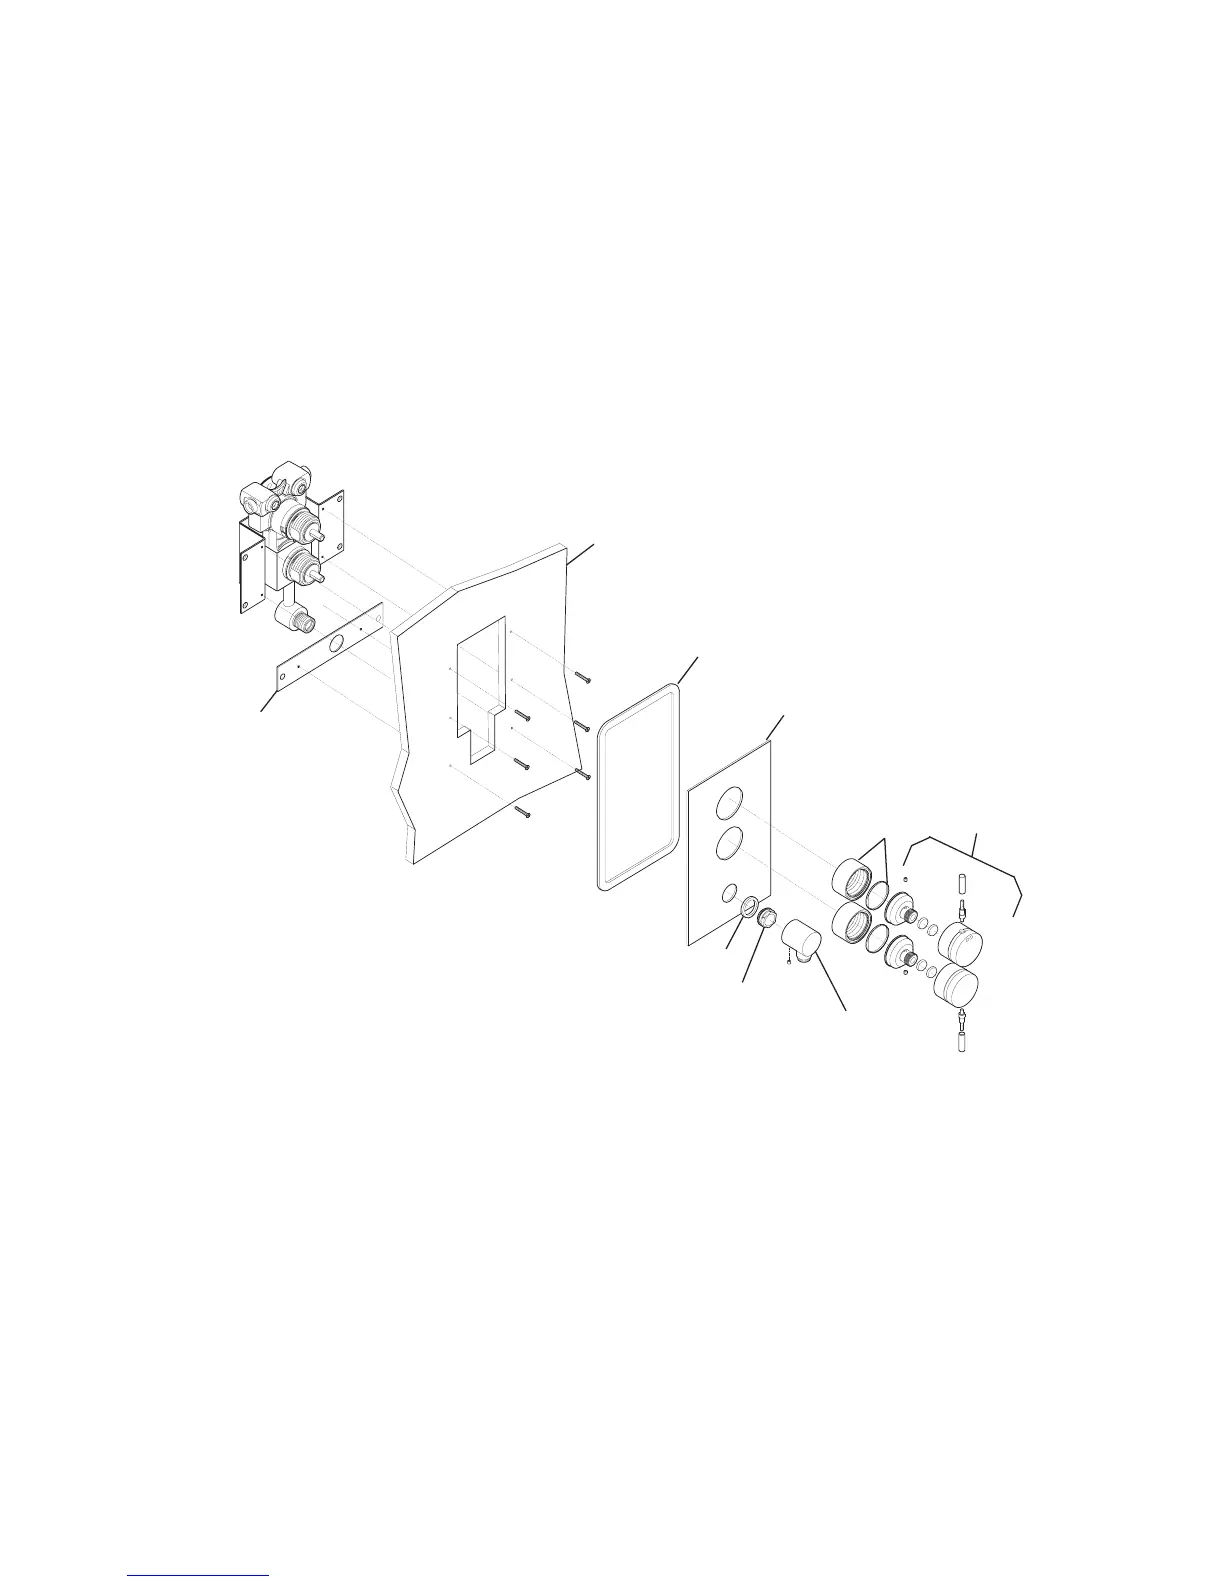
5. Mount the mixing valve securely onto the rear of the panel, with the fixing screws
supplied.
Note! If access is available it may be preferable to make the initial valve/pipework
connections prior to securing the mixing valve to the panel.
6. Important! Always flush through the hot and cold supplies thoroughly before
connection to the mixing valve.
7. Connect the inlet pipework, checking that the hot and cold supplies have been
piped to the correct inlets. Check that all connections are watertight.
8. To complete installation follow the instructions in section: ‘Installation: solid
and dry lined walls’. Refer to section: ‘Commissioning’ before operating the
shower control.
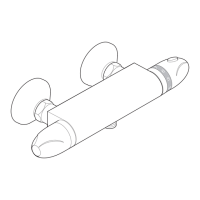
Laminated Panel
(4 mm - 19 mm thick)
Concealing Plate
Foam Outer Seal
Concealing Plate
Wall Clamp Nut
Outlet Seal
Locknut
and Trim
Control
Knob
Assembly
Use the six inner fixing holes to
mount the valve if no further finishing
surface is to be added to the panel.
Outlet Support
Bracket
Right Angle
Connector
 Loading...