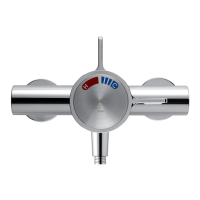
13. Ret the building-in shroud to the mixer using
the two shroud screws removed earlier.
14.
Using the ‘Finished Wall Indicator’ on the
building-in shroud as a guide, nish the wall,
e.g. tiles.
Caution! Make sure that the nished wall
is within the maximum and minimum limits
and to an even depth (no greater than 2 mm
variation) or the control components will not t
correctly.
Minimum
nished wall
surface
Maximum
nished wall
surface
15. Remove the two shroud screws (retain for later
use) and remove the building-in shroud.
16. Fit the concealing plate and control assembly,
refer to section: ‘Control Assembly’.