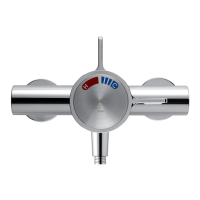
Control Assembly
1. Unscrew the grubscrew and pull off the
temperature control knob, bearing and ow
control lever.
2.
Carefully unclip the concealing plate from the
backplate.
Note! Use a screwdriver in the cutout to assist
separation.
Backplate
Flow Control
Lever
Temperature
Control Knob
Concealing Plate
Bearing
Cutout
3. Attach the backplate using the two shroud
screws removed earlier. Tighten the screws
until the foam seal is compressed against the
nished wall. Do not overtighten.
4.
With the cutout at the bottom, locate the
concealing plate over the mixer, engage the
crosses in the concealing plate with the square
recesses in the backplate, and push rmly until
the concealing plate clicks into position.
5. Locate the ow control lever over the control
assembly and push rmly into place.
6. Fit the bearing onto the ow lever.
Note! Align the bearing with the cutouts on the
control assembly.
Flow Control
Lever
Bearing
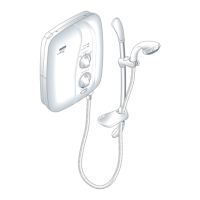
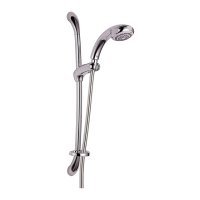
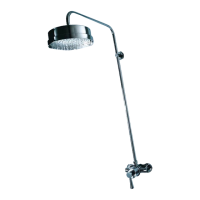
7. Fit the shower ttings, refer to your shower
ttings installation and user guide.
Note! For high pressure systems (above
0.5 bar) make sure that the ow regulator
(supplied) is tted under the hose washer
(refer to illustration).
Important! The tting of this ow regulator will
invalidate any TMV2 or TMV3 compliance due
to the minimum ow rate requirements. Do
not t the ow regulator in TMV2 and TMV3
applications.
Flow Regulator
Hose Washer
8. Turn on the hot and cold water supplies and
check for leaks.
9.
Before using the shower, refer to section:
‘Commissioning’.