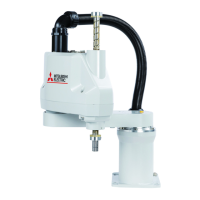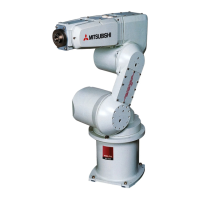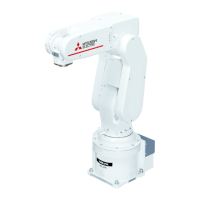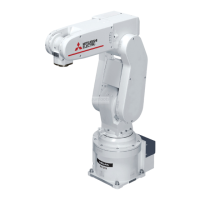
Do you have a question about the Mitsubishi Electric MELFA RH-3CRH Series and is the answer not in the manual?
| Payload Capacity | 3 kg |
|---|---|
| Weight | 23 kg |
| Installation | Floor, Wall, Ceiling |
| Protection class | IP40 |
| Model | RH-3CRH |
| Power Supply | 200-230 VAC, 50/60 Hz |
| Controller | CR800 series |
| Category | Robotics |
General safety warnings and precautions for robot operation and handling.
Summary of precautions from the separate "Safety Manual" for safe operation.
Covers the steps involved in physically installing the robot arm and controller.
Details on physically mounting the robot arm onto a stable surface.
Essential steps for proper grounding of the robot and controller for safety and performance.
How to connect the machine cables between the robot arm and the controller.
Verifies correct operation by manually moving the robot arm using the teaching pendant.
Guides on selecting different jog modes (JOINT, XYZ, TOOL, etc.) on the T/B.
Detailed steps and controls for performing JOINT jog operations.
Classification of inspections into daily and periodic tasks.
Lists specific items to inspect for the robot arm.
Details periodic inspection checks required at different intervals.
Step-by-step procedures for carrying out periodic maintenance and inspection.
Instructions for replacing the backup battery that preserves encoder data.
Methods and reasons for resetting the robot's origin for accurate positioning.
Steps to set the robot origin by inputting data from the origin data label.
Detailed instructions for entering origin data values via the teaching pendant.
Method for setting the robot origin using a calibration jig.
Procedures for simultaneously setting the origin of J3 and J4 axes.
Method for setting origin using ABS marks for accurate reproduction of initial position.
Step-by-step guide for setting the origin using the ABS method.
Method for setting a custom origin position defined by the user.
Procedures for releasing the robot brake using an emergency power supply.


