CONTENTS
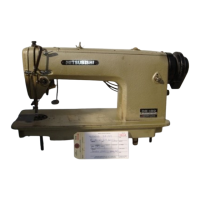
1. STRUCTURE OF THE MACHINE ······································································
1
2. SPECIFICATION ··································································································
2
3. INSTALLATION ···································································································
3
3-1. Preparation of the table ··················································································
3
3-2. Preparation for the steel stand ········································································ 3
3-3. Installation of the motor ··················································································
3
3-4. Installation of the control box ·········································································· 3
3-5. Connection of the operation panel ·································································· 3
3-6. Installation of the power switch ······································································· 4
3-7. Connection of the foot switch ········································································· 4
3-8. Installation of the oil pan ················································································· 5
3-9. Installation of the sewing machine head ·························································
5
3-10. Putting across the V-belt ··············································································· 6
3-11. Connection of the electric cables ··································································
7
3-12. Installation of the belt cover ·········································································· 8
3-13. Installation of the thread stand ······································································· 9
4. LUBRICATION ·····································································································
10
4-1. Filling the oil tank ····························································································· 10
4-1. Oiling ·············································································································· 10
5. PROPER OPERATION ······················································································
11
5-1. Loading the system software to the control box ············································· 11
5-2. Installation of the needle ················································································· 11
5-3 Threading the upper thread ············································································· 12
5-4. Winding the bobbin thread ············································································· 12
5-5. Setting the bobbin ··························································································· 14
5-6. Setting the bobbin case ·················································································· 14
6. PROPER SEWING ·······························································································
15
6-1. Operation of the halt switch ············································································
15
6-2. The sewing operation ····················································································· 16
6-3. Adjustment of the thread tension ···································································· 20
 Loading...