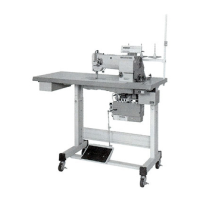
Do you have a question about the Mitsubishi PLK-E03BT and is the answer not in the manual?
Explains the meaning and usage of various warning signs used in the manual.
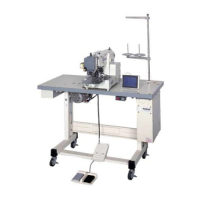
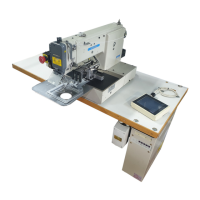
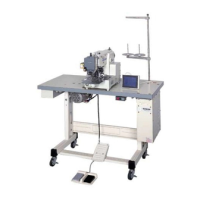
Identifies and illustrates the primary components of the PLK-E03BT machine.
Details technical specifications of the sewing machine's mechanism, speed, and dimensions.
Steps for loading the system software into the control box.
Procedure for correctly installing or replacing the sewing machine needle.
Instructions and diagrams for threading the upper thread correctly.
Steps for winding thread onto the bobbin.
Further steps for winding thread onto the bobbin.
How to correctly set the wound bobbin into the bobbin case.
Procedure for correctly installing the bobbin case into the machine.
How to use the halt switch for immediate machine stoppage and resuming operation.
General instructions for starting and performing the sewing operation.
Detailed steps for initiating and conducting the sewing operation.
Guidance on balancing upper and bobbin thread tension for optimal sewing.
Steps to adjust the needle bar to the correct position.
How to align the needle with the shuttle hook for proper stitching.
Adjusting the clearance between the shuttle hook and the needle.
Adjusting the clearance between the driver and the needle.
Adjusting the synchronizer for proper machine timing.
Steps to adjust the sewing machine's mechanical home position.
Causes and remedies for frequent upper thread breakage.
Causes and remedies for the upper thread being pulled out of the needle.
Causes and remedies when the machine doesn't start.
Causes and remedies for work holder malfunctions.
| Brand | Mitsubishi |
|---|---|
| Model | PLK-E03BT |
| Category | Sewing Machine |
| Language | English |
