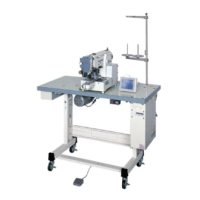
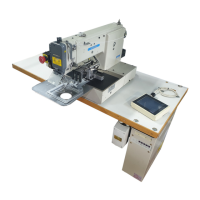
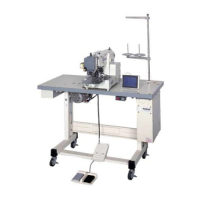
Do you have a question about the Mitsubishi PLK-E2010R and is the answer not in the manual?
Explains the meaning and purpose of different warning signs used in the manual.
Details the required preparation steps for the table and steel stand before machine assembly.
Guides the installation process for the motor, control box, and operation panel.
Instructions for installing the power switch and connecting the foot switch to the control box.
Steps to assemble and install the oil pan and mount the sewing machine head onto the table.
Details the procedure for fitting and tensioning the V-belt between motor and machine pulleys.
Guides the connection of air tubes to the regulator assembly and air fittings.
Provides instructions for connecting electrical cables between machine head, control box, and motor.
Instructions for attaching belt covers and mounting the thread stand.
Details how to fill the oil tank and where to apply oil to machine lubrication points.
Instructions for loading the system software onto the control box for machine operation.
Provides safety precautions and steps for correctly installing the sewing machine needle.
Guides for threading the upper thread and winding the bobbin thread.
Guides on inserting the bobbin into the case and the case into the machine.
Explains how to use the halt switch to stop the machine in case of an incident or cancel sewing.
Details steps for starting and performing the sewing operation, including pattern selection.
Instructions for balancing and adjusting thread tensions for optimal stitch quality.
Details how to adjust the needle bar position for correct timing and operation.
Guides the adjustment of needle position relative to the rotating hook for proper stitch formation.
Explains hook positioner adjustment and rotating hook lubrication settings.
Covers critical adjustments for the presser foot to ensure proper fabric handling and stitch formation.
Instructions for adjusting the wiper's position and disabling it if necessary.
Covers adjustments for bobbin wiper and work holder air pressure settings.
Adjustments for synchronizer timing and mechanical home position.
Instructions for shifting the mechanical home position along the X and Y axes.
Adjustment of clearance for X and Y detectors to ensure accurate work holder positioning.
Adjustments for table contact presser and X-Y timing belt tension.
Adjustments for Y timing belt and V-belt tension.
Illustrates and labels the components of the thread trimmer mechanism.
Guides reassembly of the trimmer mechanism and adjustment of knife relation.
Details connecting the knife bracket to the driving crank and adjusting drive mechanism parts.
Adjustments for air cylinder mounting and thread trimmer cam position.
Instructions for adjusting the engagement amount and presser for the cutting knives.
Step-by-step instructions for cleaning the machine and managing oil levels.
| Needle | DPx5 |
|---|---|
| Stitch Type | Lockstitch |
| Needle Compatibility | DPx5 |
| Bobbin | Standard |
| Motor | AC Servo Motor |
