- 33 -
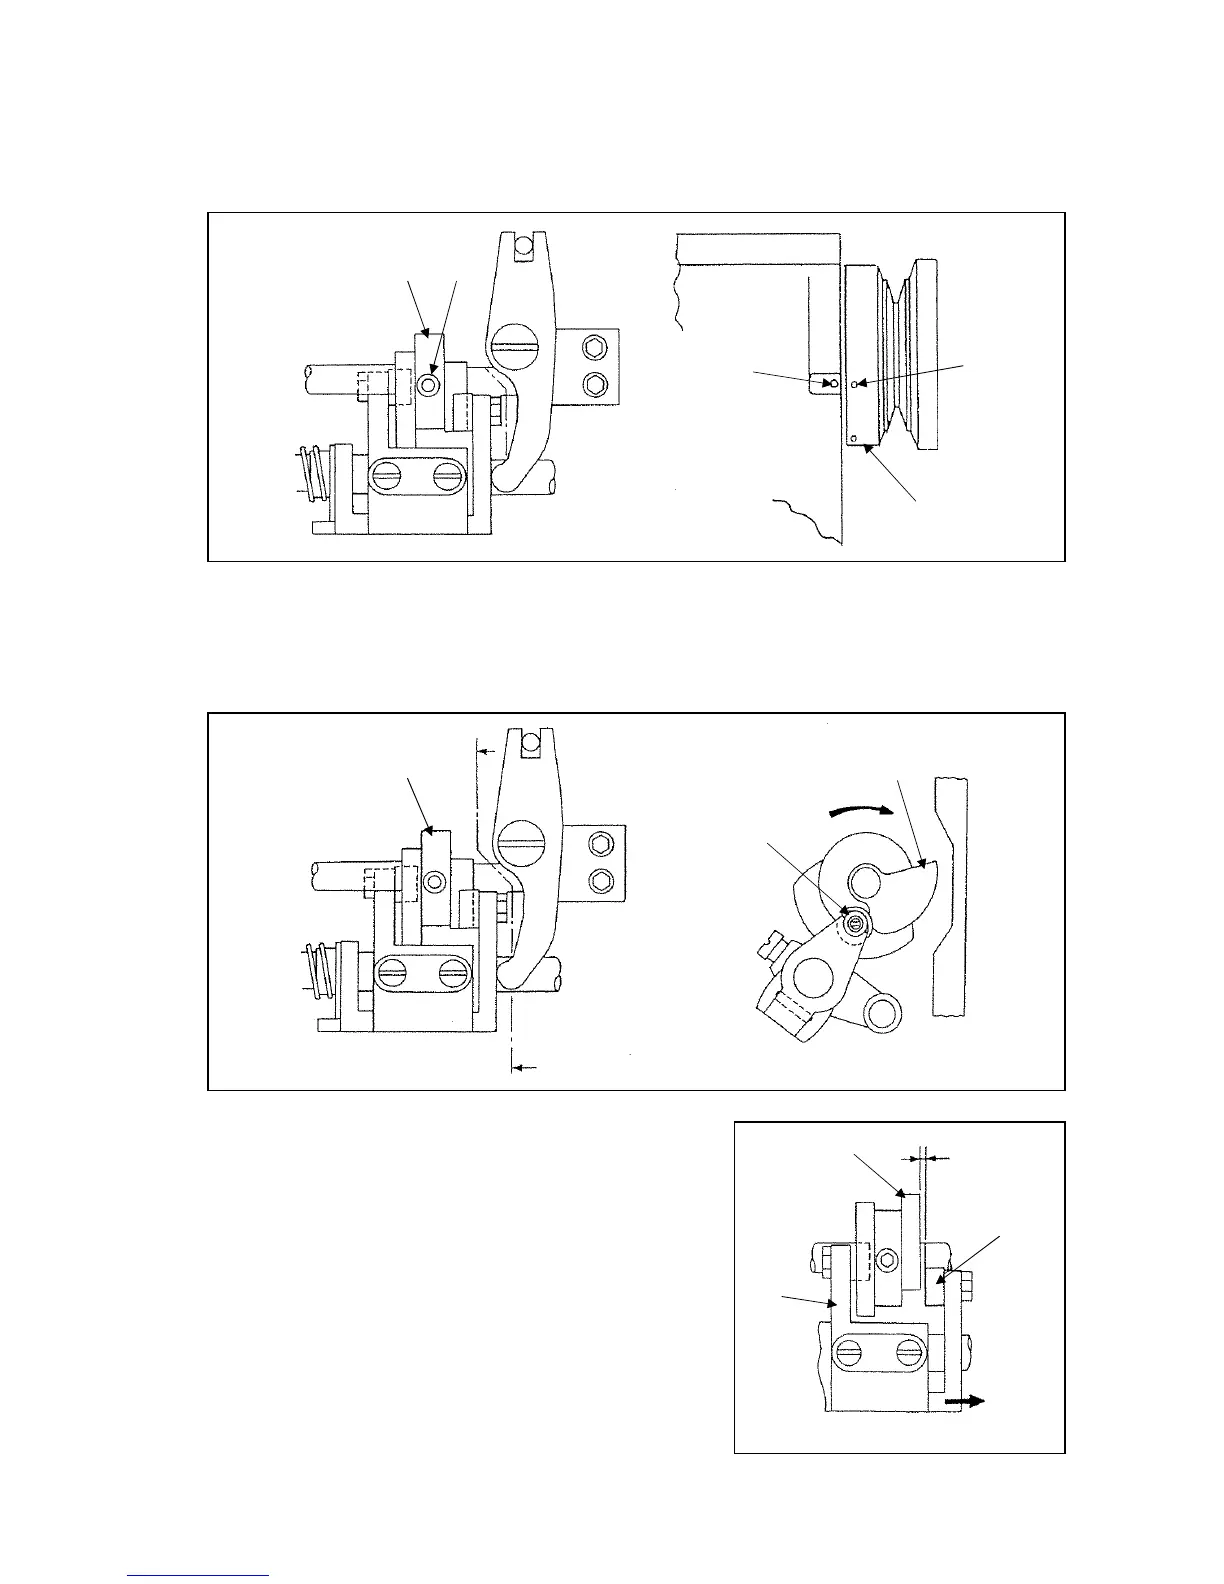
1) Loosen the two set screws (No.9) of the thread trimming cam (No.8).
Turn the sewing machine pulley (No.10) by hand match the second timing mark (No.11) of the
machine pulley (No.10) with the arm timing mark (No.12).
11)
10)
12)
8) 9)
2) Make the air cylinder activated condition, then turn the thread trimmer cam (No.8) in the arrow A
direction by hand.
Fix the thread trimmer cam (No.8) with the two set screws (No.9) at the point where the thread
trimmer cam (No.8) contact with the cam follower (No.13).
8)
13)
A
A
8)
3) Make sure that the clearance between the thread trimmer
cam (No.8) right end and the cam follower (No.13) left end
is 0.5mm to 1.0mm when the cam follower crank 2 (No.14)
is returned to the B arrow direction after the air cylinder is
set back to the original condition. This is the standard
condition.
If the clearance is out of this amount, loose the set screws
(No.9) of the thread trimming cam (No.8) and readjust the
location of the thread trimming cam (No.8) for the clearance
to be within the amount, then tighten the set screws (No.9)
again.
13)
8)
14)
B
0.5 to 1.0mm
 Loading...


