- 20 -
7. STANDARD ADJUSTMENT
CAUTION
★Please make sure to turn the power switch OFF before adjust the sewing machine.
★If the adjustment is required under the power switch is ON, keep the start foot switch away from the
foot.
★Be careful not be wounded by the needle or the inner hook point.
★Please make sure to put the safety guards (Eye guard, Belt guard and finger guard etc.) back on the
original location after the sewing machine adjustment.
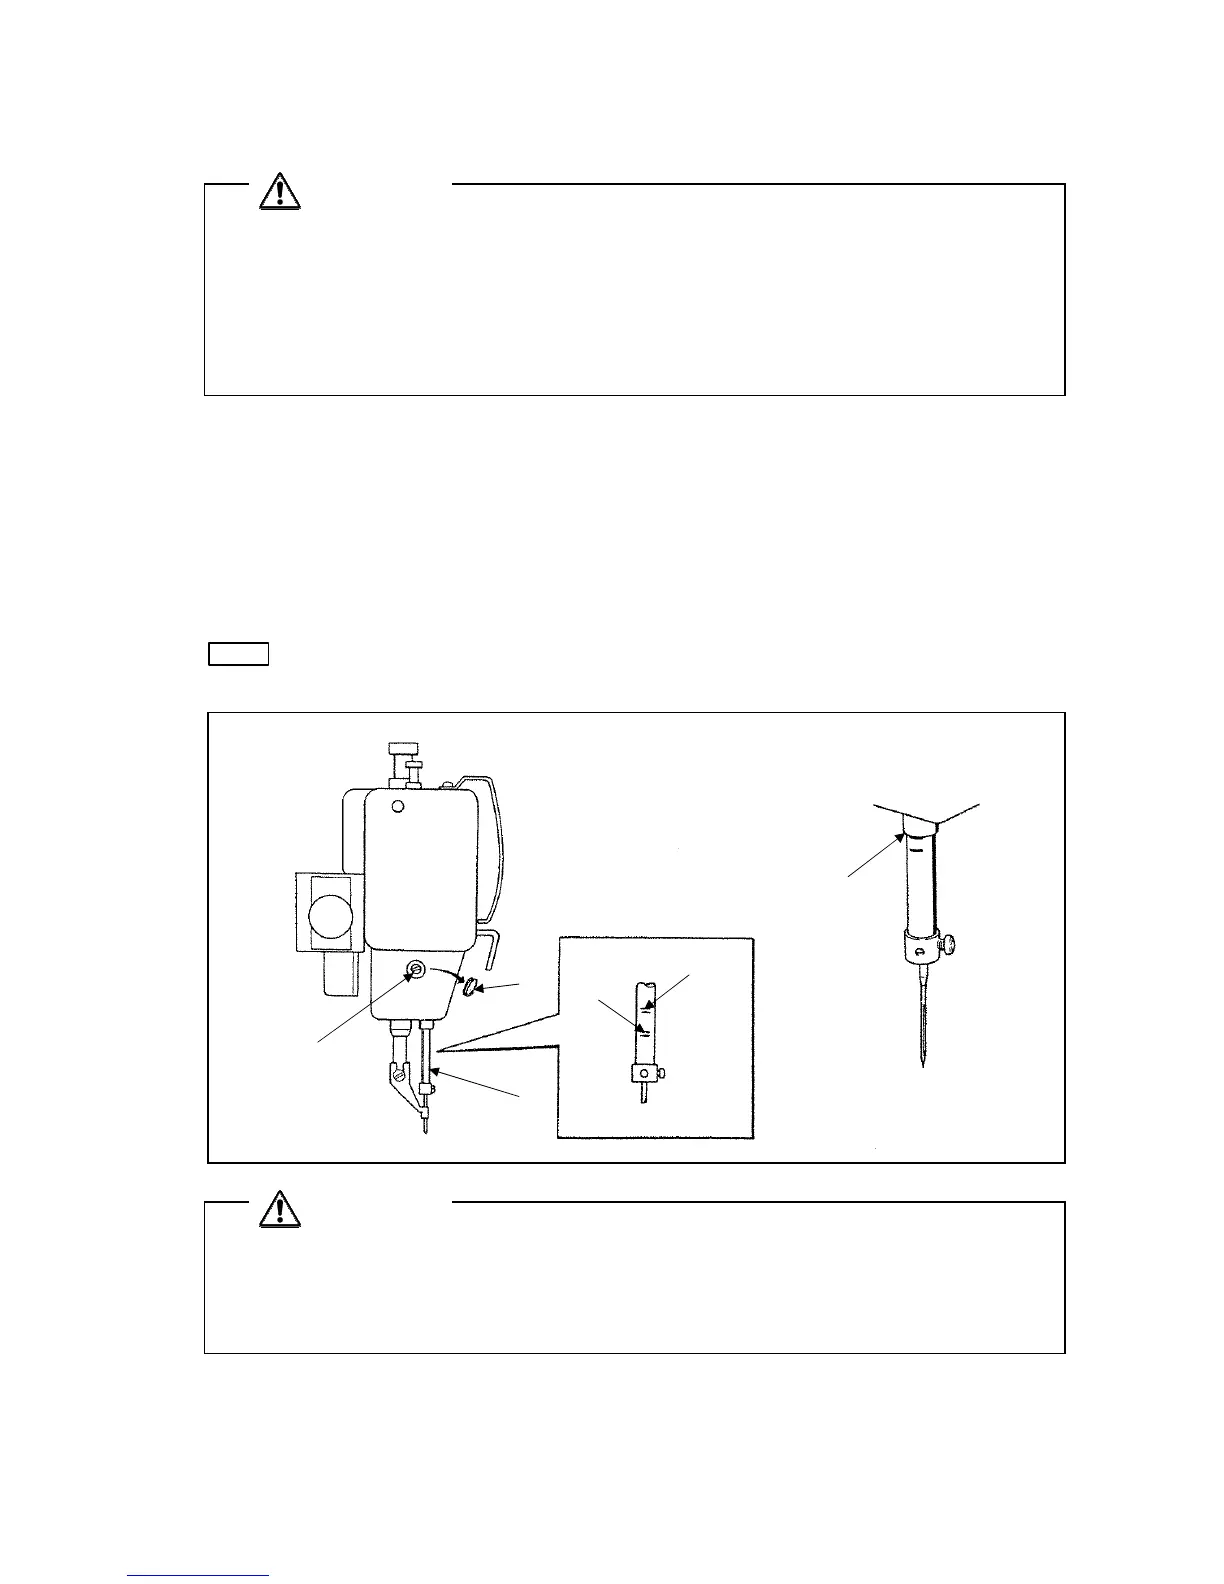
7-1 Adjustment of the needle bar position
1) Turn the power switch OFF.
2) Turn the sewing machine pulley by hand then, stop the needle bar (No.1) at the lowest position.
3) Remove the rubber plug (No.2) from the face plate then, loosen the needle bar holder set screw
(No.3).
4) Move the needle bar (No.1) to the position where the needle bar timing mark A is matched to the
needle bar bushing bottom line (No.4) then, tighten the needle bar holder set screw (No.3).
NOTE
If the needle class is DPX5, match the needle bar timing mark B to the needle bar bushing
bottom line (No.4).
A
B
2)
1)
3)
4)
CAUTION
★For safety purposes, tilting or raising of the sewing machine must always be carried out by two or
more workers. Apply a stopper on the leg casters to prevent the table from moving, and then
securely support the bed base and the sewing machine head.
★Hold the work holder frame to prevent it from dropping down when tiling the sewing machine.
 Loading...


