Operating procedures
1
)
Origin point determination
a
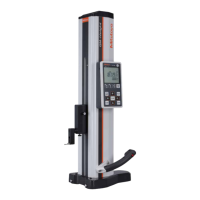
Set the slider of the height gage at an appropriate
height and press on themkey.
(2:
Move up the slider until the display shows exactly
50.00mm(2.0000"), the size of the gauge block.
@
Press the
@
key.
@
Hit the
key.
(P
sign blinks.)
l
NCH
U.
U
)A
mm
LI.
.U
U U
)A
@
Move down the slider to have the contact point
pushed up against the gauge block until the
H
sign
~nnrt
7Nnnnin
starts blinkino
J
U.U
)A
mm
C.U
U
L/
LI
-
.
.
-
. .
.
.
.
. .
.
a.
I
J
Now, 50.00mm(2.0000")
is
preset, that is, the
origin point
is
determined in ABS system
2)
Measurement (measure
A,
B,
C,
and D in this
order)
@
Move up the slider to release the stylus from the
gauge block
(H
sign disappears) and press the
key
(
4?
sign comes on).
O
To take measurement of dimension A, apply the
stylus to the sOrface which serves as zero point
for dimension A.
@
Apply the stylus to the measured surface and the
display holds the value of A with the blinking of
H
sign.
@
Move up the slider and apply the stylus to the
measured surface for measurement of
B.
The dis-
play holds the value of
B.
@
Release
the stylus from the workpiece and press
the key
(+I?
sign comes on).
0
Apply the stylus to the surface that
is
a
zero
point for measurement of
C
and
D
dimensions.
 Loading...
