If a star has been detected two magenta circles will appear around it (may appear as one). This
shows it is ready to be added to map. Stars that have no magenta circles will be ignored during
the mapping process.
6.2 Star Parameters
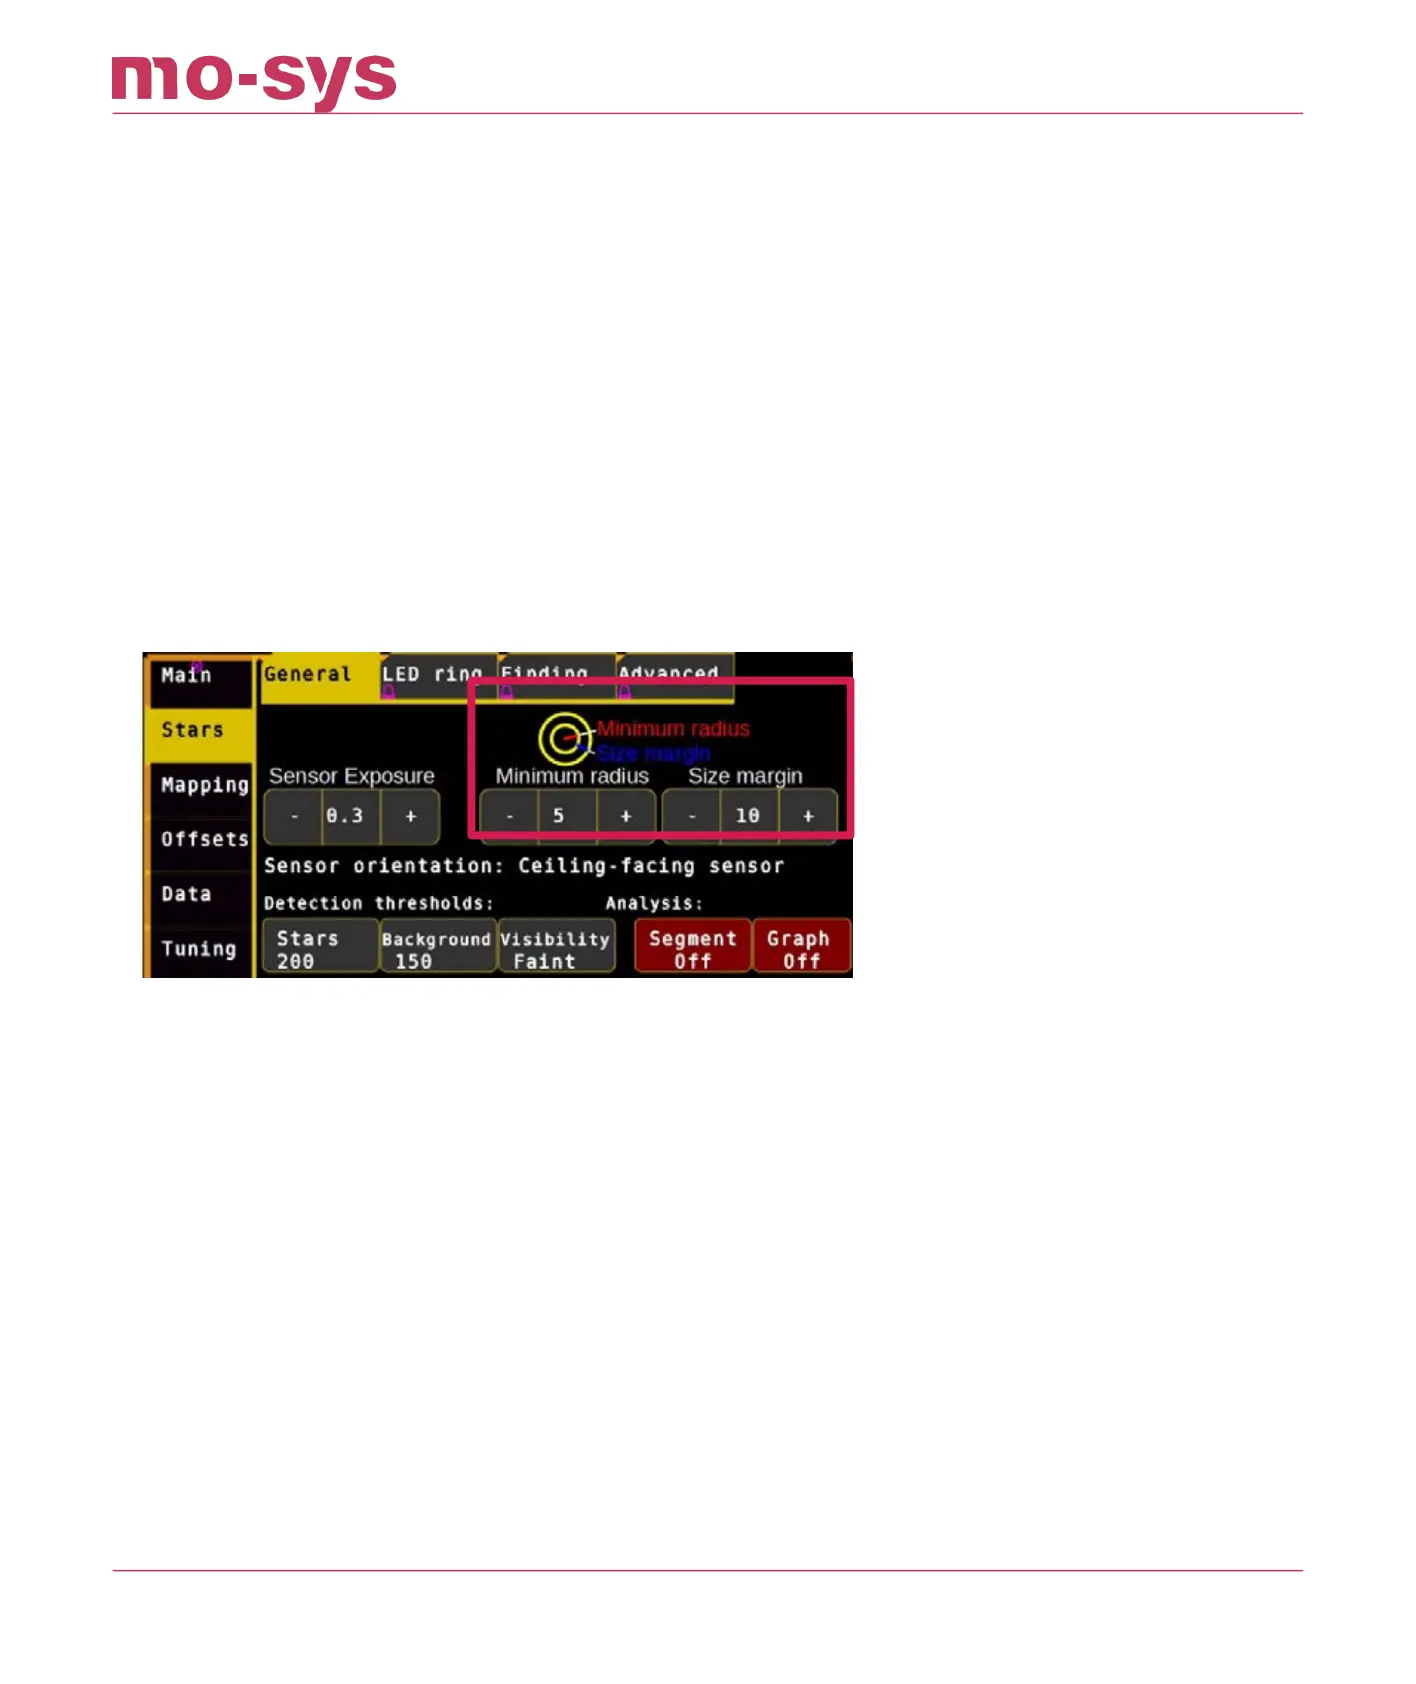
Star radius detection is set automatically but if you would like to experiment with adjusting star
size to assist detection it can be accessed through Stars → General → Minimum Radius type a
value between 3 and 15 (nominal 5) and hit Enter. Adjust this value, through trial and error, to
build the largest constellation possible.
The Size Margin indicates the additional radius. E.g., if your minimum radius is 5 and your
margin is set to 10, your maximum radius is 15.
You may notice circles next to the Main button. The largest circle is the maximum star radius
that will be accepted. Stars slightly smaller than the inner most circle may still be accepted.
6.3 Star Height
Enter the approximate height (in meters) of the reective stickers from the StarTracker sensor
camera to the stars:
Go to Mapping → Create , click Star Height.
Enter the height value (in meters for example 2.5m) and hit Enter. If you have stars on more
than one level use the average height. (Example: Stars on ceiling are 8m high, stars on lighting
grid are 6m high -> Star height is 7m)
Info: This measurement does not have to be down to centimeter precision. You can allow an
error of 5-10%. Meaning if you have a ceiling of 10.78m and you type in 10m it is still ok.
StarTracker Max Manual
2023 - 2024 © Mo-Sys Engineering Ltd. All rights reserved 19 of 70