P6
P20
System “B”: in case of impossibility to install the
drainage pipe as showed on “A” system, please
use system “B” to drain the condensatemoisture
to a suitable place.
If use system “B”, please do not unplug the black
rubber cup from system “A”.
Usually "B" hole is used in the installation when
the outside temperature is very low , and in this
way we prevent no ice in the discharge water
pipe. This solution is used also to be more easy
for the installer to connect the internal drainage
pipe when he don't want to see the pipe from
outside.
2. INSTALLATION
ENGLISH
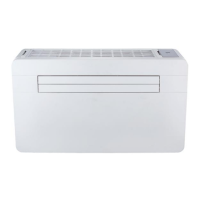
2.4 FASTENING THE BRACKET (P6)
- Drill the holes for anchoring the fastening
bracket to the wall using preferably the 6 holes
showed in black on the paper template.
If the wall is not sturdy enough it is advisable to
use extra anchor bolts using the holes showed in
grey on the paper template.
- The anchor bolts provided require a 8mm
holes; the wall should be inspected to determine
if provided bolts are useful or if it is necessary to
use a different anchorage. The manufacturer is
not liable in case of underestimation of the
structural consistency of the anchorage made at
the time of installation.
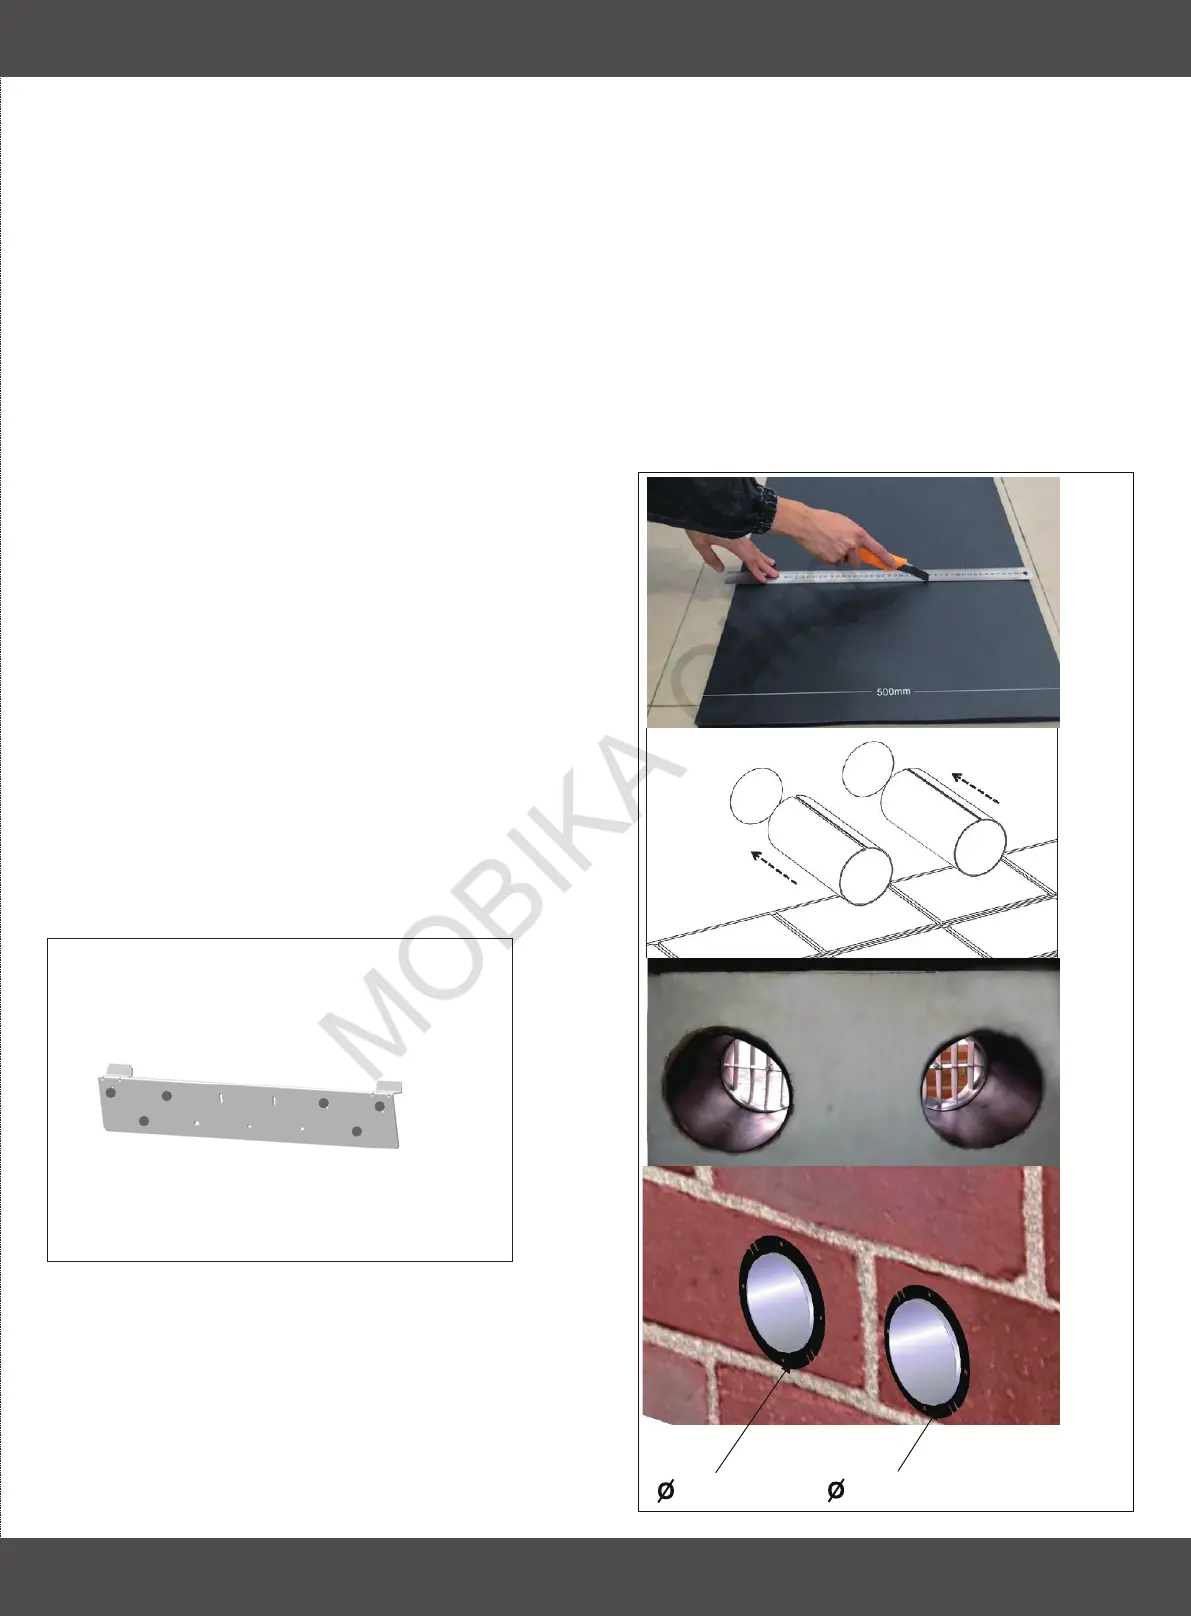
2.5 INSTALLATION OF THE PIPES (P20)
150mm ring
160mm ring
11
- After drilling the holes, the plastic pipes
supplied with the air conditioner need to be
fitted through them.
-
-
Measure the depth of the wall and cut
supplied plastic sheet.
Roll the sheet and insert it into the hole,
paying attention to the joint line, which must be
always upper position. Remember that the
sheet must have the same inclination of the
holes(min 3°).
- Insert the rings into the holes.