10
New Installation - No Factory Pre Wires Present
1) Mounting Location:
• Identify a suitable mounting location near the roof line centered on the rear of the
vehicle 2 or more inches above or below running lights to prevent degrading image and
reducing night vision.
• Make sure there are no wires, glass or other items that will prevent the installation.
Be sure the mounting location will allow for the drilling of a 3/4” hole to run the power
cable to the camera.
• Once a proper mounting location has been identified, use the supplied template on
page 19 of this manual to mark and drill the 3/4” hole. The supplied screws for
attaching the camera to the vehicle are self tapping but it may be necessary to use
the template to mark and drill pilot holes.
2) Power Source Connection:
Option 1 - Ignition Power
• Locate a 12V+ source that is controlled by the vehicle ignition switch. This power source
will provide power to the camera whenever the vehicle is running.
Option 2 - Back Up Only
• Connect the power lead to the right or left back-up light usually located in the
tail light assembly.
3) Wiring to Camera:
• Once a power source has been identified, route the power harness from the power
source to the 3/4” hole drilled for the camera.
Note: If additional wire length is needed, be sure to use 18 gauge wire and connect
the extension length to the end of the power harness - do not cut off the connector.
Be sure to keep 12V+ and 12V- in proper order. Make sure connections are secure
and protected to prevent electrical shorts.
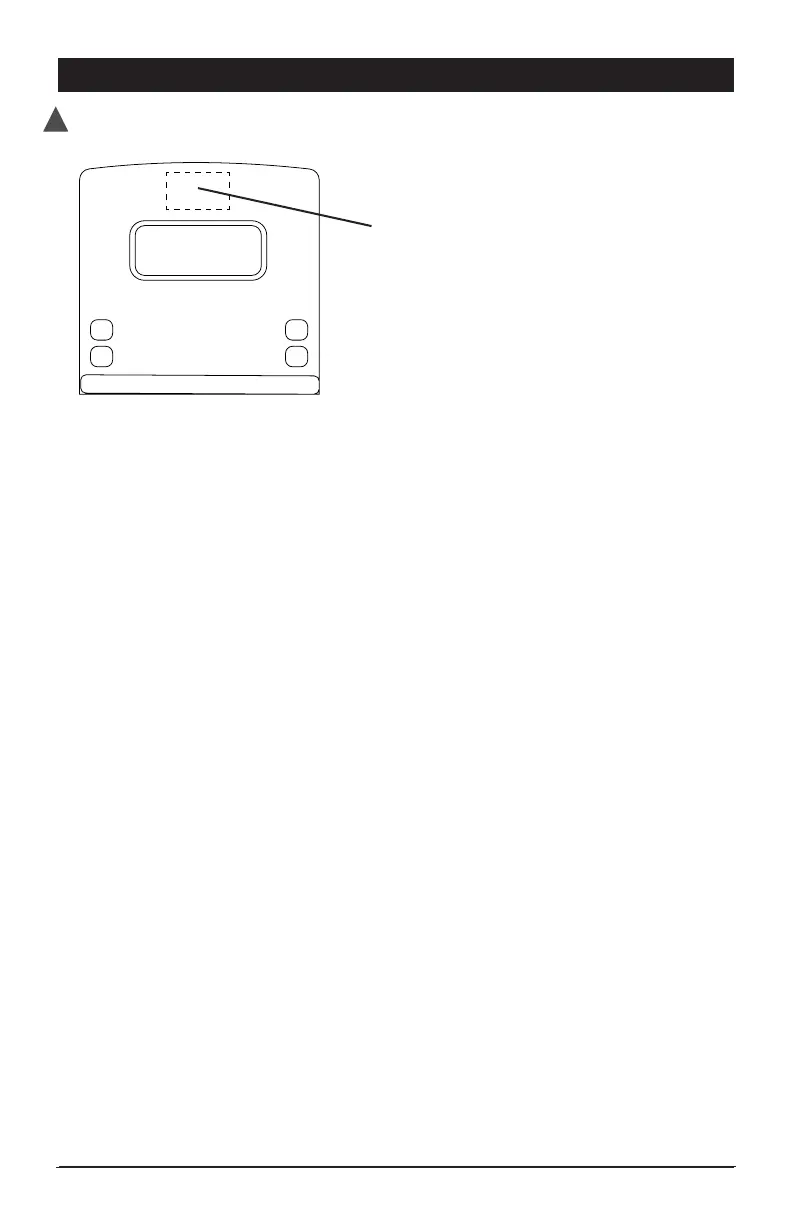
Mounting Location
DISCONNECT VEHICLE POWER BEFORE STARTING INSTALLATION
!