8
Non-MobileVision Factory Pre Wired Installation (continued)
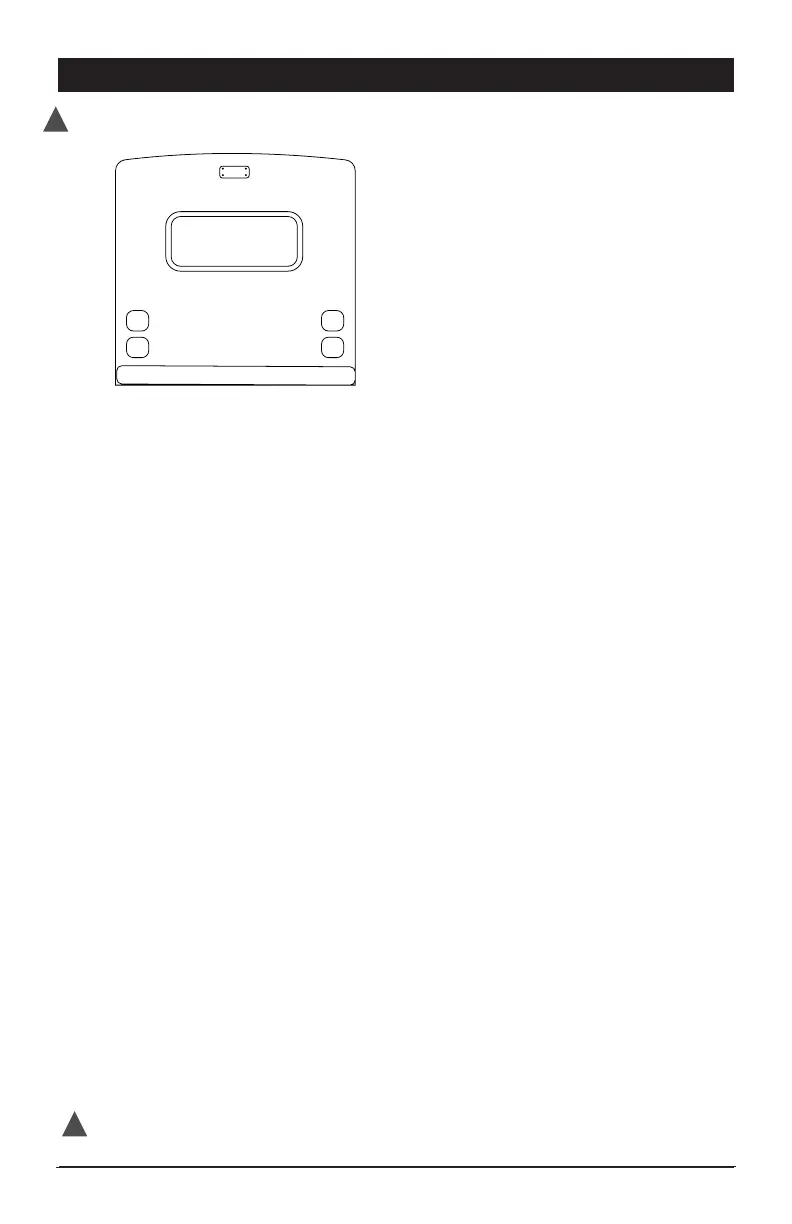
B.
Option B - Installation
If your vehicle has a pre wired install cover plate with the above illustrated
shape follow these steps to install the camera.
• Unscrew the plate from the back of the vehicle.
• Unattach power lead from pre wired plate.
• Align supplied MobileVision PVC gasket with predrilled holes pulling vehicles
power lead through center 3/4” hole.
• Use supplied adapter power cable to connect camera and
vehicle power leads. (Figure A)
• If vehicle power leads are not terminated or the adapter does not match the
connector on the vehicle power harness, follow these steps: (Figure B)
- If connector present, cut connector off and strip the
vehicle wire approximately 1/4”.
- Cut the supplied 6’ power cord unterminated end to the
desired shorter length and strip wire to approximately 1/4”.
- Test the vehicle power leads to identify 12V+ and 12V-.
- Connect the red power harness lead to the vehicle 12V+ lead.
- Connect the black power harness lead to the vehicle 12V- lead.
- Make sure connections are secure and protected to
prevent electrical shorts.
• Push the connected power leads back through the 3/4” hole in the middle of
the gasket and into the vehicle.
• Without removing camera adjustment screws from bracket, align the camera
and bracket with the gasket and pre-drilled holes in the vehicle. Using the
4 screws removed in Step 1, attach and secure the camera, bracket and
gasket into position using a screw driver inserted between the camera and
the bracket wall. Make sure antenna mounting screw is facing up. (Figure A)
• Adjust viewing angle of camera by loosening camera adjustment screws
and then tighten.
• Mount the antenna on camera.
DISCONNECT VEHICLE POWER BEFORE STARTING INSTALLATION
!
Test System Operation before adding any additional sealant to permanently mount camera.
!