-25-
Revision 2/F3506
Two
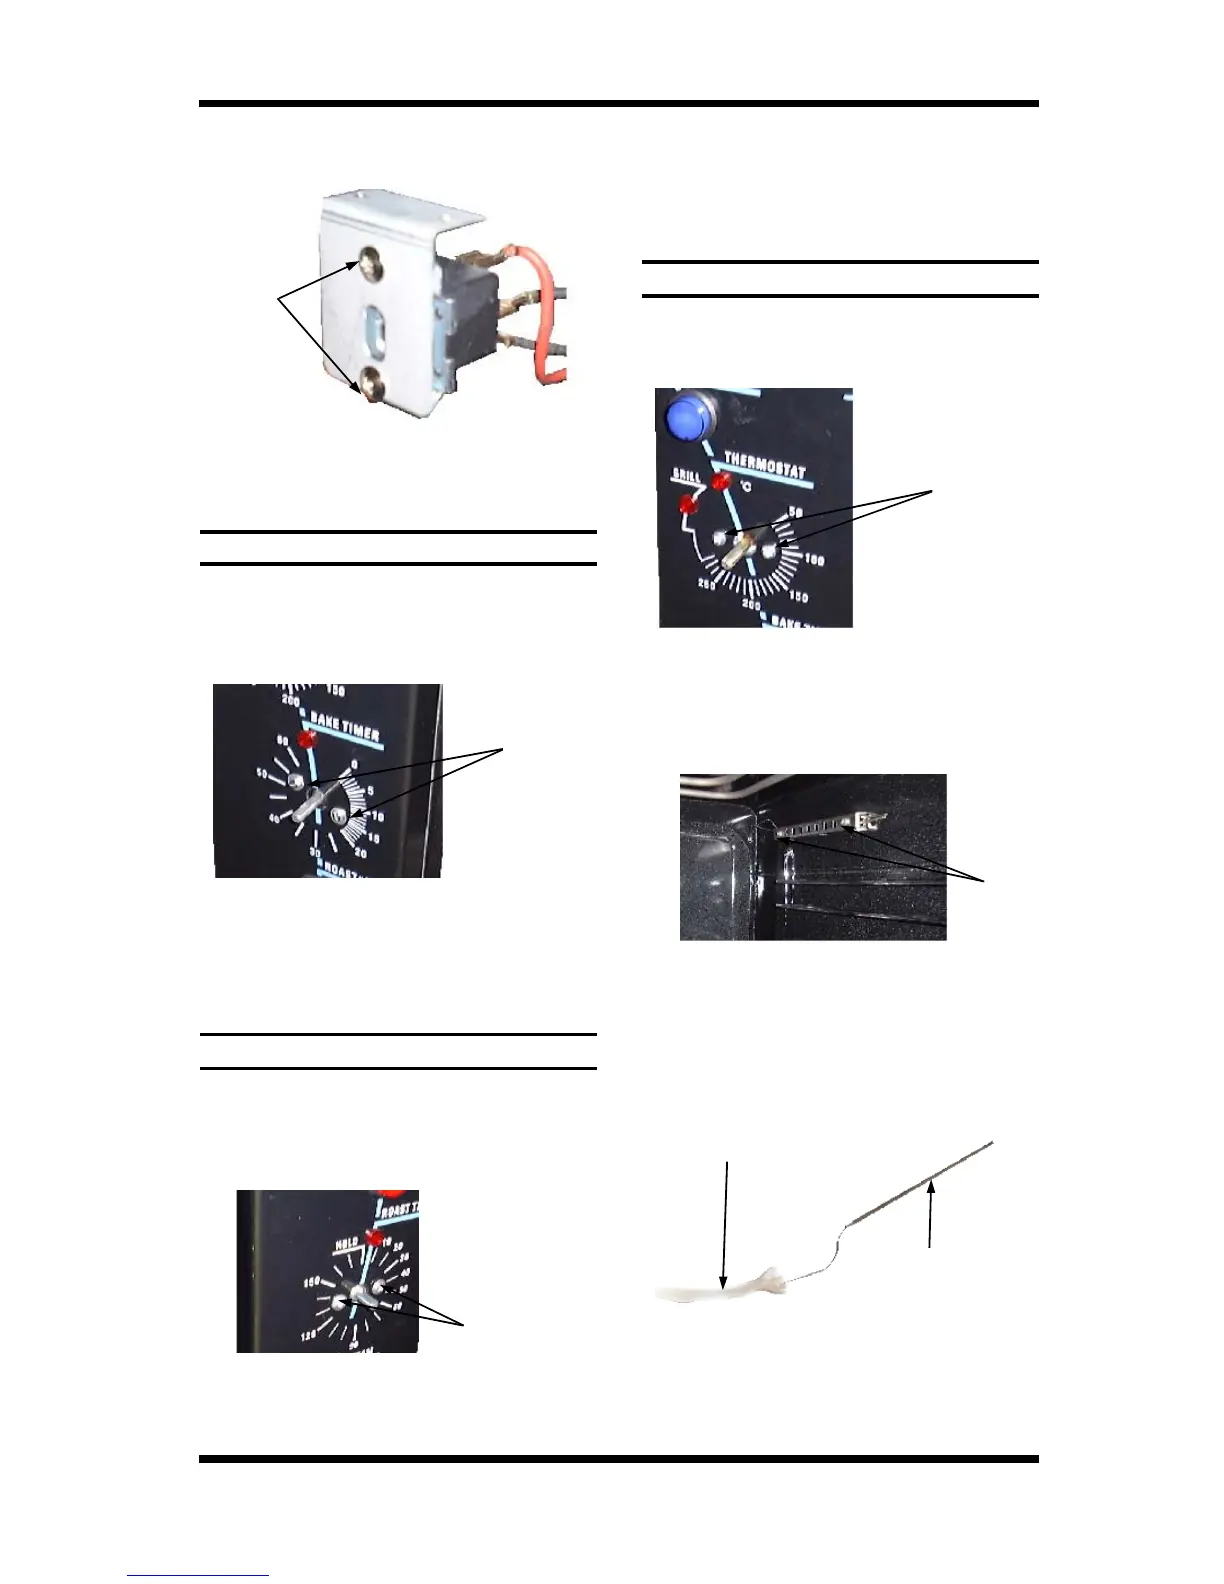
Screws
Two Screws
Two
Screws
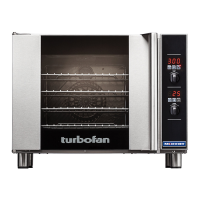
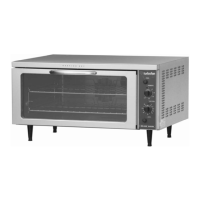
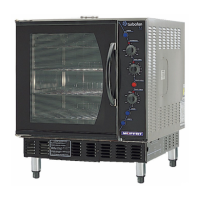
6.3.6 BAKE TIMER
1) Remove bake timer knob by pulling it
firmly away from control panel.
2) Open control panel (refer 6.2.1) and undo
two screws securing timer.
3) Withdraw and remove two screws holding
buzzer to bracket.
4) Transfer wires to new buzzer.
5) Reassemble in reverse order.
Figure 6.3.6
6.3.7 ROAST TIMER
1) Remove roast timer knob by pulling it
firmly away from control panel.
2) Open control panel (refer 6.2.1) and undo
two screws securing timer.
6.3.8 THERMOSTAT
1) Pull knob off front of thermostat
2) Open control panel (refer 6.2.1) and undo
two screws securing thermostat.
3) Transfer wires to new timer.
4) Withdraw old timer and insert new timer,
securing with screws.
5) Replace knob.
3) Transfer wires to new timer.
4) Withdraw old timer and insert new timer,
securing with screws.
5) Replace knob.
Two Screws
Figure 6.3.7
Two Screws
Figure 6.3.8
3) Transfer wires to new thermostat.
4) Remove service panel (refer 6.2.2) and
from inside of oven loosen two screws
holding thermostat phial bracket.
5) Withdraw old thermostat phial through
rear of oven.
6) Remove fibreglass sleeve from old
thermostat and fit it to replacement
thermostat.
7) Insert new thermostat.
8) Re-assemble in reverse order.
Figure 6.3.9
Figure 6.3.10
Fibreglass Sleeve
Thermostat Phial
Figure 6.3.11