Page 7 of 24
Assembly / disassembly
To be able to operate the Molift Partner 230/255, the
operator must have good knowledge of the lift, in-
cluding assembly, disassembly and preparation be-
fore use.
Assembly and use of charger
The charger shall be connected to the power outlet
at all times. It is possible to mount the charger on a
wall surface or place it on a table.
Molift AS tests and charges all batteries be-
fore packing and shipment. However, all bat
-
teries must be charged before use.
Unpacking
• The lifter comes in one cardboard box. Verify
that the box has no apparent damage. If dam-
aged, - check the content and contact your dealer
for assistance if components are damaged.
• The box contains chassis, lifting column, lifting
arm with suspension, drive handle, hand control,
battery and battery charger.
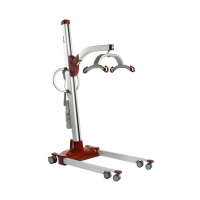
Assembly
• The chassis should be rolled out of the box.
The battery must not be in the battery holder
during assembly!
• Place the column in the attachment on the chas-
sis, and the column will nd the correct position.
If the column does not place itself correctly, ro-
tate the drive with the Allen key on the top and
try again until the column has found the correct
position.
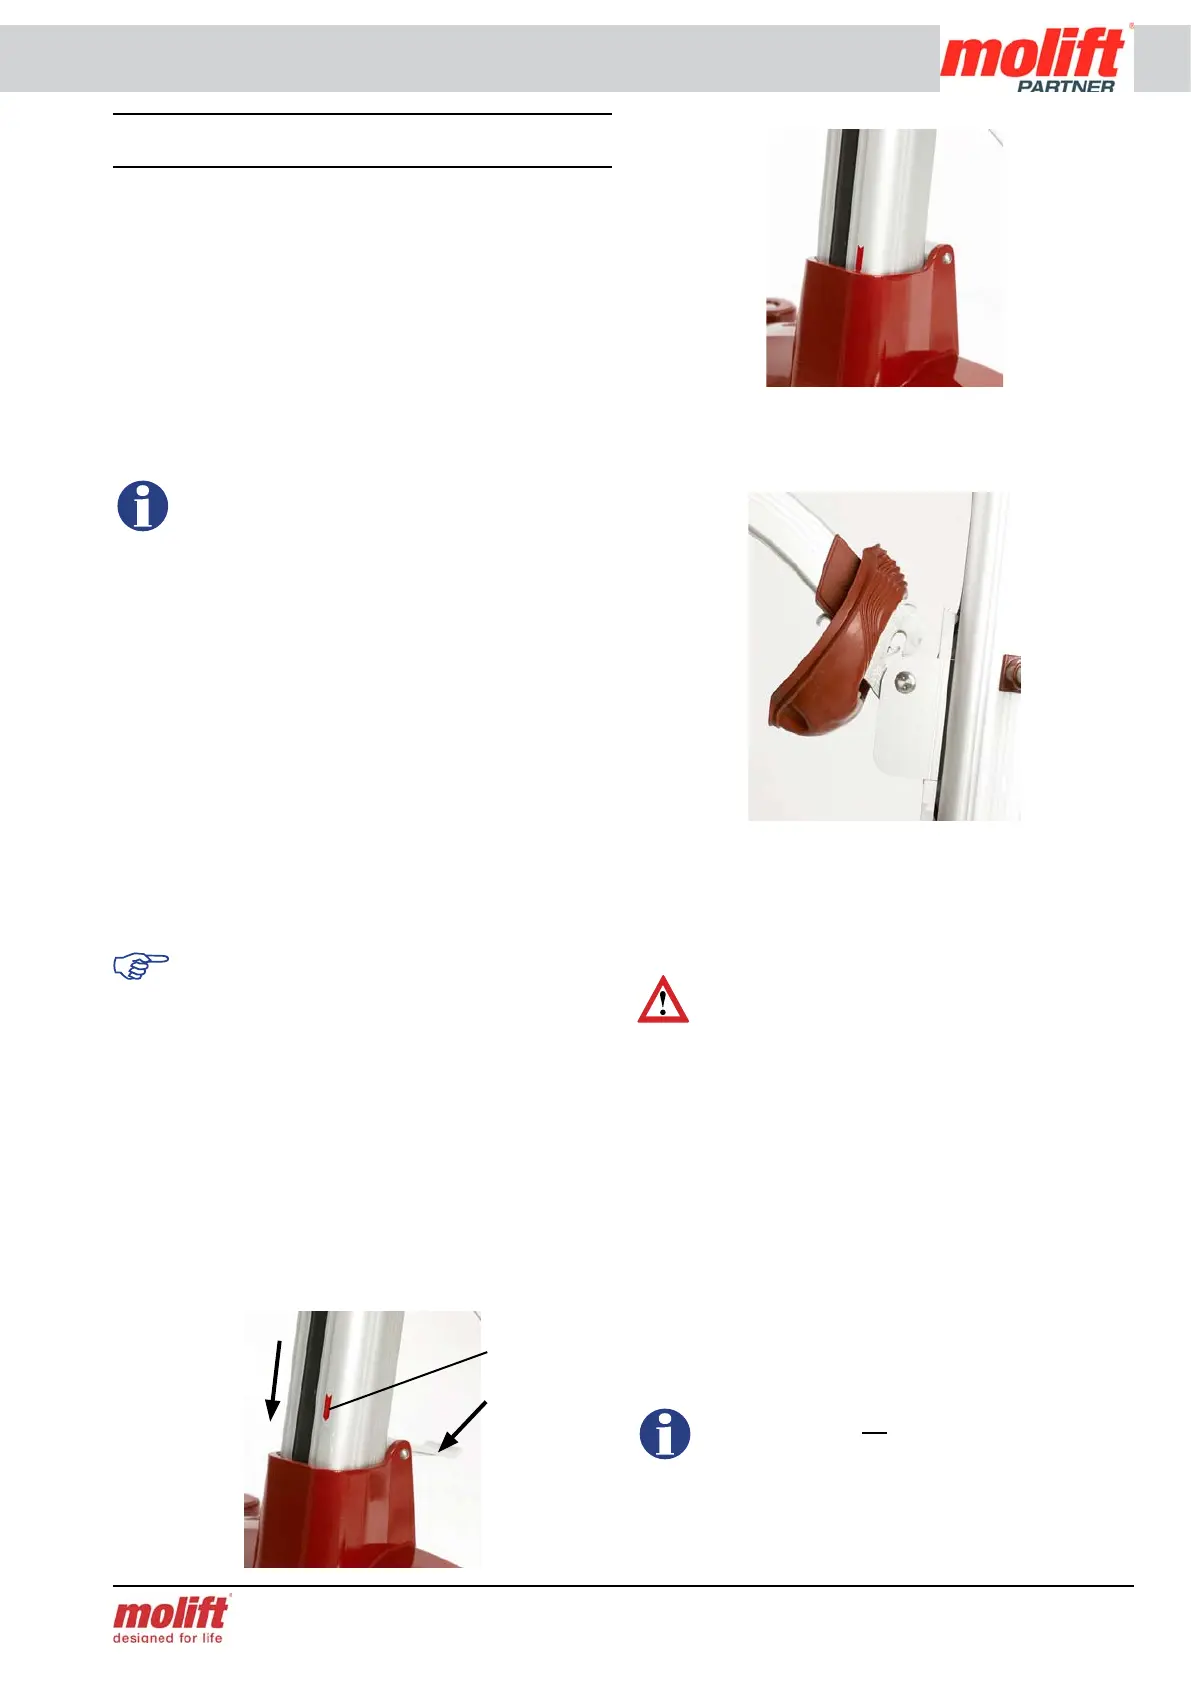
• Make sure that the red arrow on the lower part
of the column corresponds with the edge on the
chassis. Fix the column with the lock handle.
• Mount the lifting arm with suspension and rub-
ber protection on the trolley on the lifting col-
umn.
• Slide the rubber protection up on the arm and
guide the lifting arm on the trolley. Push the arm
down until the locking handle makes a clear click
when the lifting arm is xed correctly.
Be careful not to put fingers or similar under
the lifting arm between arm and trolley. Dan
-
ger of personal injury.
• Slide the rubber protection back to cover the trol-
ley, and pull it over the top and bottom edge.
• Connect the hand control cable to the contact on
the battery holder. The hand control has a hook
that makes it possible to hang it on the drive han-
dle or the plastic hooks on the column.
• Place the battery in the holder with the connec
-
tors facing down. Release the emergency stop
and run each function of the lifter a couple of
times without load to verify proper function.
Molift AS tests all lifters with and without
load before shipment. The control is an extra
precaution to uncover any shipment damage
and/or incorrect assembly.
Arrow
Lock handle