EXPLORING LABYRINTH (Continued)
BUILDING A RHYTHM
Labyrinth comes with its sequencers pre-populated with
sequences, so if you feel like diving in and seeing what
happens before getting deep into the world of patching,
feel free to press RUN/STOP and explore on your own! But
in this guide, we will clear out the sequencers and begin
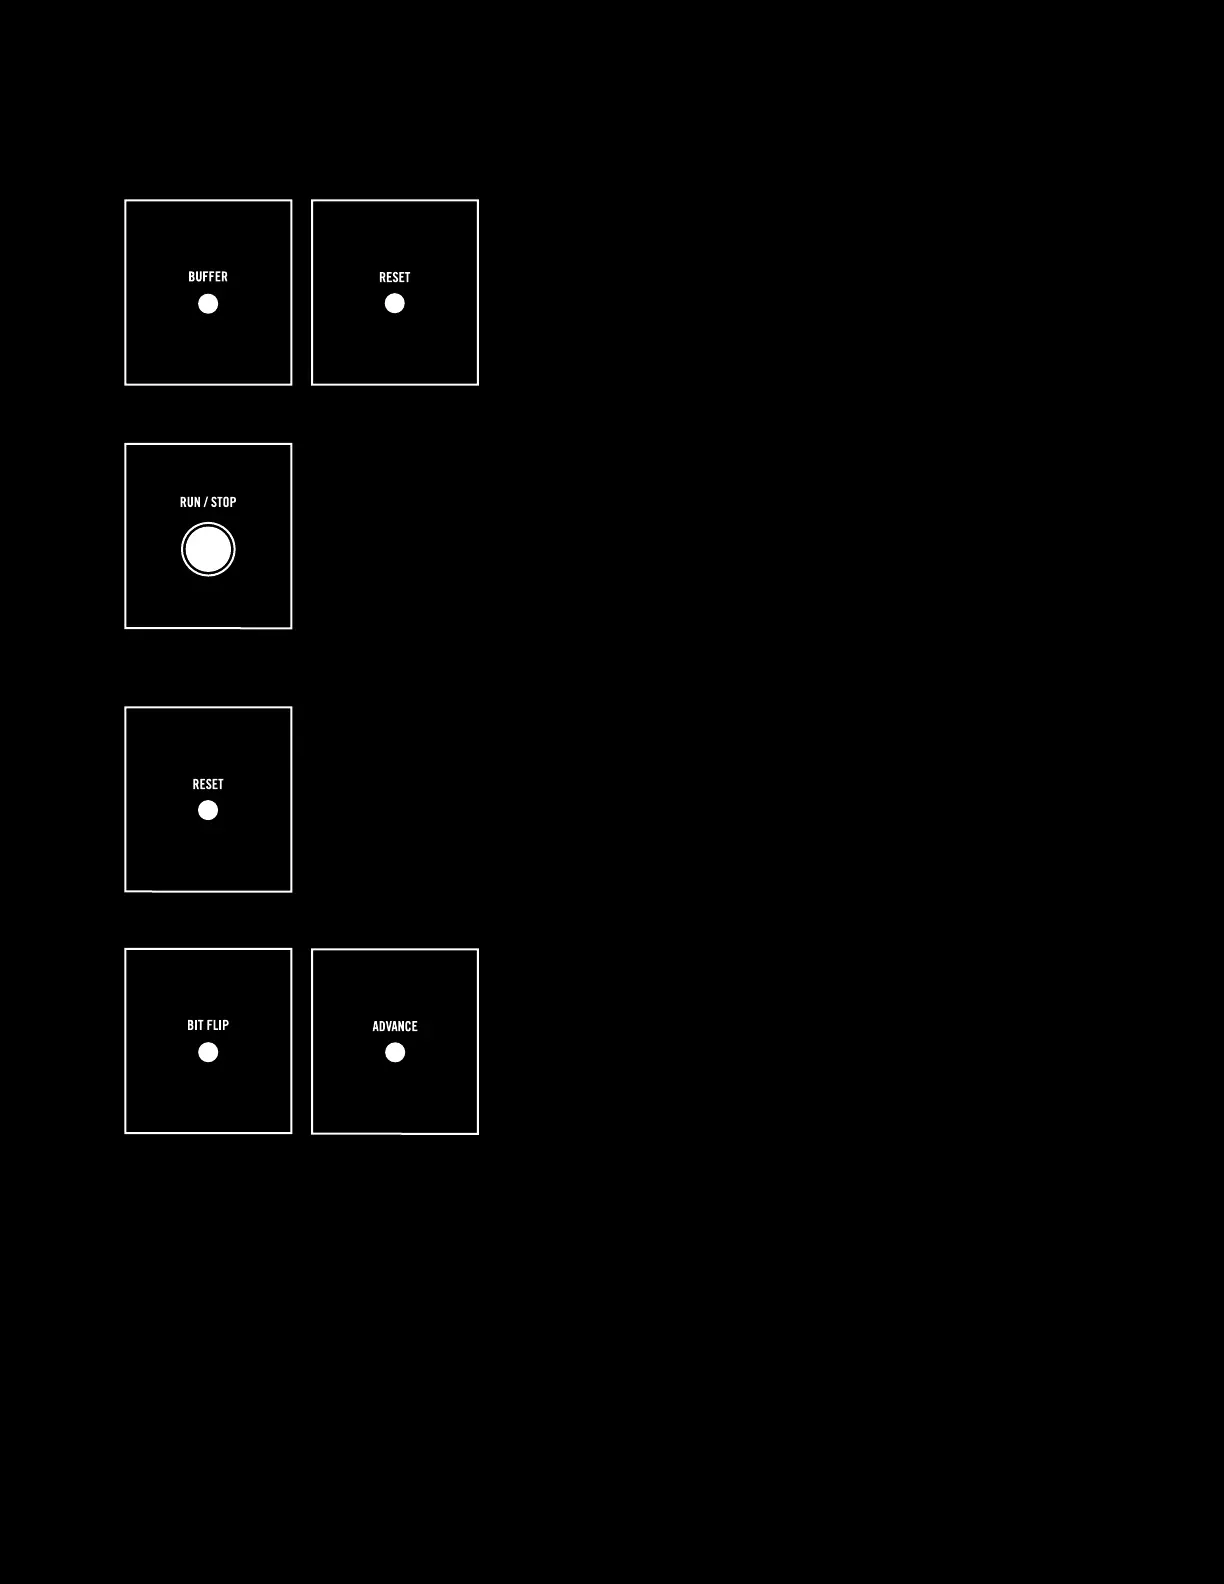
from scratch. To do this, hold the BUFFER and RESET
buttons down at the same time for one second to clear all
data from the sequencers.
SEQ1 has eight BIT locations (i.e., eight “steps” that it runs through). Press
RUN/STOP and you will see the green LED representing the play head begin to
move through the sequencer and loop back to the beginning when it reaches
the end. You won’t hear anything at this point since the sequencers are empty,
so press RUN/STOP to stop the sequencer.
NOTE: SEQ2 is identical to SEQ1, but for now we will just focus on SEQ1.
Press RESET to reset SEQ1 back to step 1.
Now press the SEQ1 BIT FLIP button and you will see the
green flashing LED on SEQ 1 bit 1 turn orange, indicating
that you have flipped bit 1 on. Press ADVANCE and you will
move the play head forward to bit 2. Notice that the LED
for bit 1 is now red, indicating that it is on.
13