OTHER CONTROLLERS
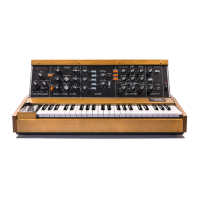
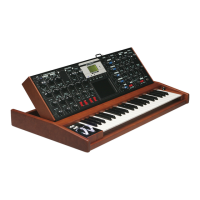
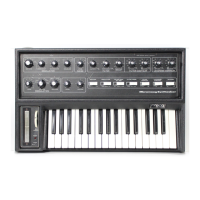
1 0 ) The PITCH wheel (28), located next to the MODULATION wheel to
the left of the keyboard, is used to bend the pitch determined
by the keyboard (as much as half an octave up or down) when the
performer wishes to introduce expressive nuances to individual
notes during performance. Depress a key, and move the PITCH
wheel back and forth with your left hand. Notice that you can
reset the control by feel--a detent mechanism holds it in its
normal center position.
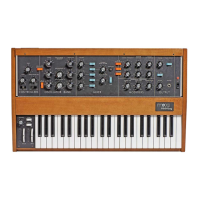
1 1 ) The TUNE control (1) is used to tune up the Mini Moog oscillators
to the pitch of the ensemble in which it is being used, or to its
A-440 reference tone. Check to see that switch (C) is on, and
notice that, when a key is depressed, the pitch moves up and down
by a few tones as the TUNE control is turned through its range.
Make sure the PITCH wheel is in its center position, and turn
on the A-440 switch (Q). Depress an A key on the keyboard, and
adjust the TUNE control so that the two A’s are in tune with each
other. Turn off the A-440. The other two oscillators may now be
tuned to Oscillator 1 using their FREQUENCY controls.
1 2 ) The GLIDE control (2) regulates the amount of portamento, or glide,
heard between pitches as first one key and then another is
depressed. This control is activated by turning on the GLIDE
switch (R). Setting the GLIDE control at various levels, play a
scale or arpeggio, first with the GLIDE switch on, then using the
switch to introduce glide selectively between certain notes only.
Notice that the further to the right control (2) is set, the
longer it will take a tone to move from one pitch to the next.
1 3 ) Finally, the KEYBOARD itself functions as a controller. It
produces a control signal which varies according to the position
of the key struck. If more than one key is held down, only the
lowest one has effect. The control output of the KEYBOARD is
permanently connected to Oscillators 1 and 2. Switch (B)
couples it to Oscillator 3. Switches (K) and (L) couple it to
the filter, and are discussed in Section J, step 8. The
KEYBOARD also produces a timing signal each time a key is
depressed. This will be discussed in Section J in connection
with filter and loudness contour controls.
8